Project 4: Final Project
- Animation:
Problem and Solution:
For this project, I focus on python scripting in Maya. I made an explode animation by script with maya cmds and OpenMaya. The big challenge is how to attach small cubes to the human head. In the beginning, I try to create instances at each face at the human head, but the distribution of the cube would be too sparse at the back of the head because of the topology of the model.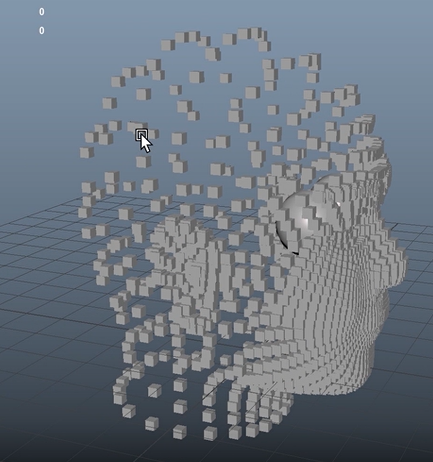
So, I thought I can create cubes at the surface of a big sphere, and then, I use ray-quad collision detection with the ray that is from the cube to the center of the head and each face of the head.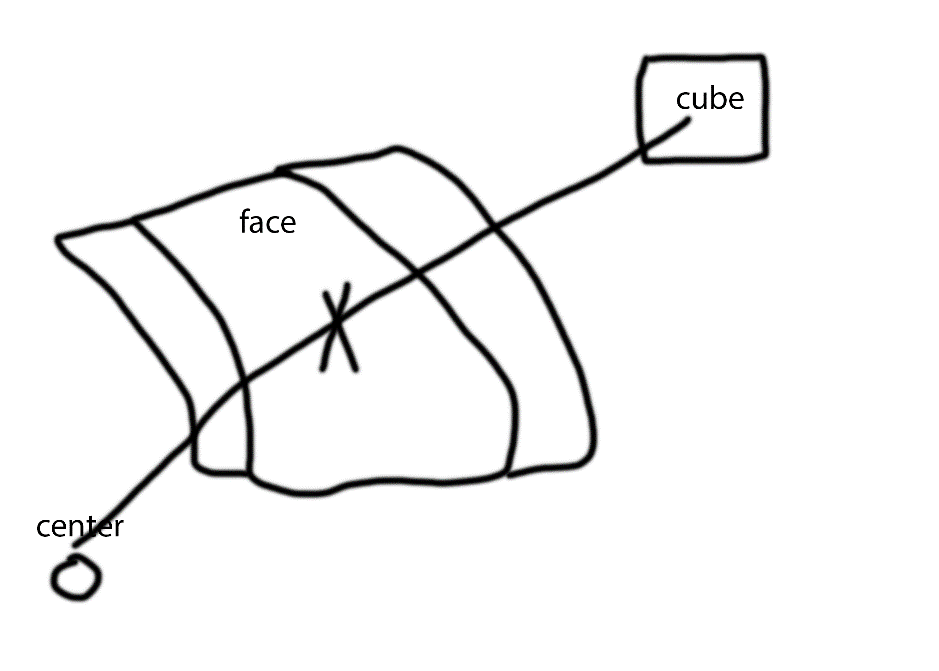
For the explosion, I just calculate the direction of the center to the cube and use that direction with a radius to make the explode animation.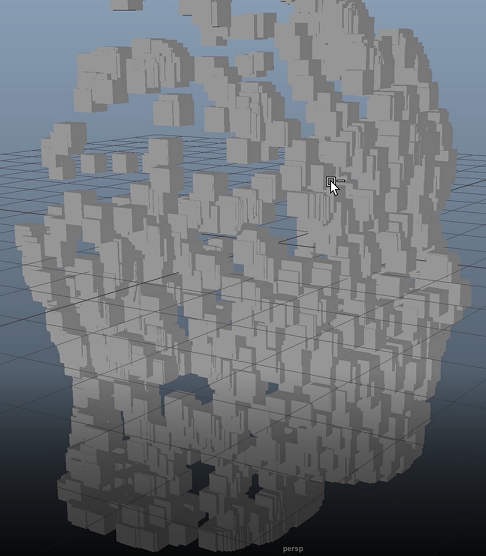
Here are examples of my code:
1 | #Iterate over each face: |
Create instance of the cube, instanceResult, and move it to the center of the face:
1 | def createInstanceBasedOnFaceCenter(self, grpName, src): |
Ray-Quad Intersection:
1 | def intersectRayWithSquare(self, r1, r2, _s1, _s2, _s3, _n, t): |
assign position for each cube for explode animation:
1 | for objectName in selectionList: |
Pick up 1/25 of toal cubes, and translate them backward to make the Tail Effect
1 | def createTailEffectAnim(self): |
I also made a function to assign a random material to selected objects, but I did not use it because I cannot identify with human head if I give them too many colors
1 | def randomizeAssignShader(self): |
It is a example for setting key frame for the rotation attribute and set tangent for keys
1 | def keyFullRotation(self, pObjectName, pStartTime, pEndTime, pTargetAttribute, reverse=False, isTangent=False): |
Project 3: Unicycle
Description:
create an animation of a unicycle lasting 10-20 secondsLink to the maya file:
Link(.mb)Animation:
 |
 |
 |
|---|---|---|
- Problem and Solution:
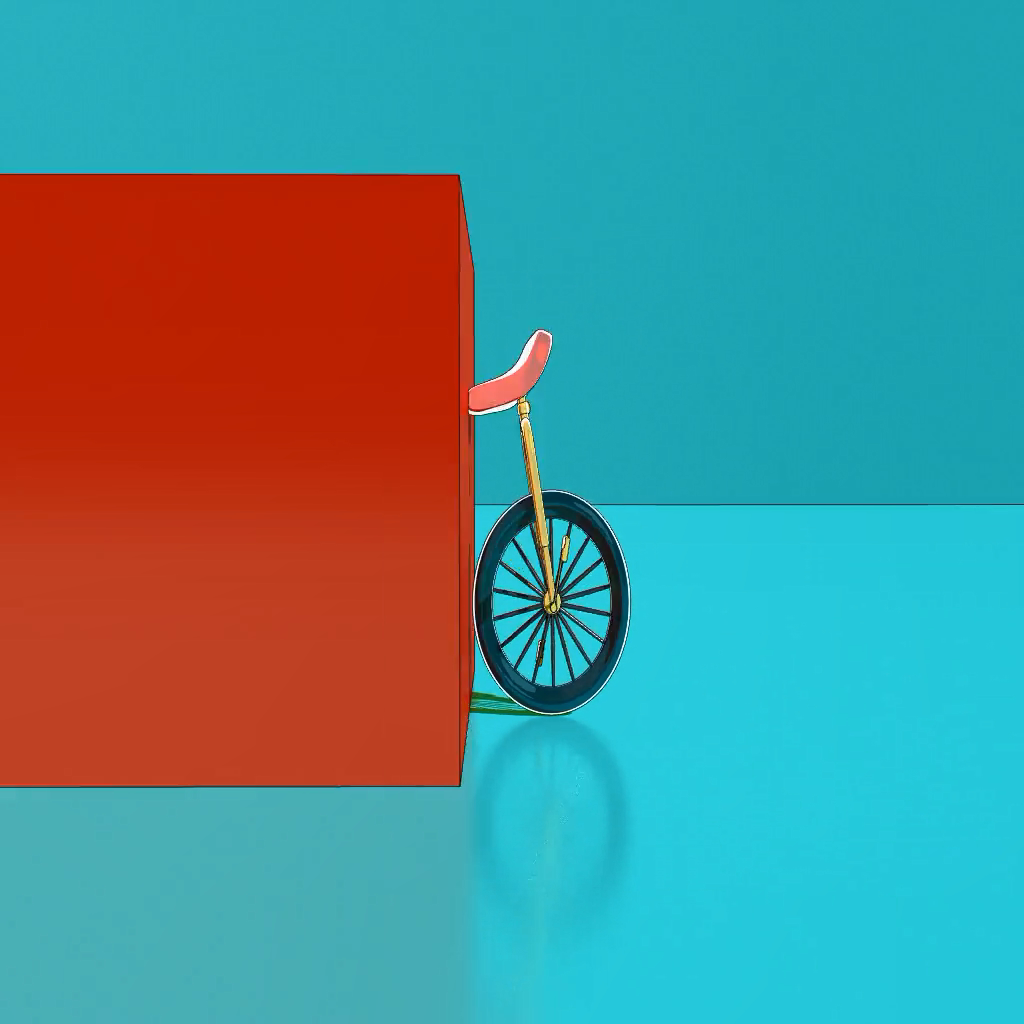
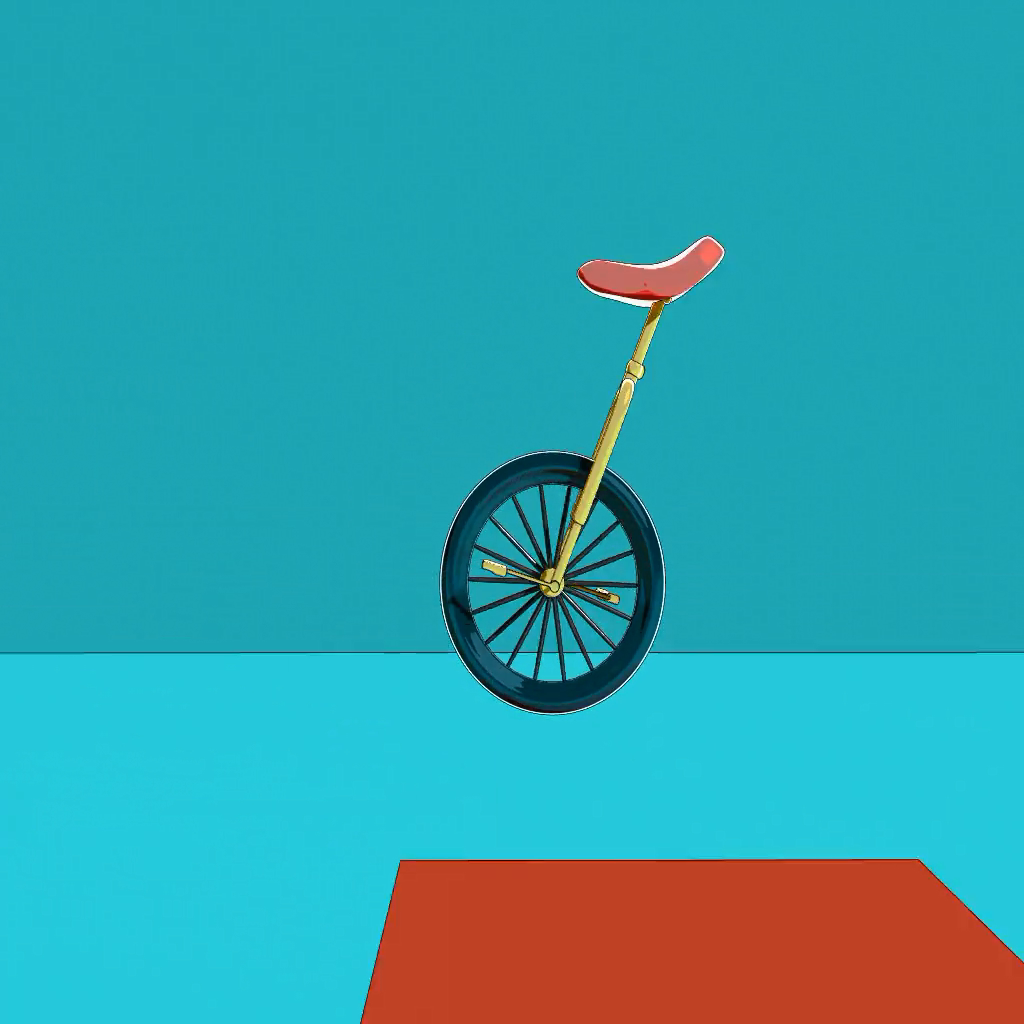
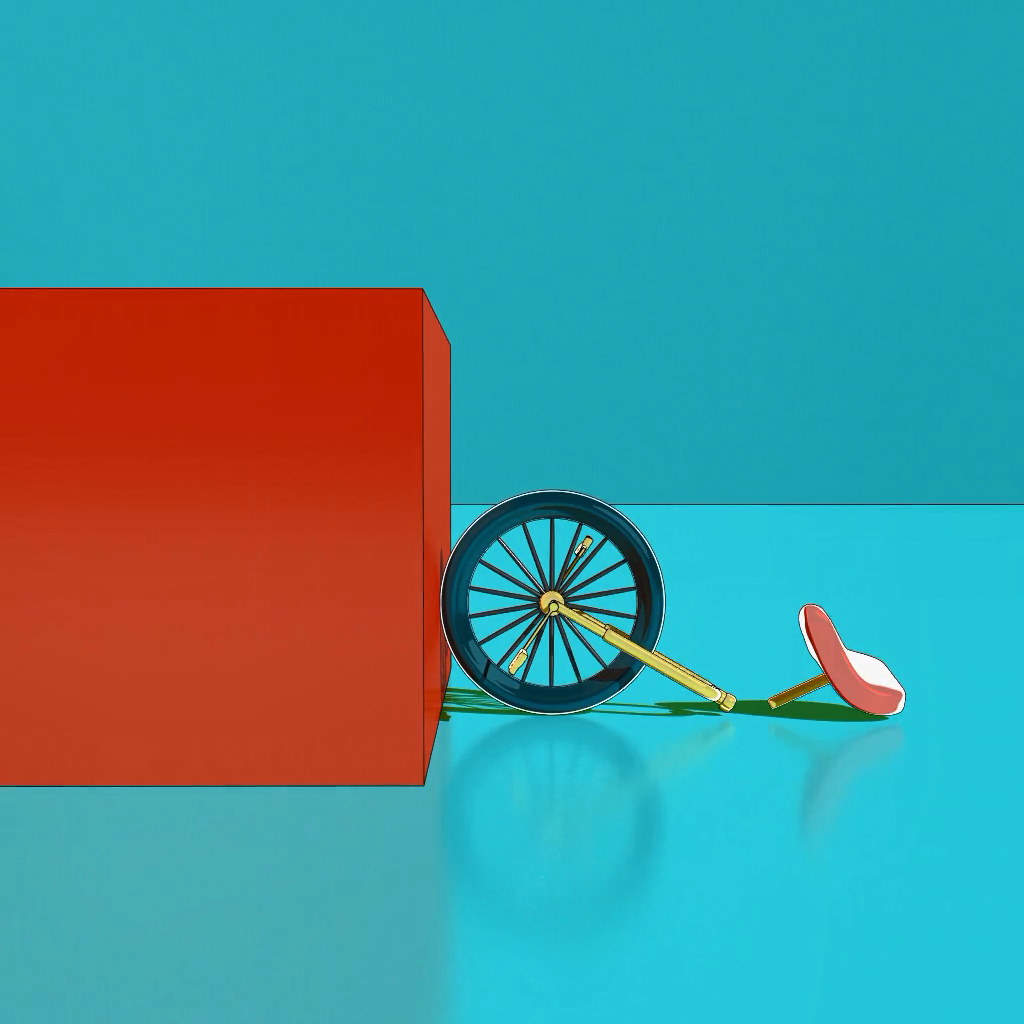
I created an animation for the unicycle running in a simple scene. In this project, I used Toon shader for objects to make the animation more cartoony. I created some controllers by NURBS, aim constrain, parent constrain and expression to help me make actions. For example, I had a moving controller for unicycle, and when the moving controller goes ahead, I need to make the wheel rotate. So, I implemented this function by expression eg. wheel.rotateX = transCtrl.translateZ * 10.0. Besides, I scaled the unicycle by scaling controllers.
And I made the animation by following the animation principles. When the unicycle jump or falls, it will Squash and stretch. And it has a slow in movement when it tries to stop itself. I try to make some overlapping action, but that is difficult to keep it realistic and natural.
The problem is that It is hard to make the personality for the unicycle, and some actions may be stiff. To keep actions smooth and realistic, I set more keyframes and add some random actions, say, shaking head, for the character to make it more realistic.
Exercise 13: Animation and Rigging Tutorial
- Maya Rigging Fundamentals
we can rotate joint’s axis by the tool, Orient Joint, and set Primary Axis and Secondary Axis to align local axes of joints, which help joints behave the way we expect.
Single-Chain Solver and Rotate-Plane Solve would affect rotation. And we can add a locator as the pole vector for Rotate-Plane Solver IK to simulate elbow.
Using Expression can create control for joints
eg. Joint01.rotationY = Control01.rotationX;ss
Time Editor is a useful tool to create or edit animation sequences. We can utilize animation clips very quickly, say, loop mode, blending.
Exercise 12: Stylized Walk Cycle
Description:
Create one alteration of a walkcycleProblem and Solution:
I made an animation for a person with sad, and I created skeleton and IK Handle.
I used Ik Handle to make animation for arms and legs, and adjust position and rotation for skeleton to make head and chest animation.
Placing arms and legs correctly to make the animation fluent is hard. I adjust them many times, but the result is not good enough.
Link to the maya file:
Drum(.mb)Original Reference:
My Creation:
 |
 |
 |
|---|---|---|
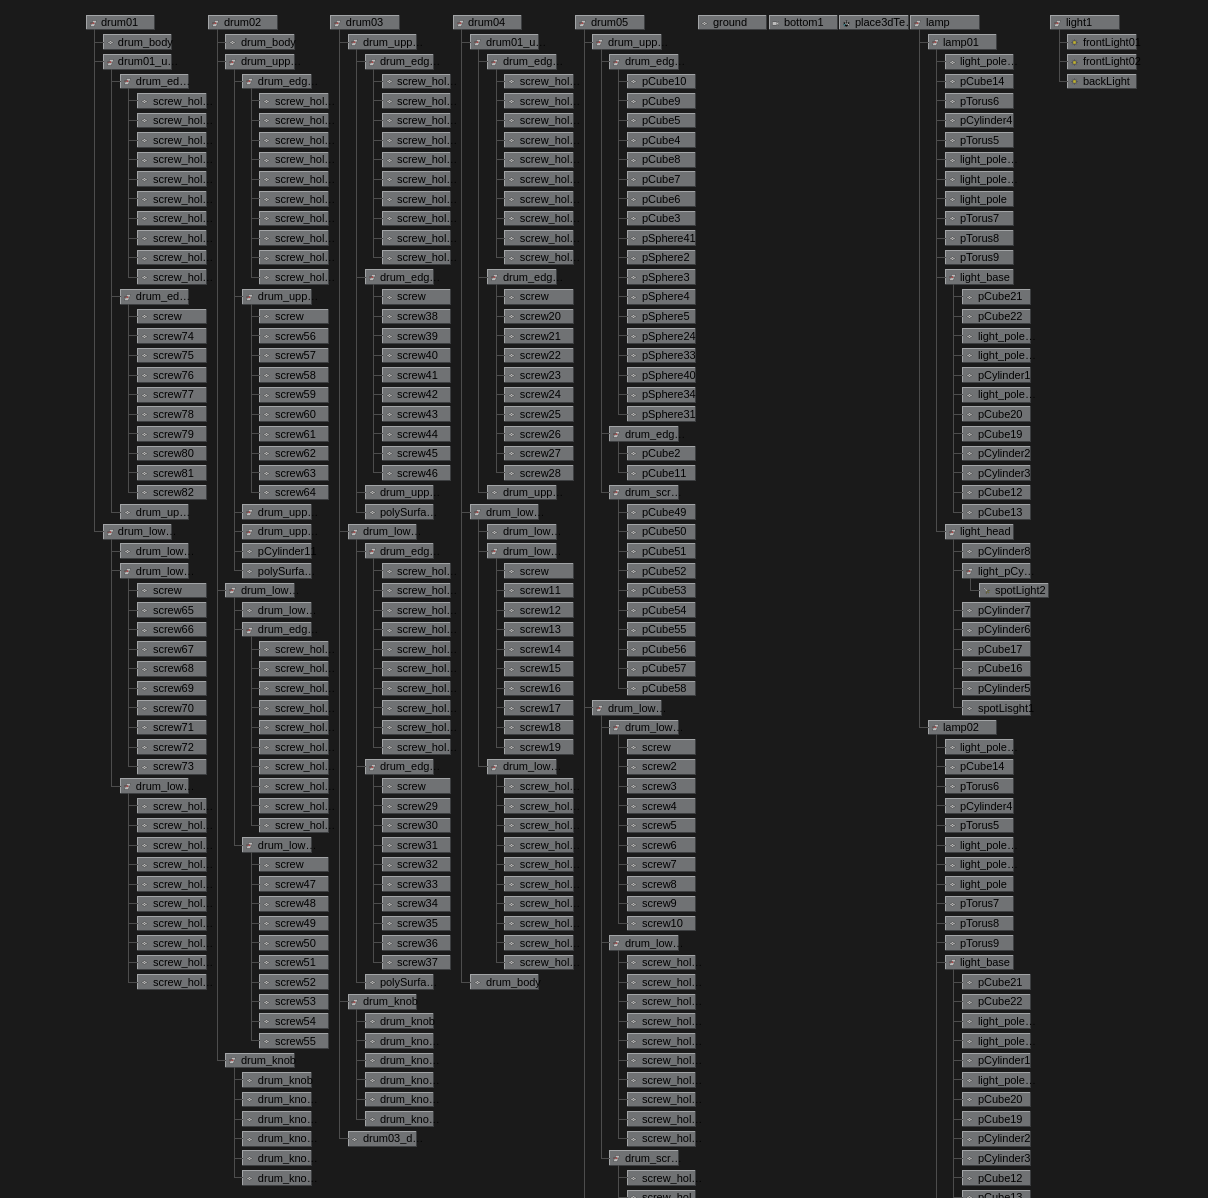
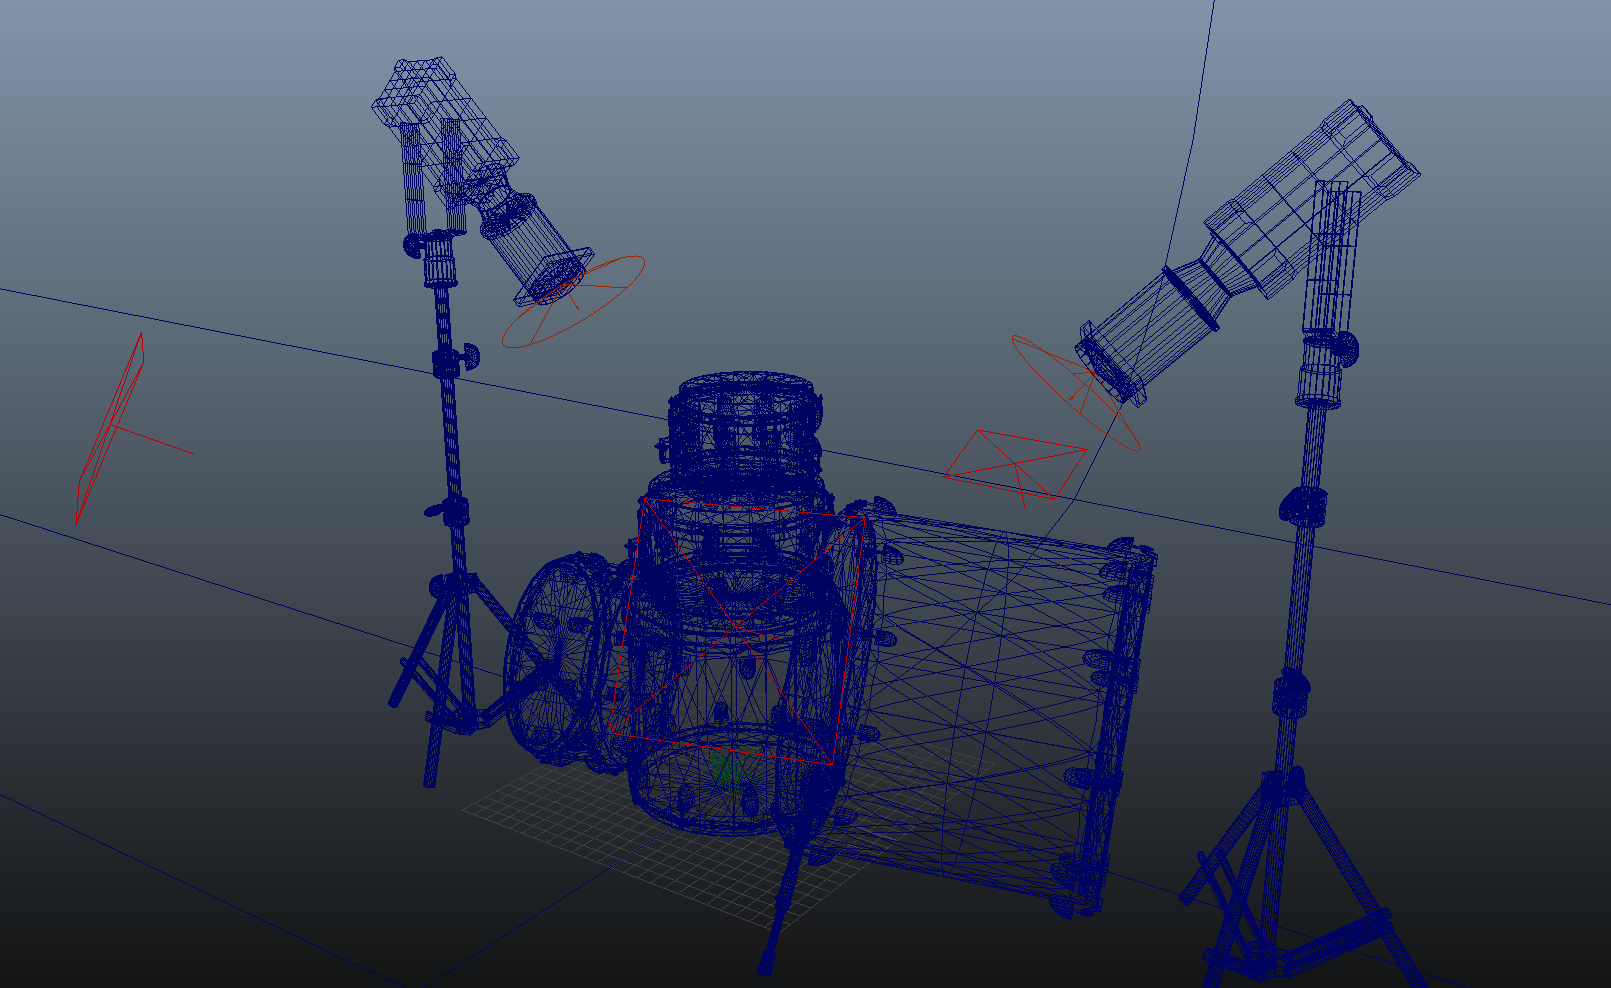
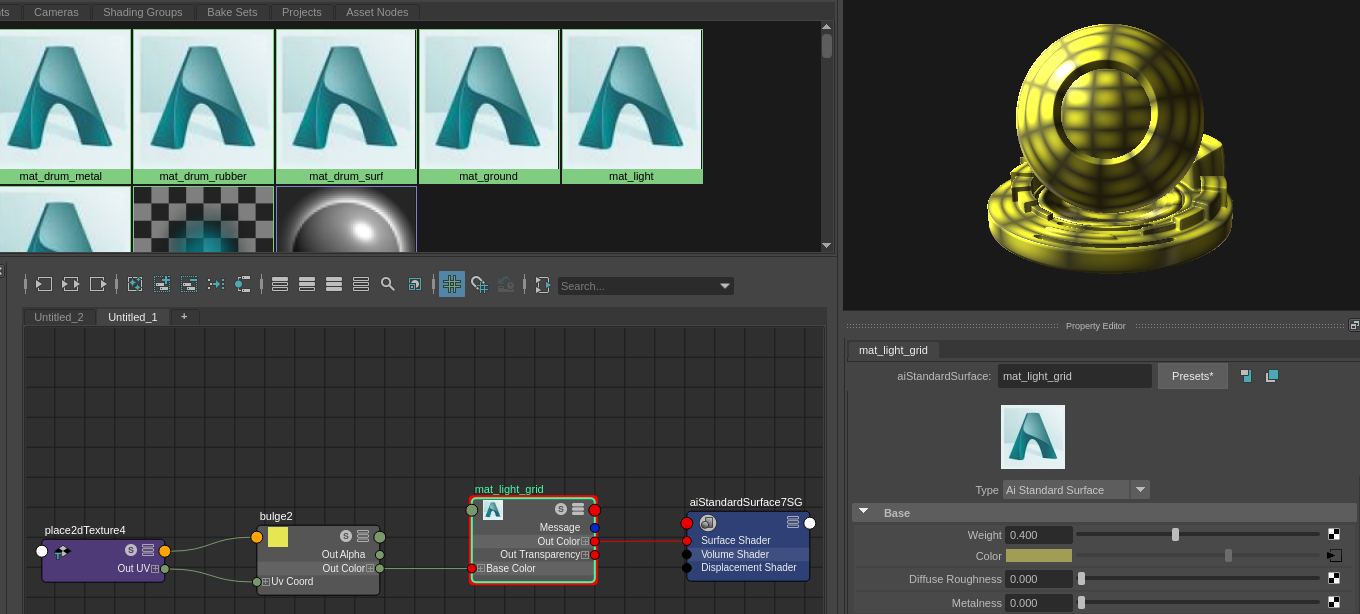
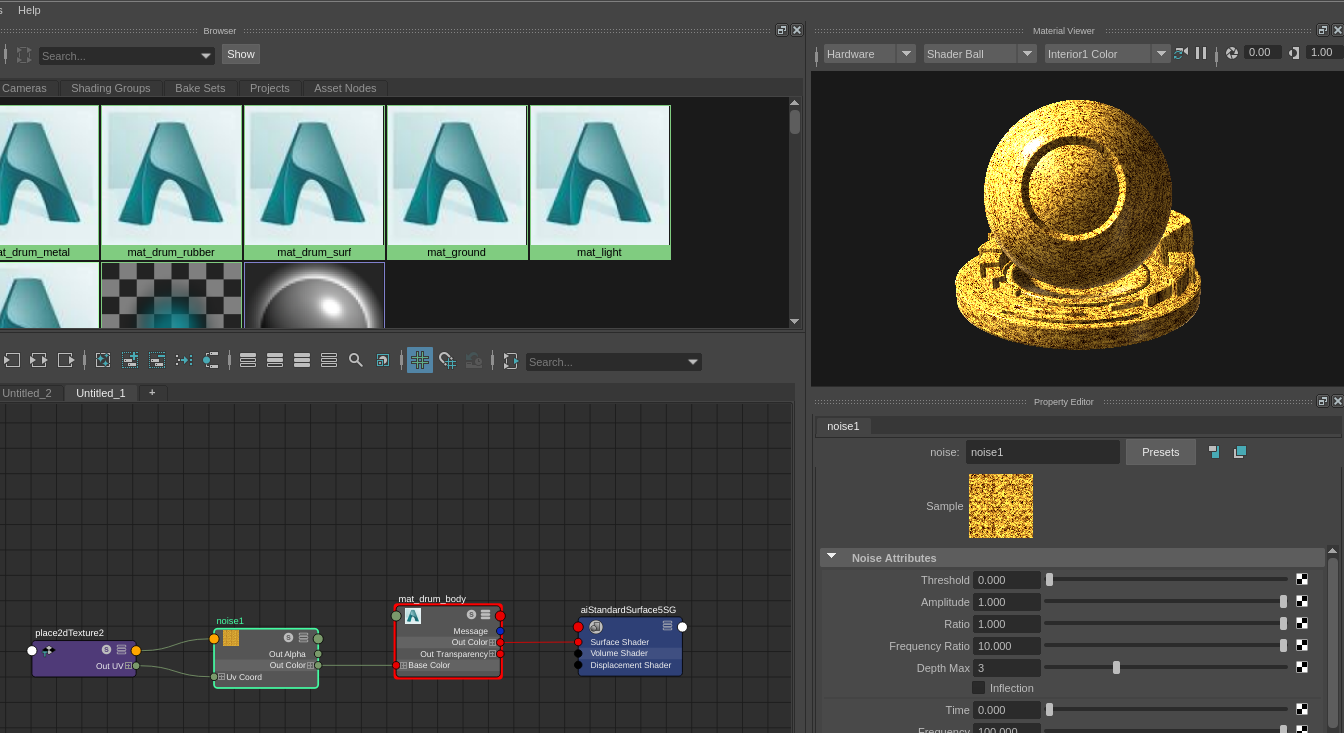
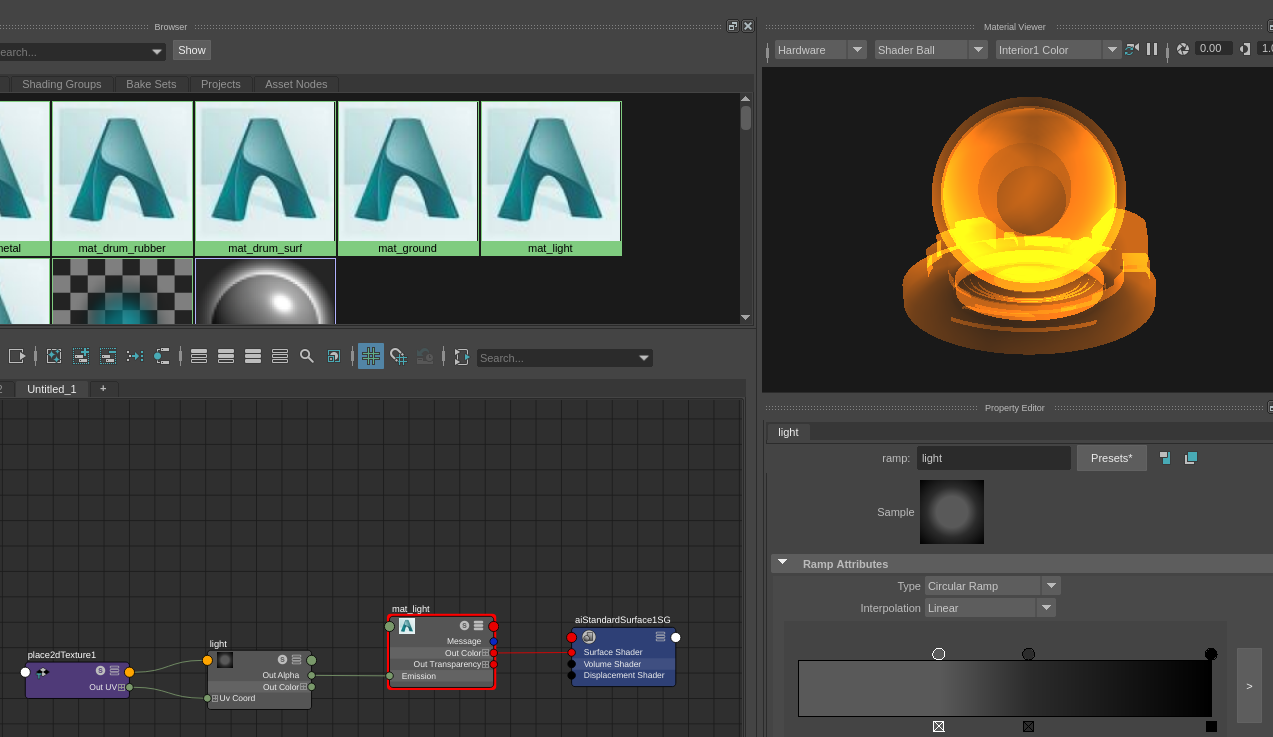
- hypergraph, modeled scene, lighting setup:
 |
 |
|---|---|
 |
 |
 |
|---|---|---|
- Description:
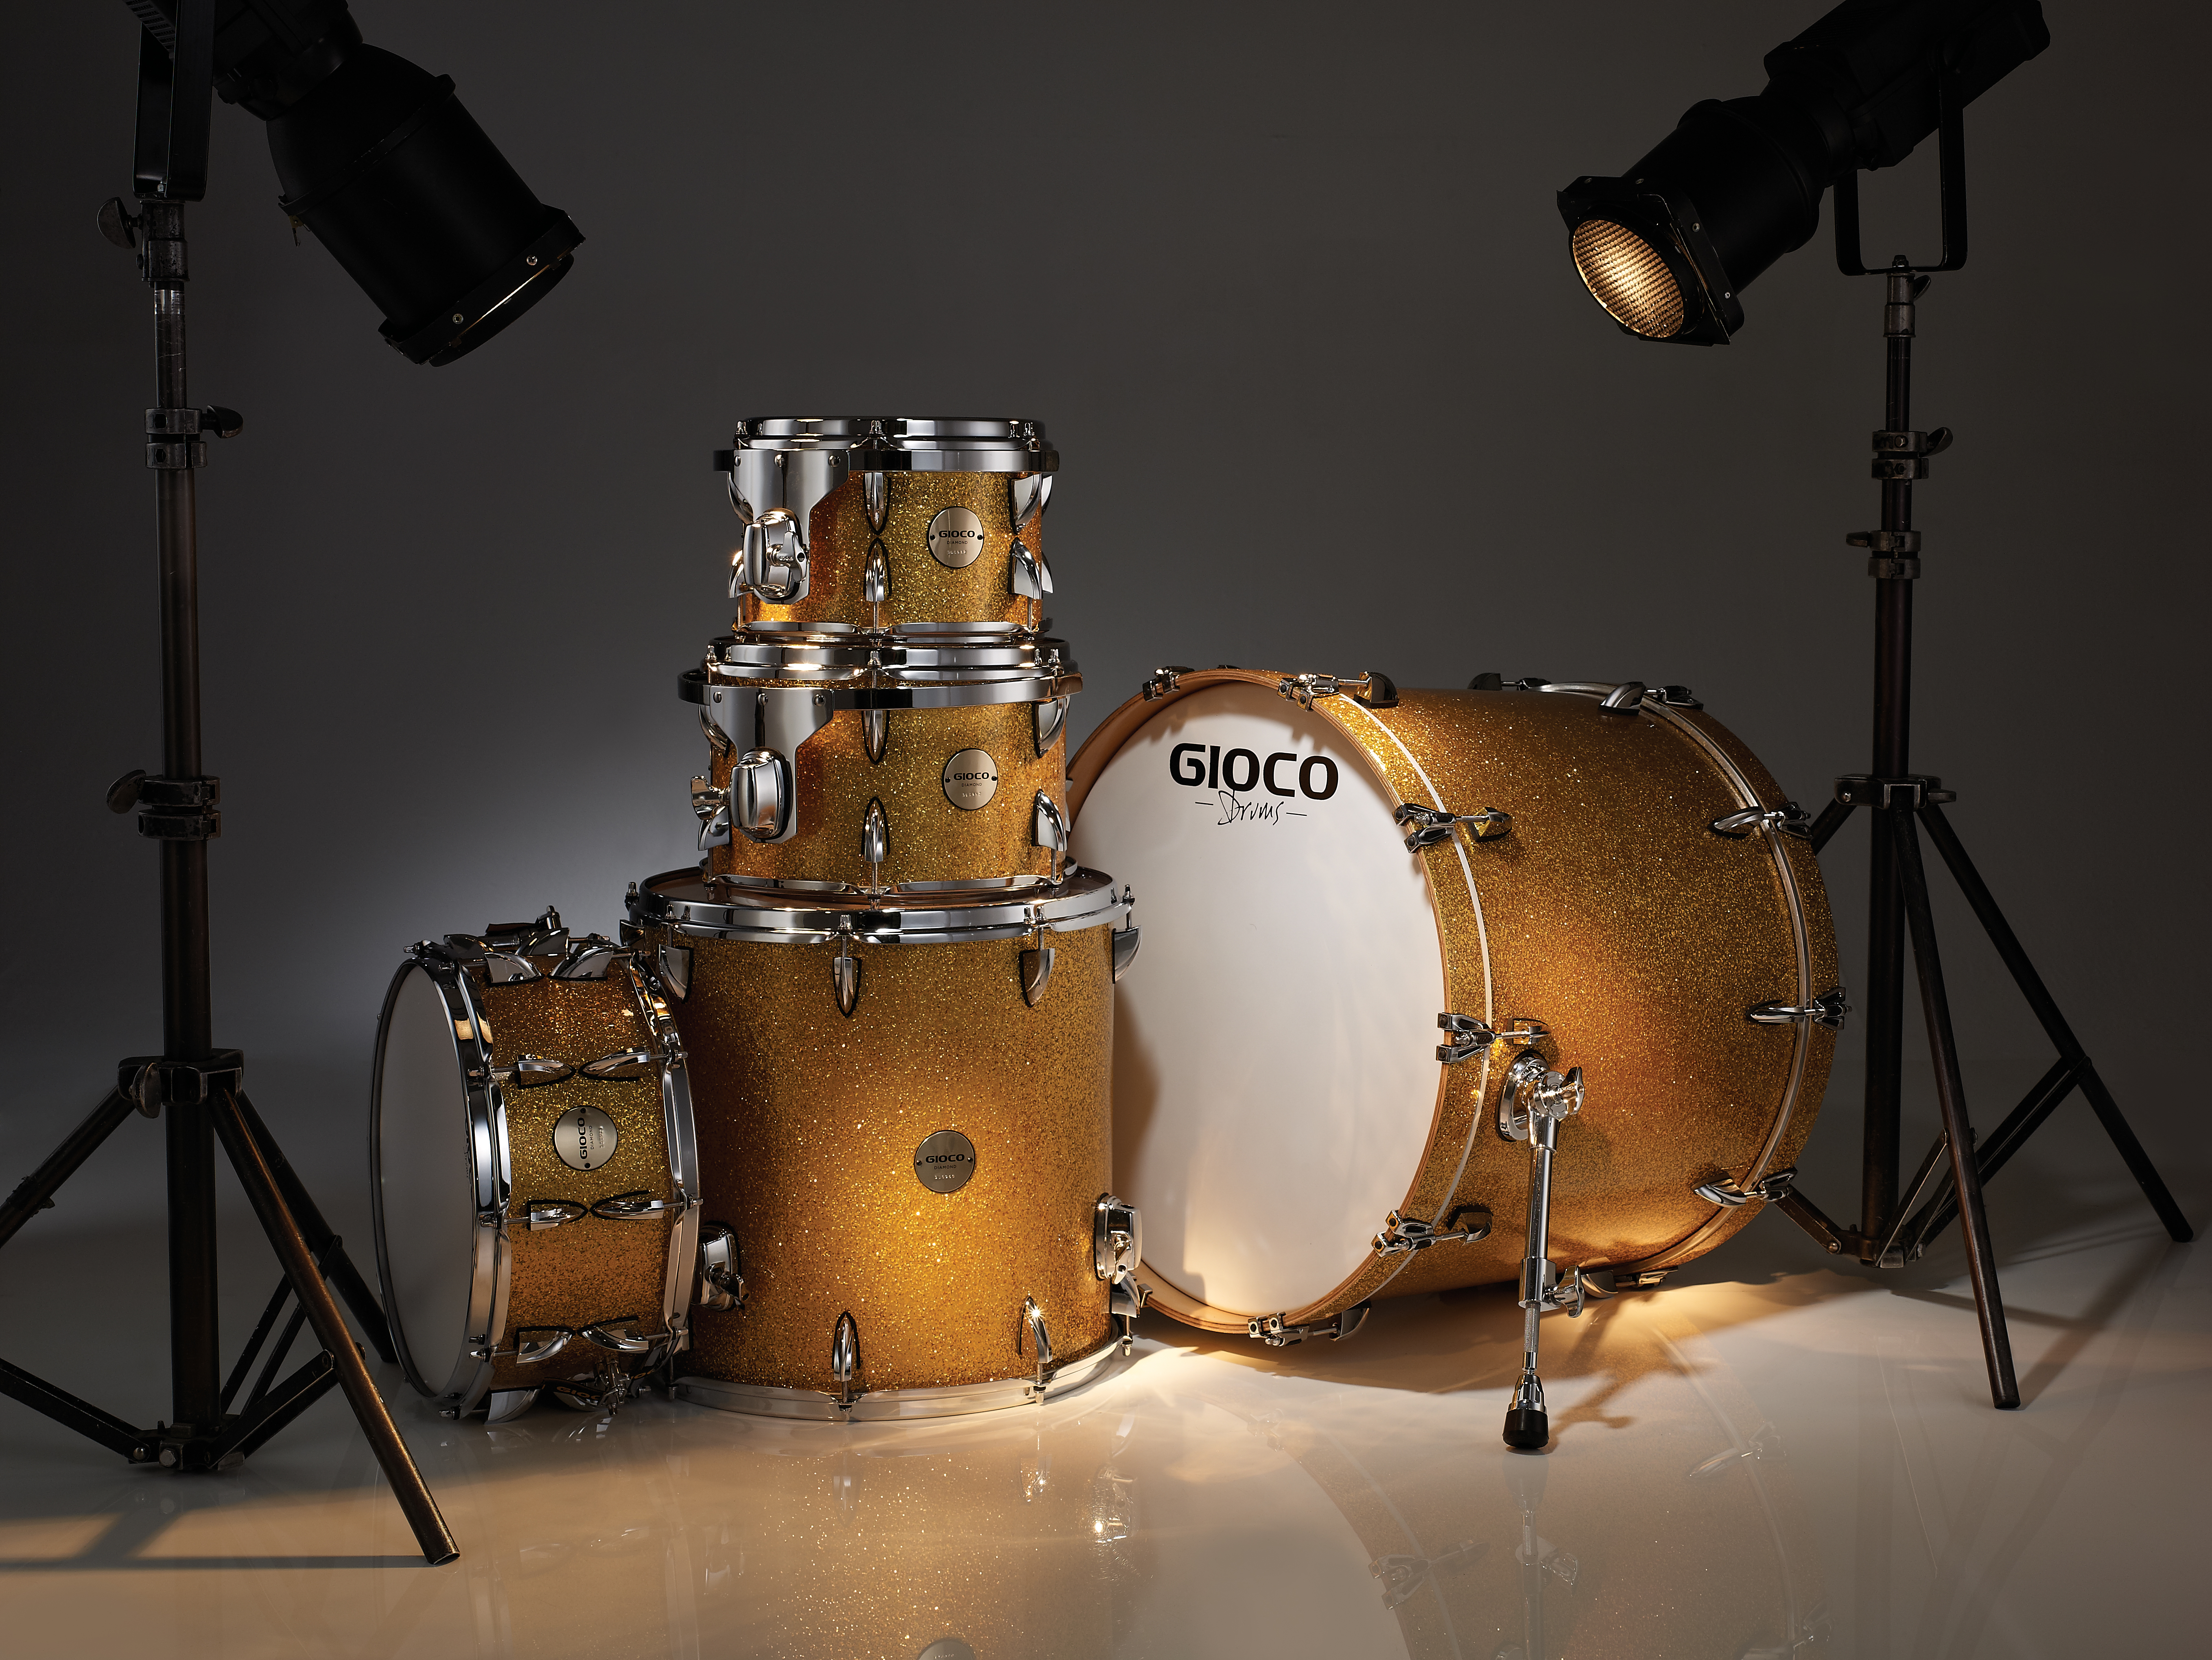
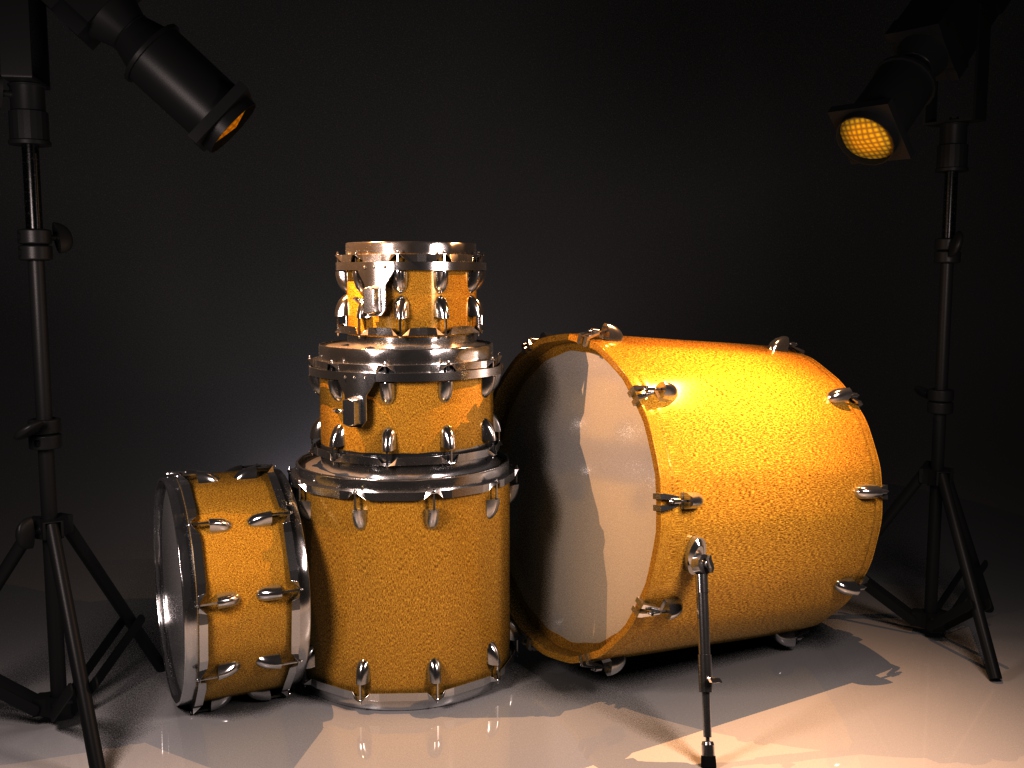
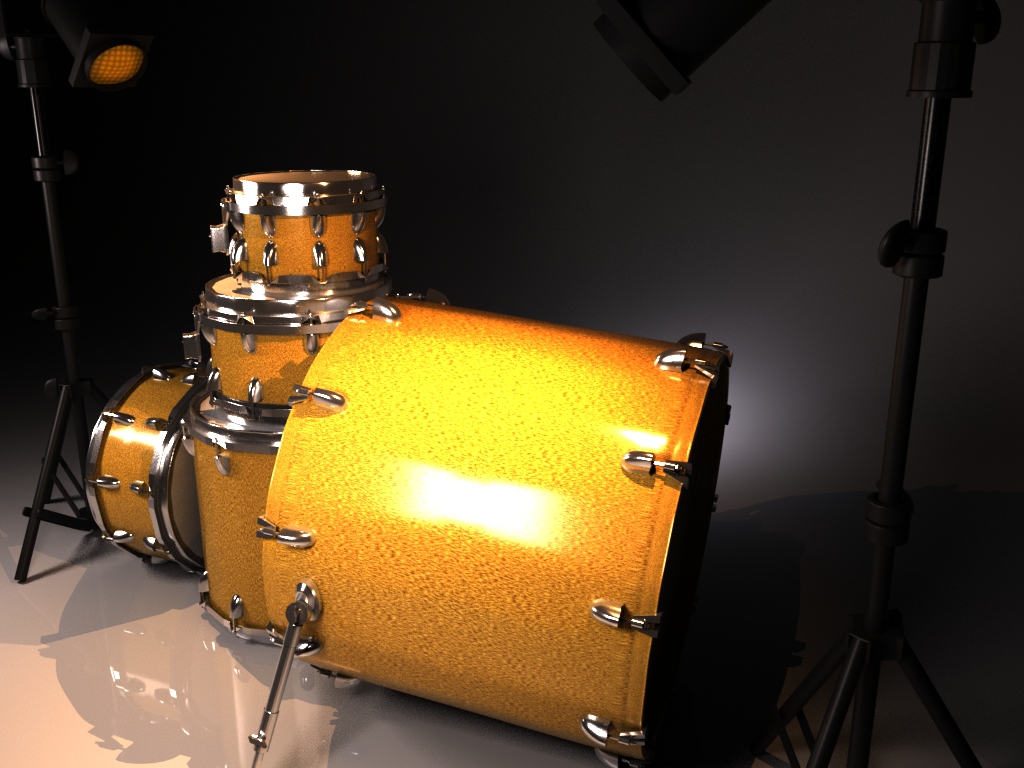
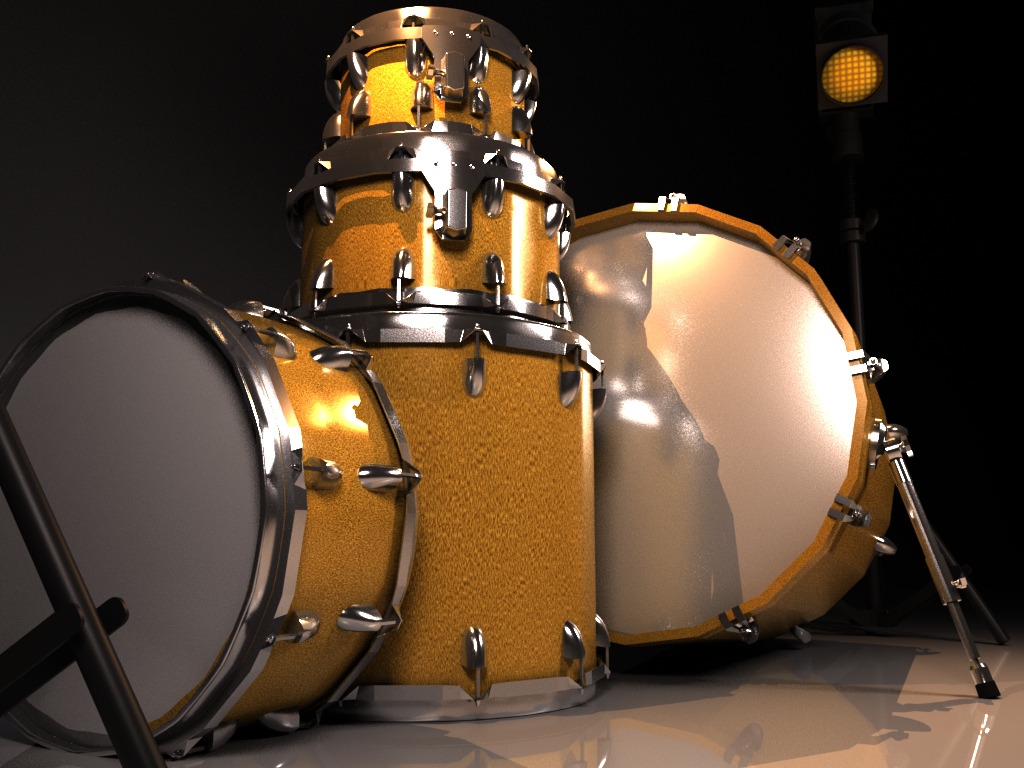
I like that scene, it is very clear, and the drum is pretty. It took a lot of time to model drums for me because each drum has many parts. And I used same parts for each one, but the drum would be scaled. So I need to place those parts one by one.
I placed five lights, two spot light at both sides of drums and three area lights at the front or back of drums. The area lights where the front of the drums is the main light. And the spot lights produce warm light for the scene.
For shading, I used Arnold to render the scene. So those objects were made with aiStandardSurface. And the shader for drums, yellow surface, uses a Perlin noise texture to produce spots. The shader for the upper part of lighting Poles also uses noise to create the texture for metal.
Exercise 11: Principles of Animation
- Description:
Find at least three examples of the Principles of Animation within your selected movie
- Staging:
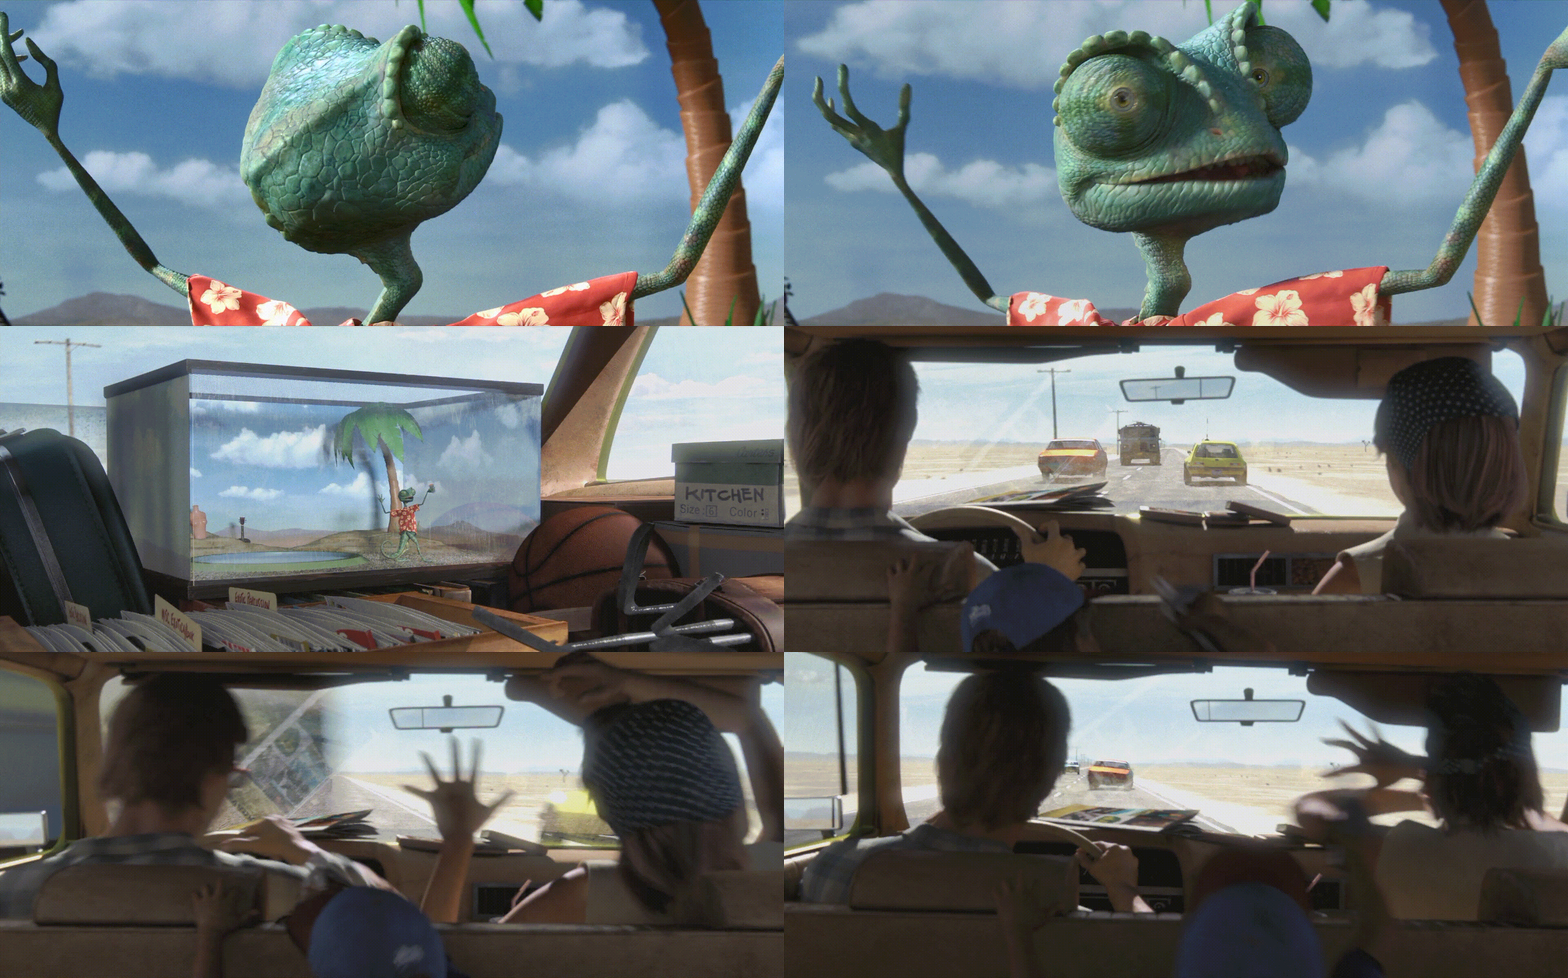 After a speech by Rango, he turns back suddenly, and it calls attention to the audience. The action expresses emotional tension. And the scene is clear, it is only Rango stand at the middle.
- Squash-and-Stretch:
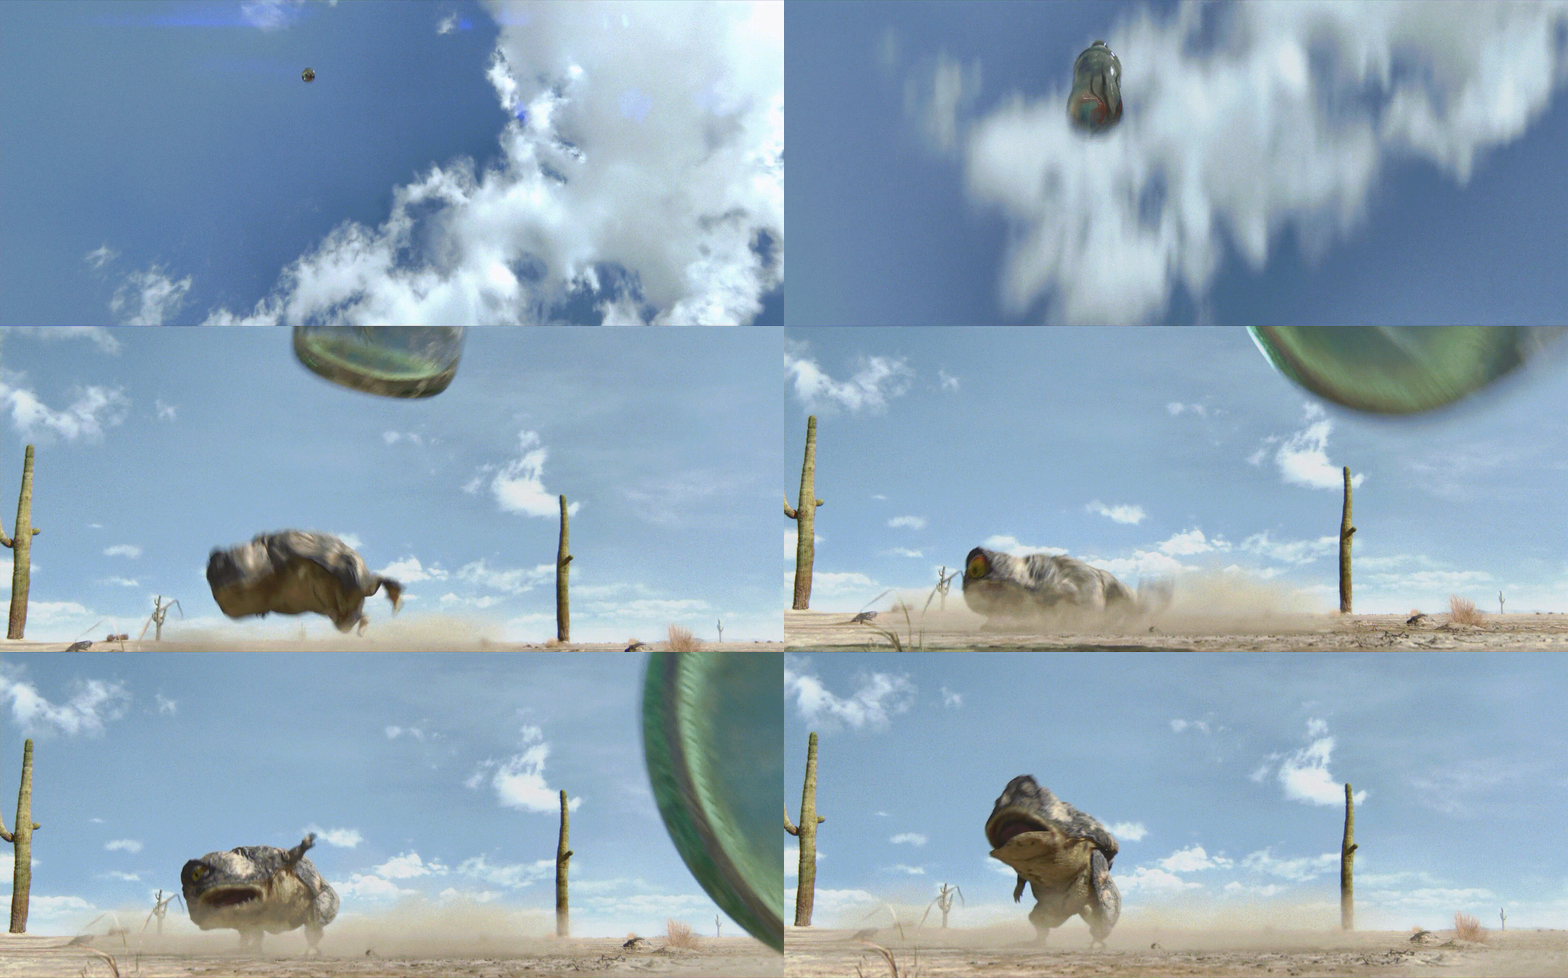 The bottle hit the toad, then the toad Squash, which shows the bottle is heavy and velocity is fast, and make toad more flexible and realistic. Besides, the squashing is exaggerated, and it has a comical effect to appeal to audiences.
- Anticipation:
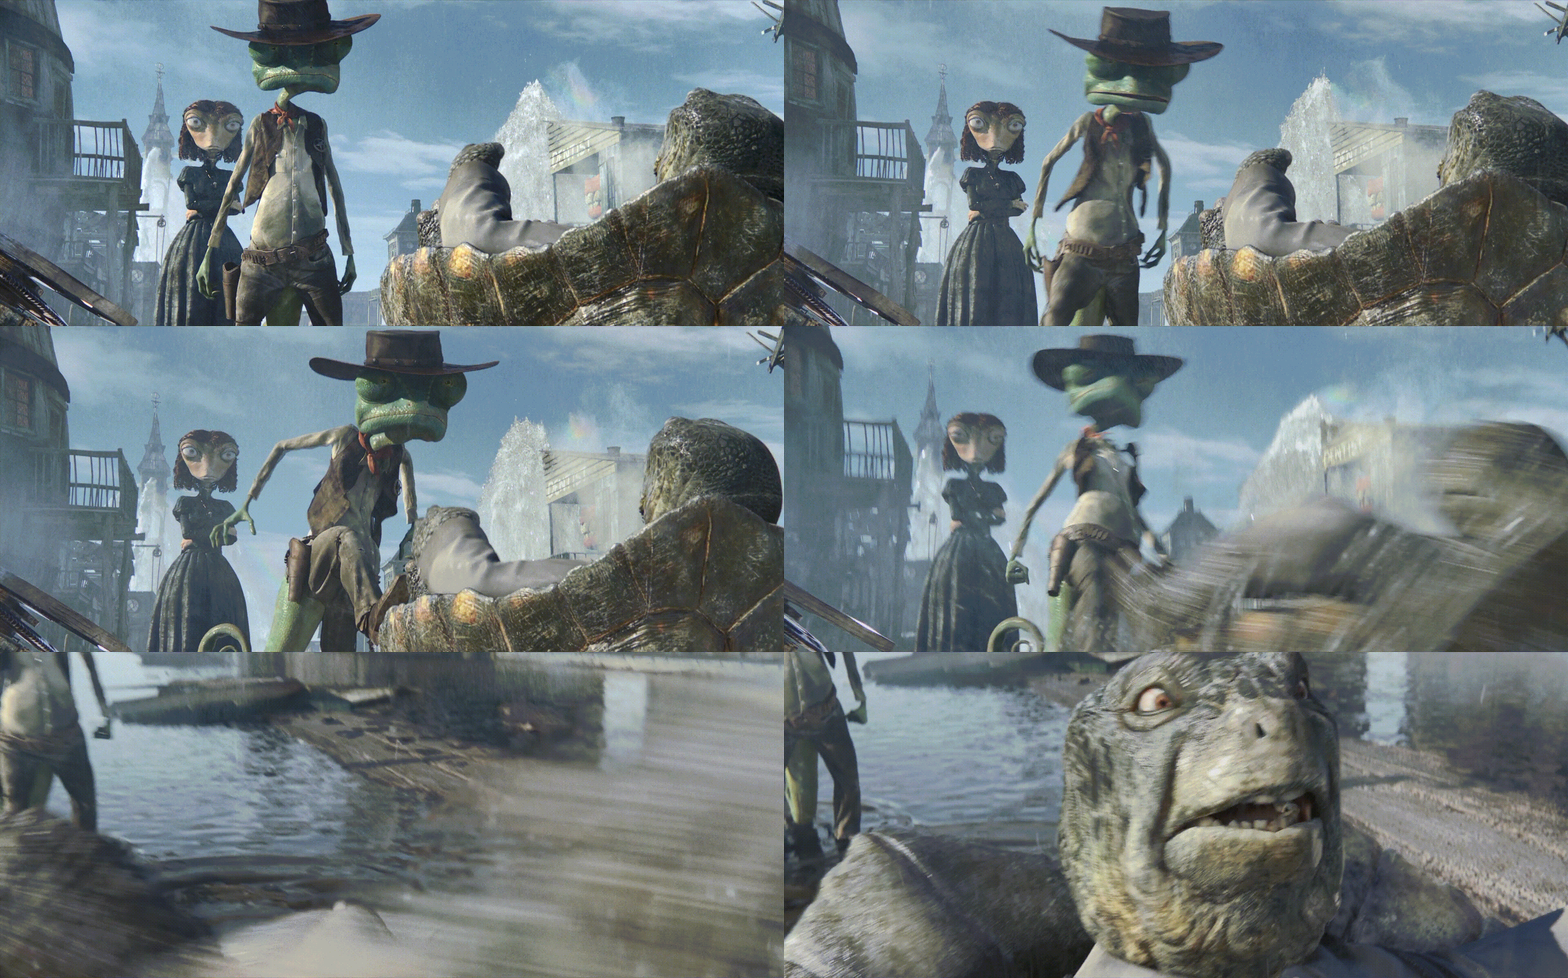 Before Rango kick John Tor, he lifts his leg and arms, which lets audiences prepare for the action and capture audiences' attention, and it makes the character more realistic and humanlike.
Exercise 10: Finalize Model
Description:
Shading, lighting and rendering to make the model from project 1 look greatProblem and Solution:
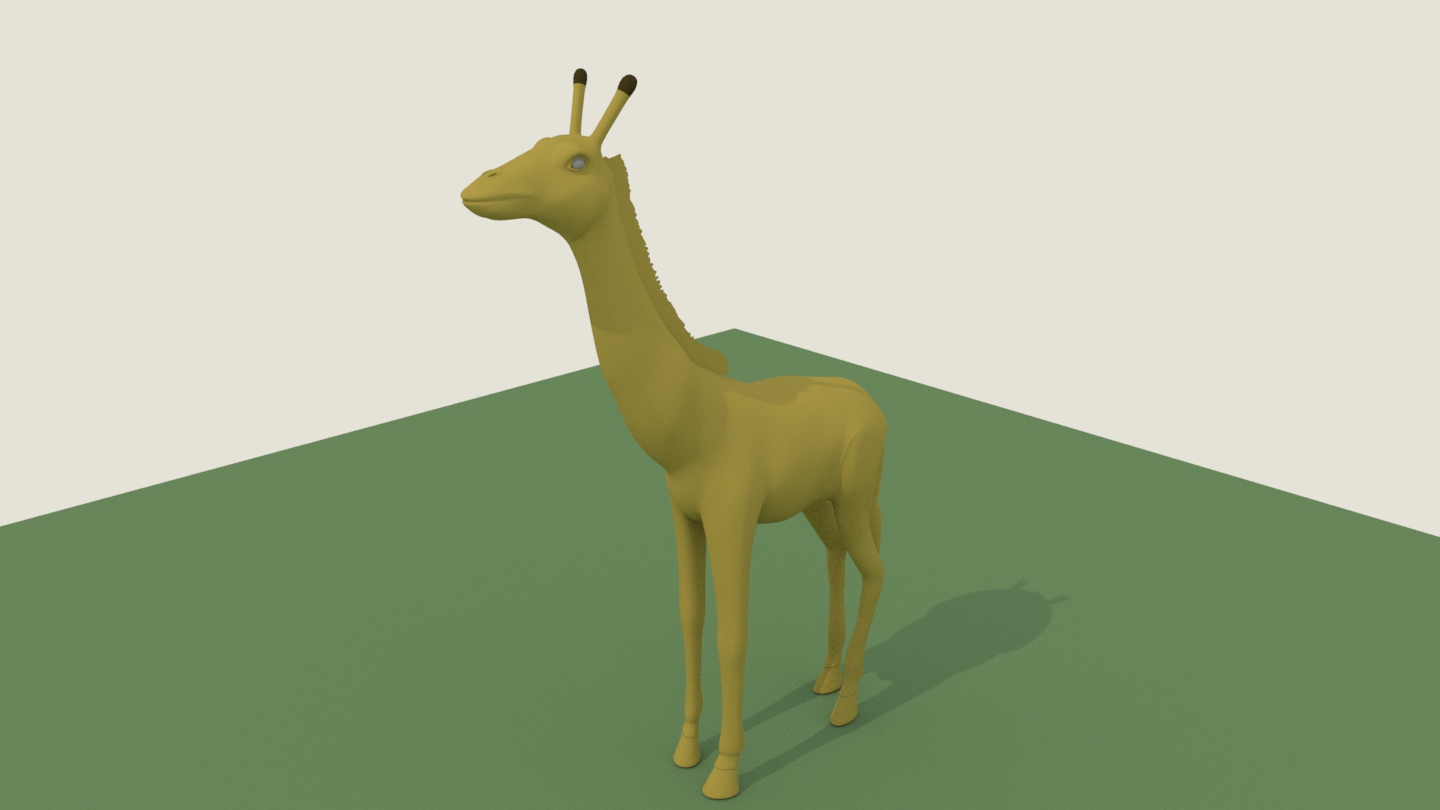
I first put the giraffe on the table, and then to create three Arnold Area lights in the screen toward the giraffe with different Intensity and Exposure, and another Area light toward walls. Then I create Arnold material, aiStandardSurface, with Specular Weight of 0.1 and Specular Roughness of 0.27 for giraffe. The material for table has Specular Weight 1 and Specular Roughness of 0.28. And using bump map and noise to produce the texture for the table.
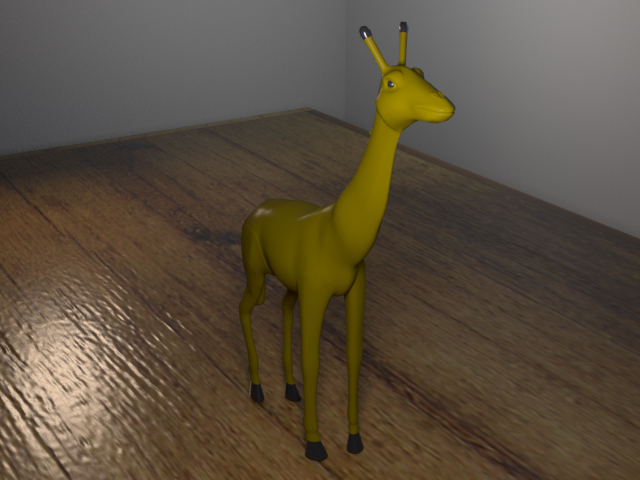 |
Exercise 8/9: Lighting and Shading
Description:
Use shaders and lighting to match the pictures as much as possibleProblem and Solution:
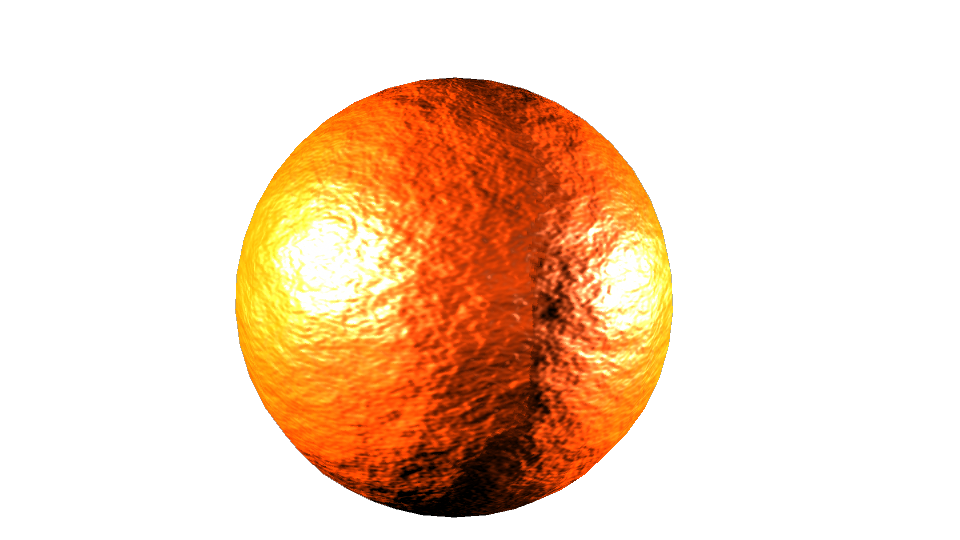
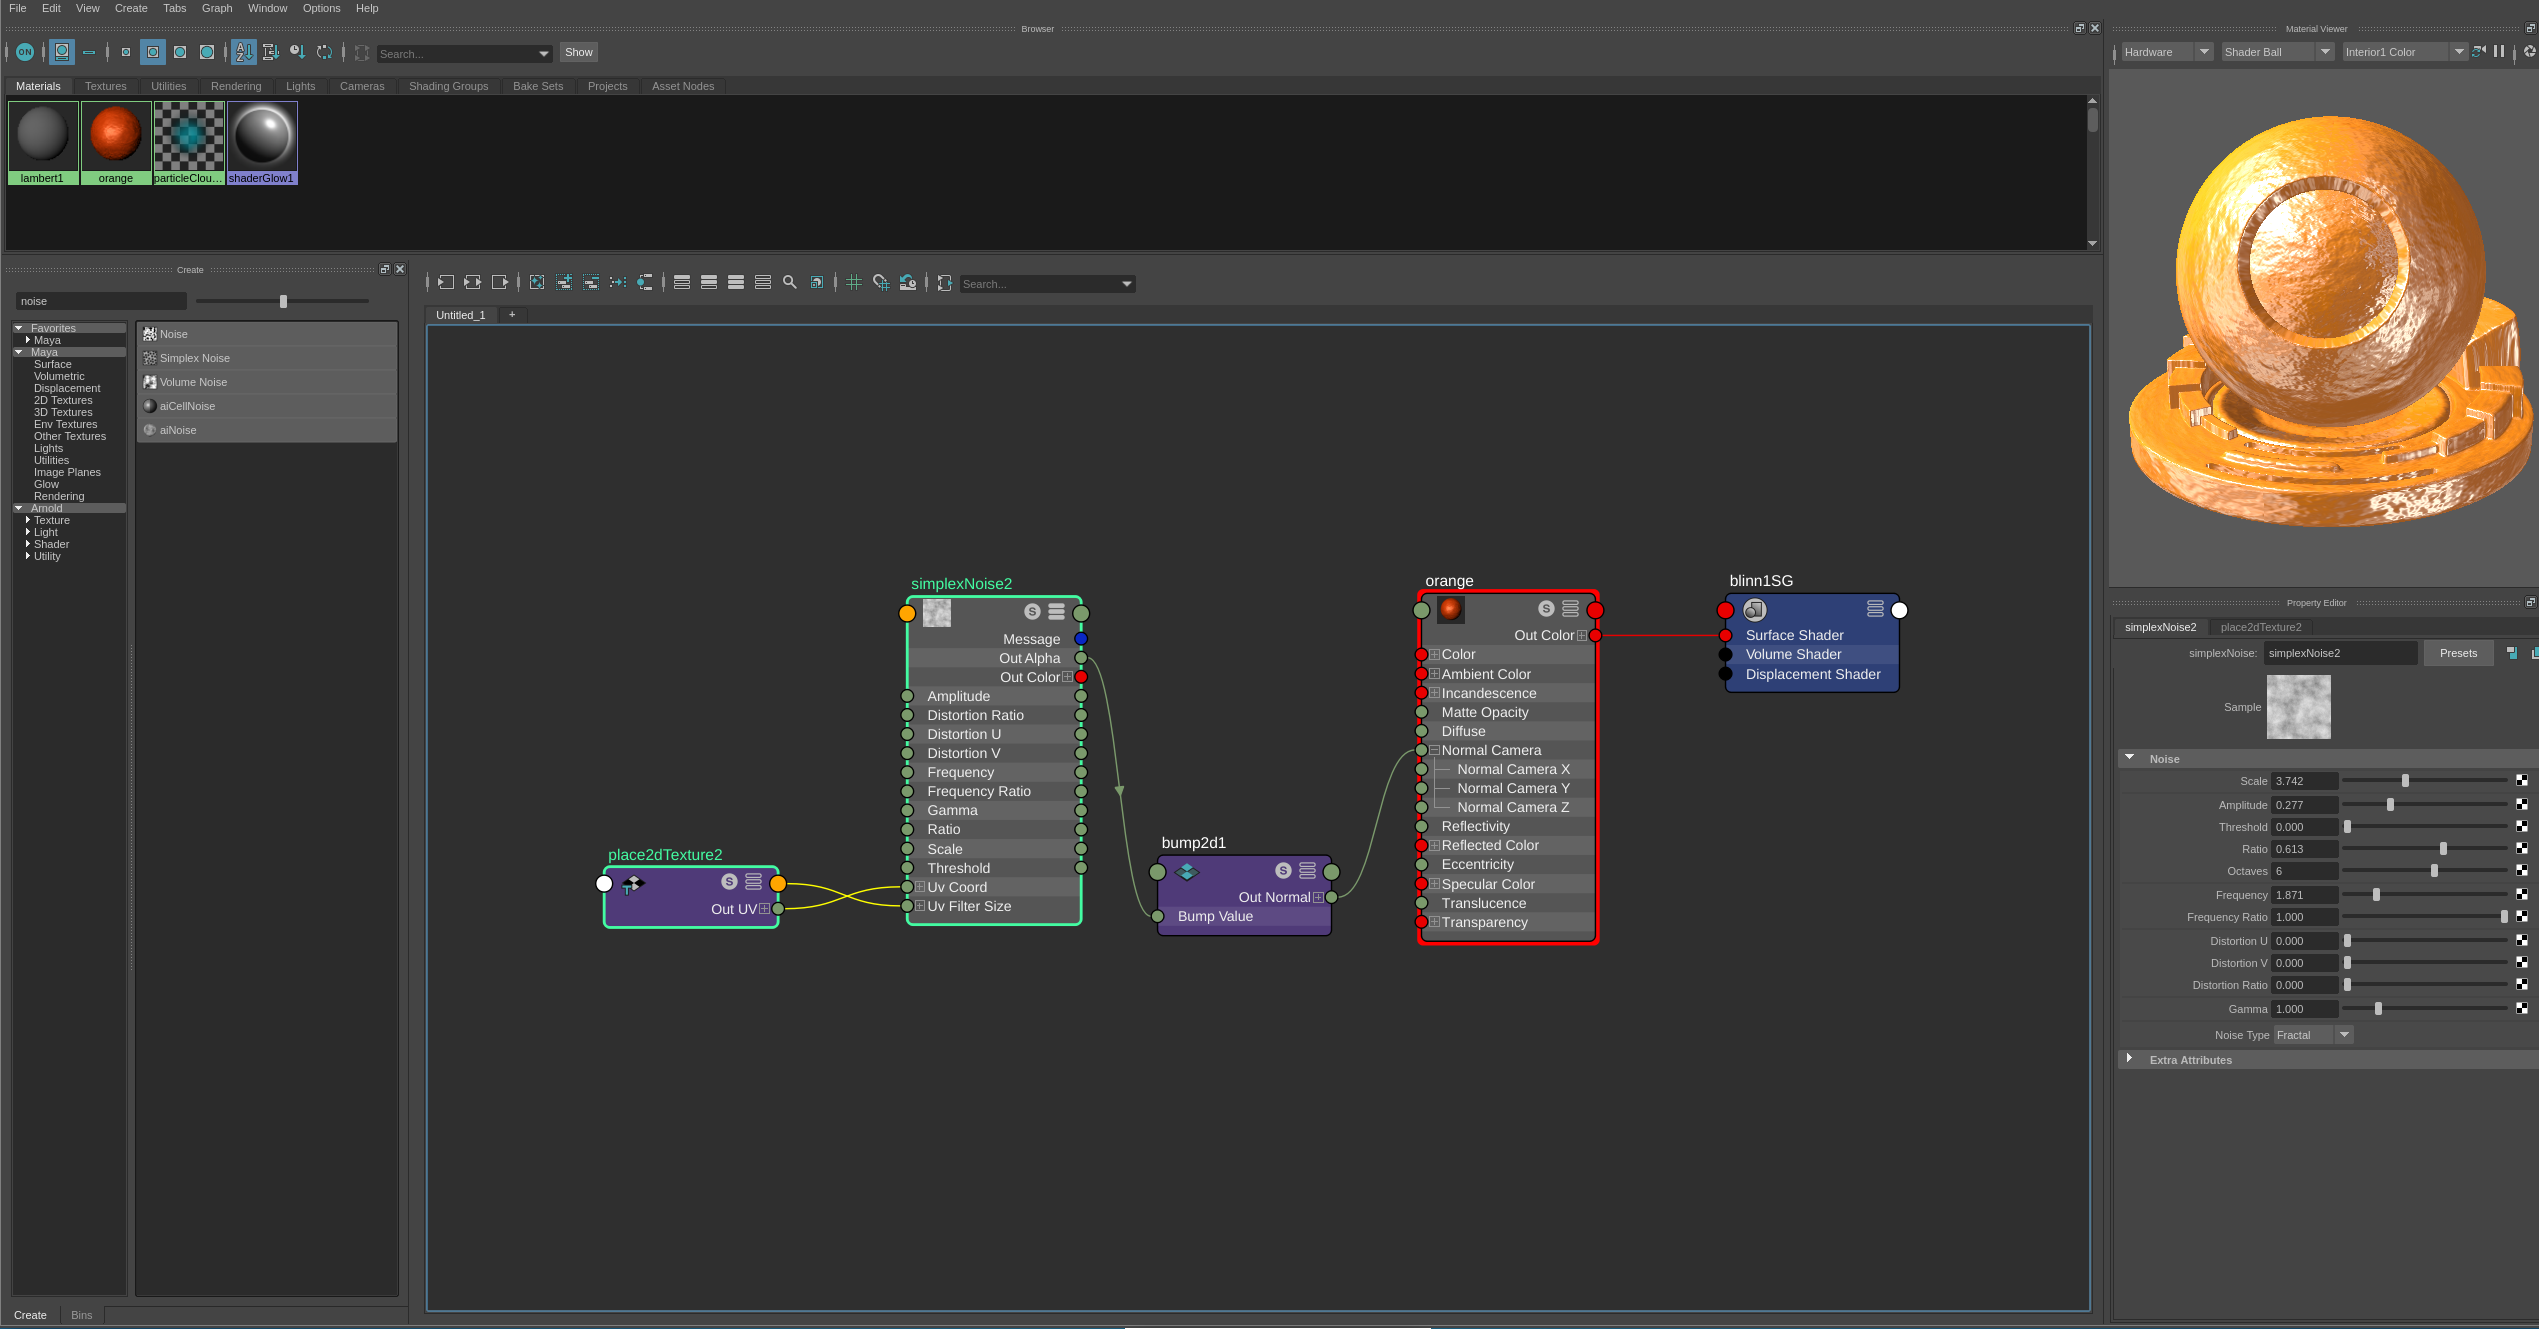
I first create phone shader as an orange shader, and then to add noise texture for its Normal Camera to produce bumpy surface and adjust Frequency, Octaves, Scale factor to simulate the picture.
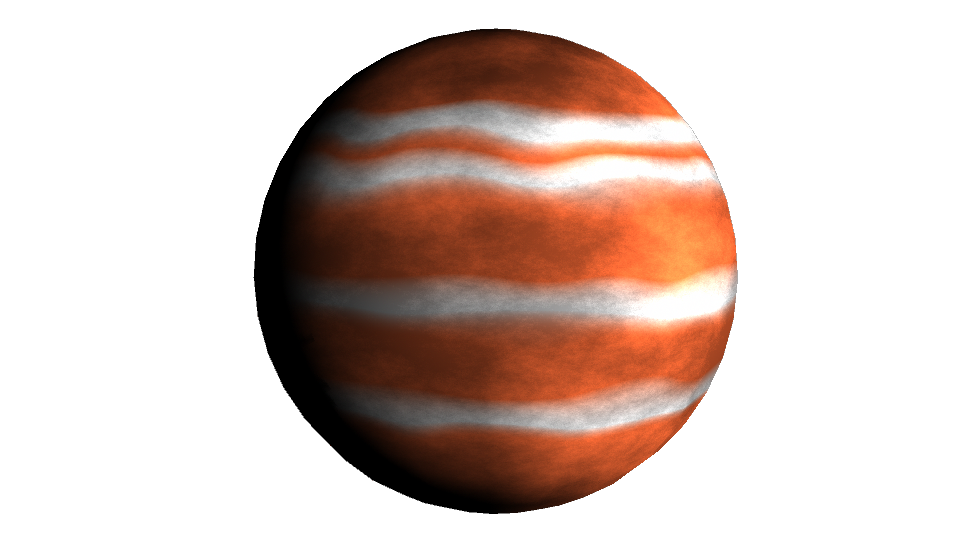
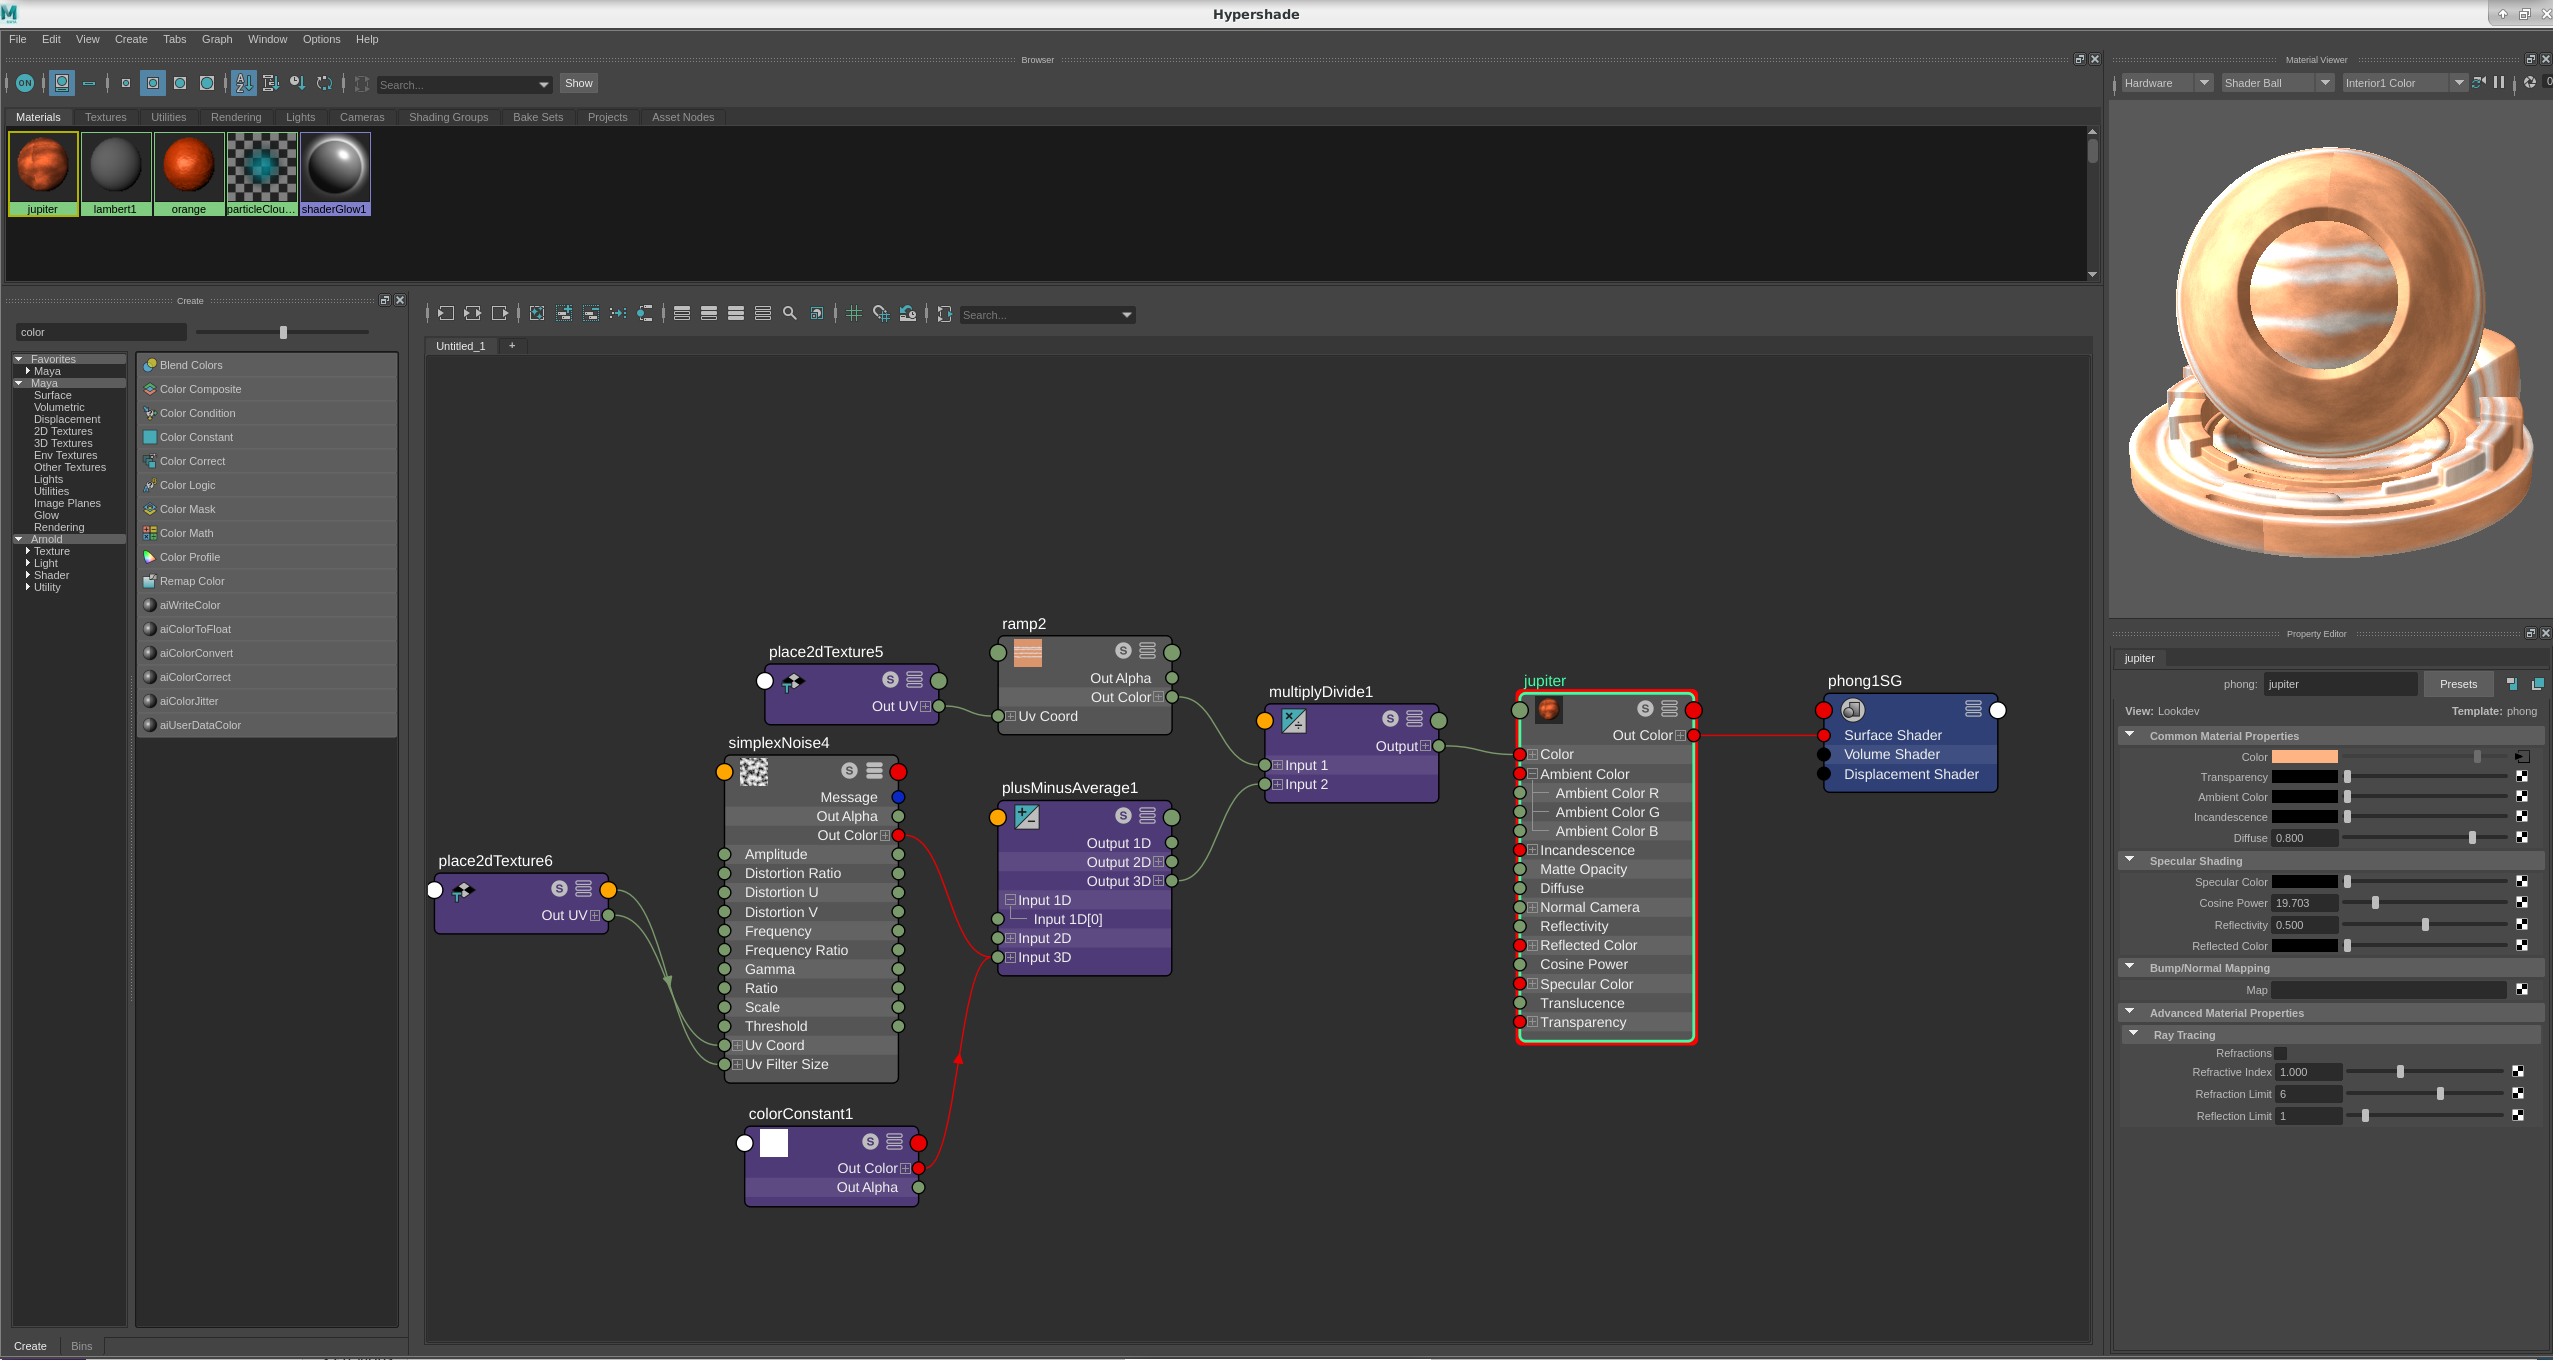
For Jupiter shader, I stared with the phone shader and to add ramp as its Color. Besides, I add noise texture and multiply it with a ramp to produce the surface of Jupiter.
 |
 |
|---|---|
 |
 |
Project 1: Modeling an Animal based on an Object
Data:
Sept 25, 2019Description:
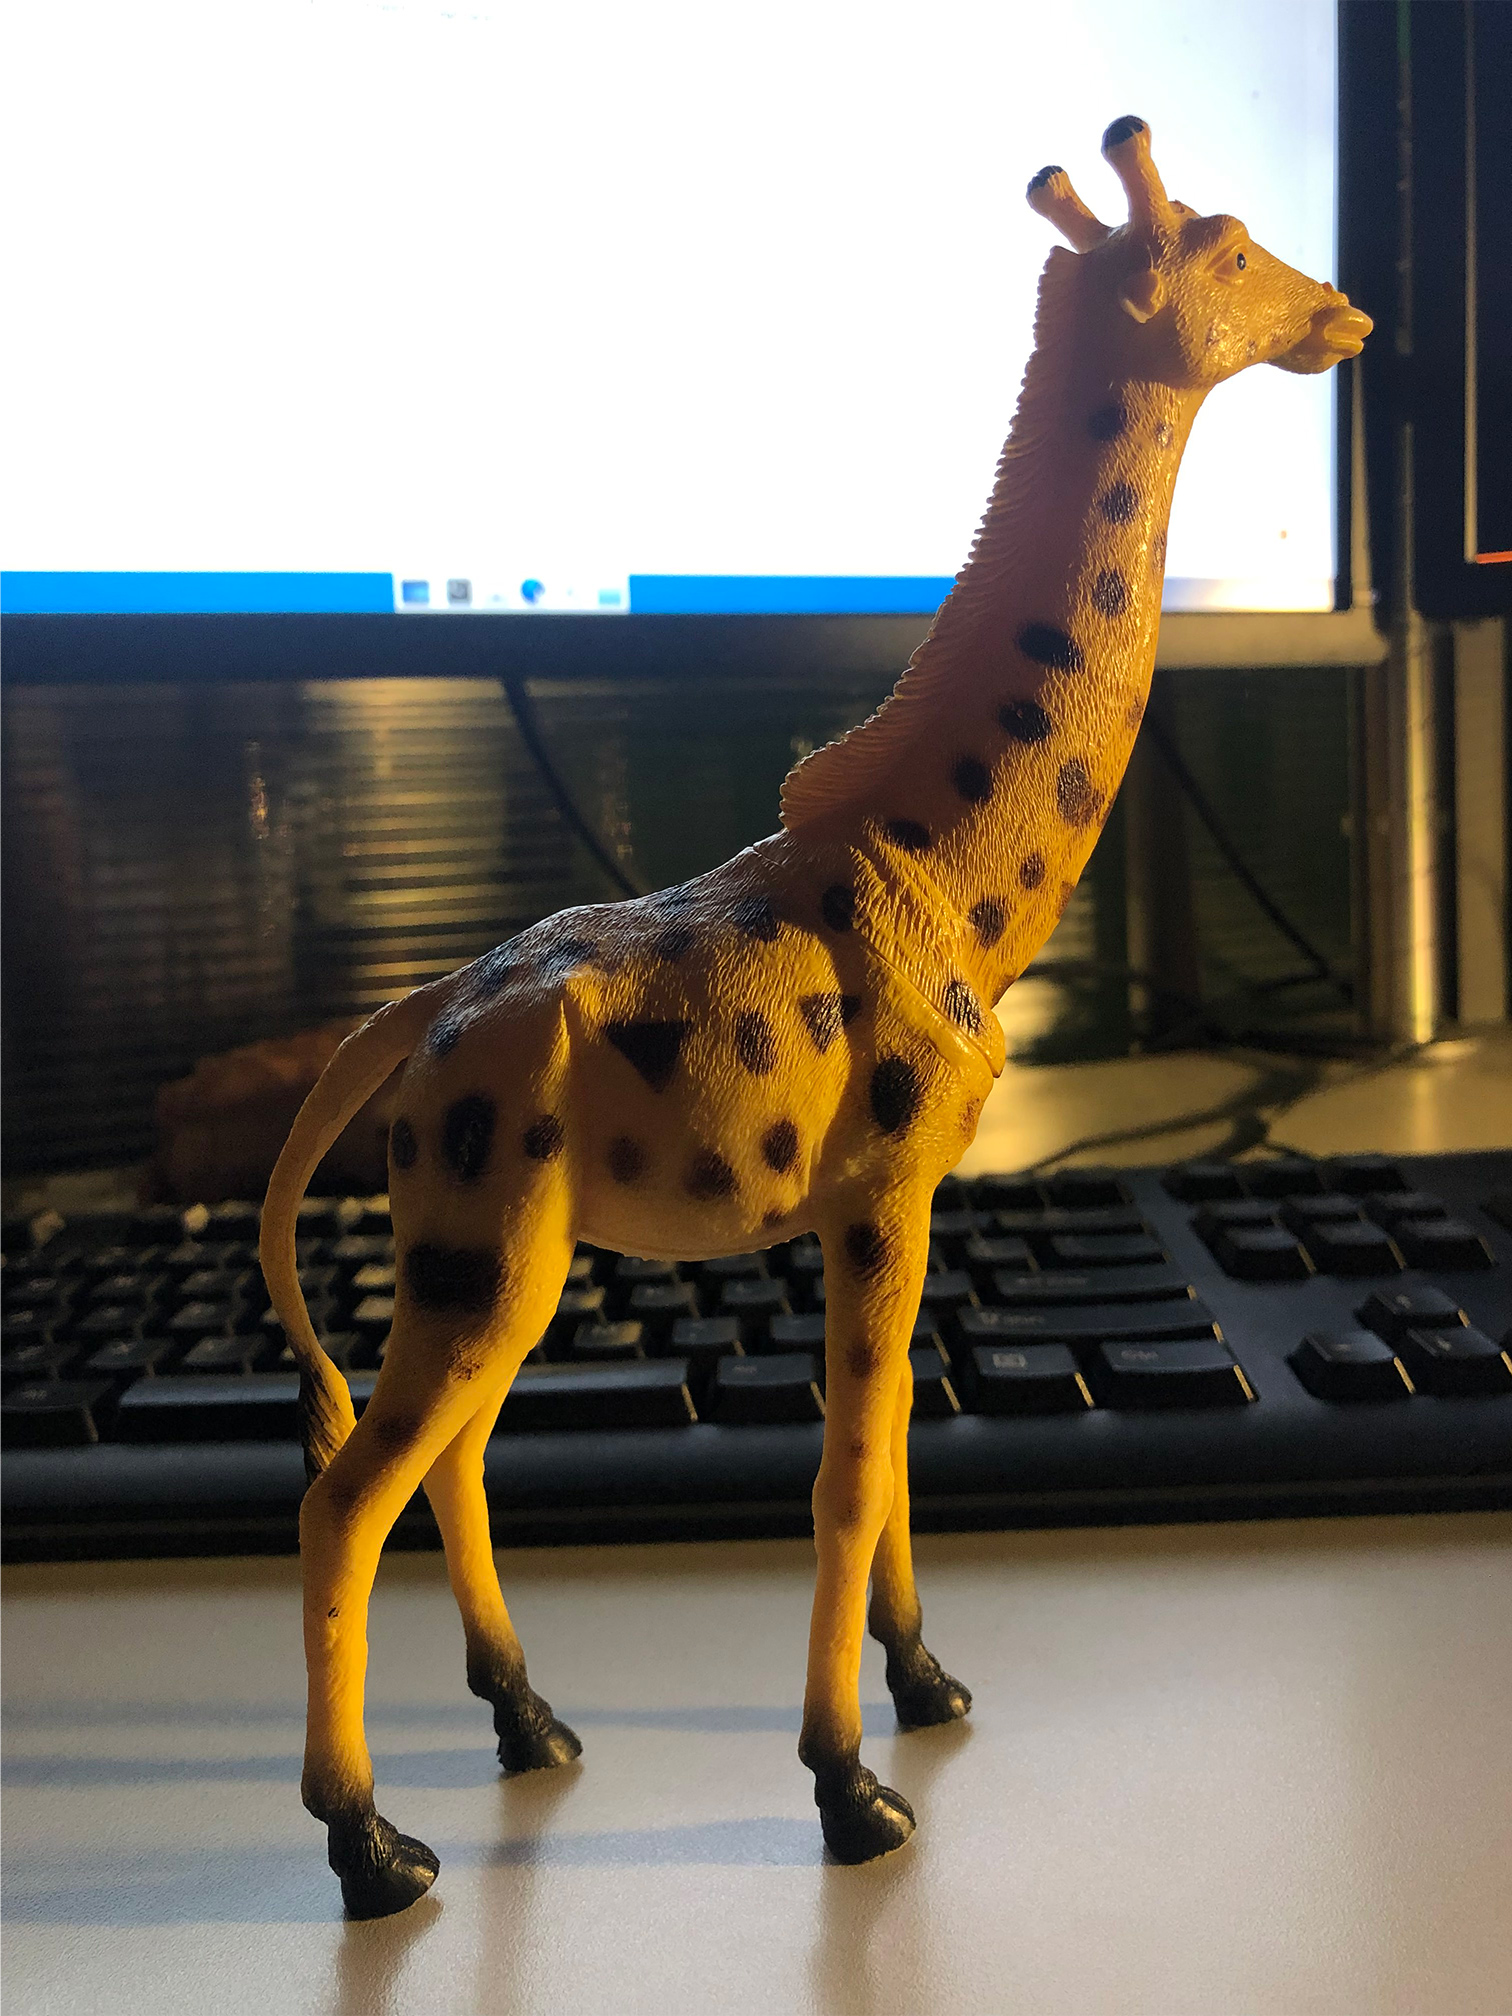
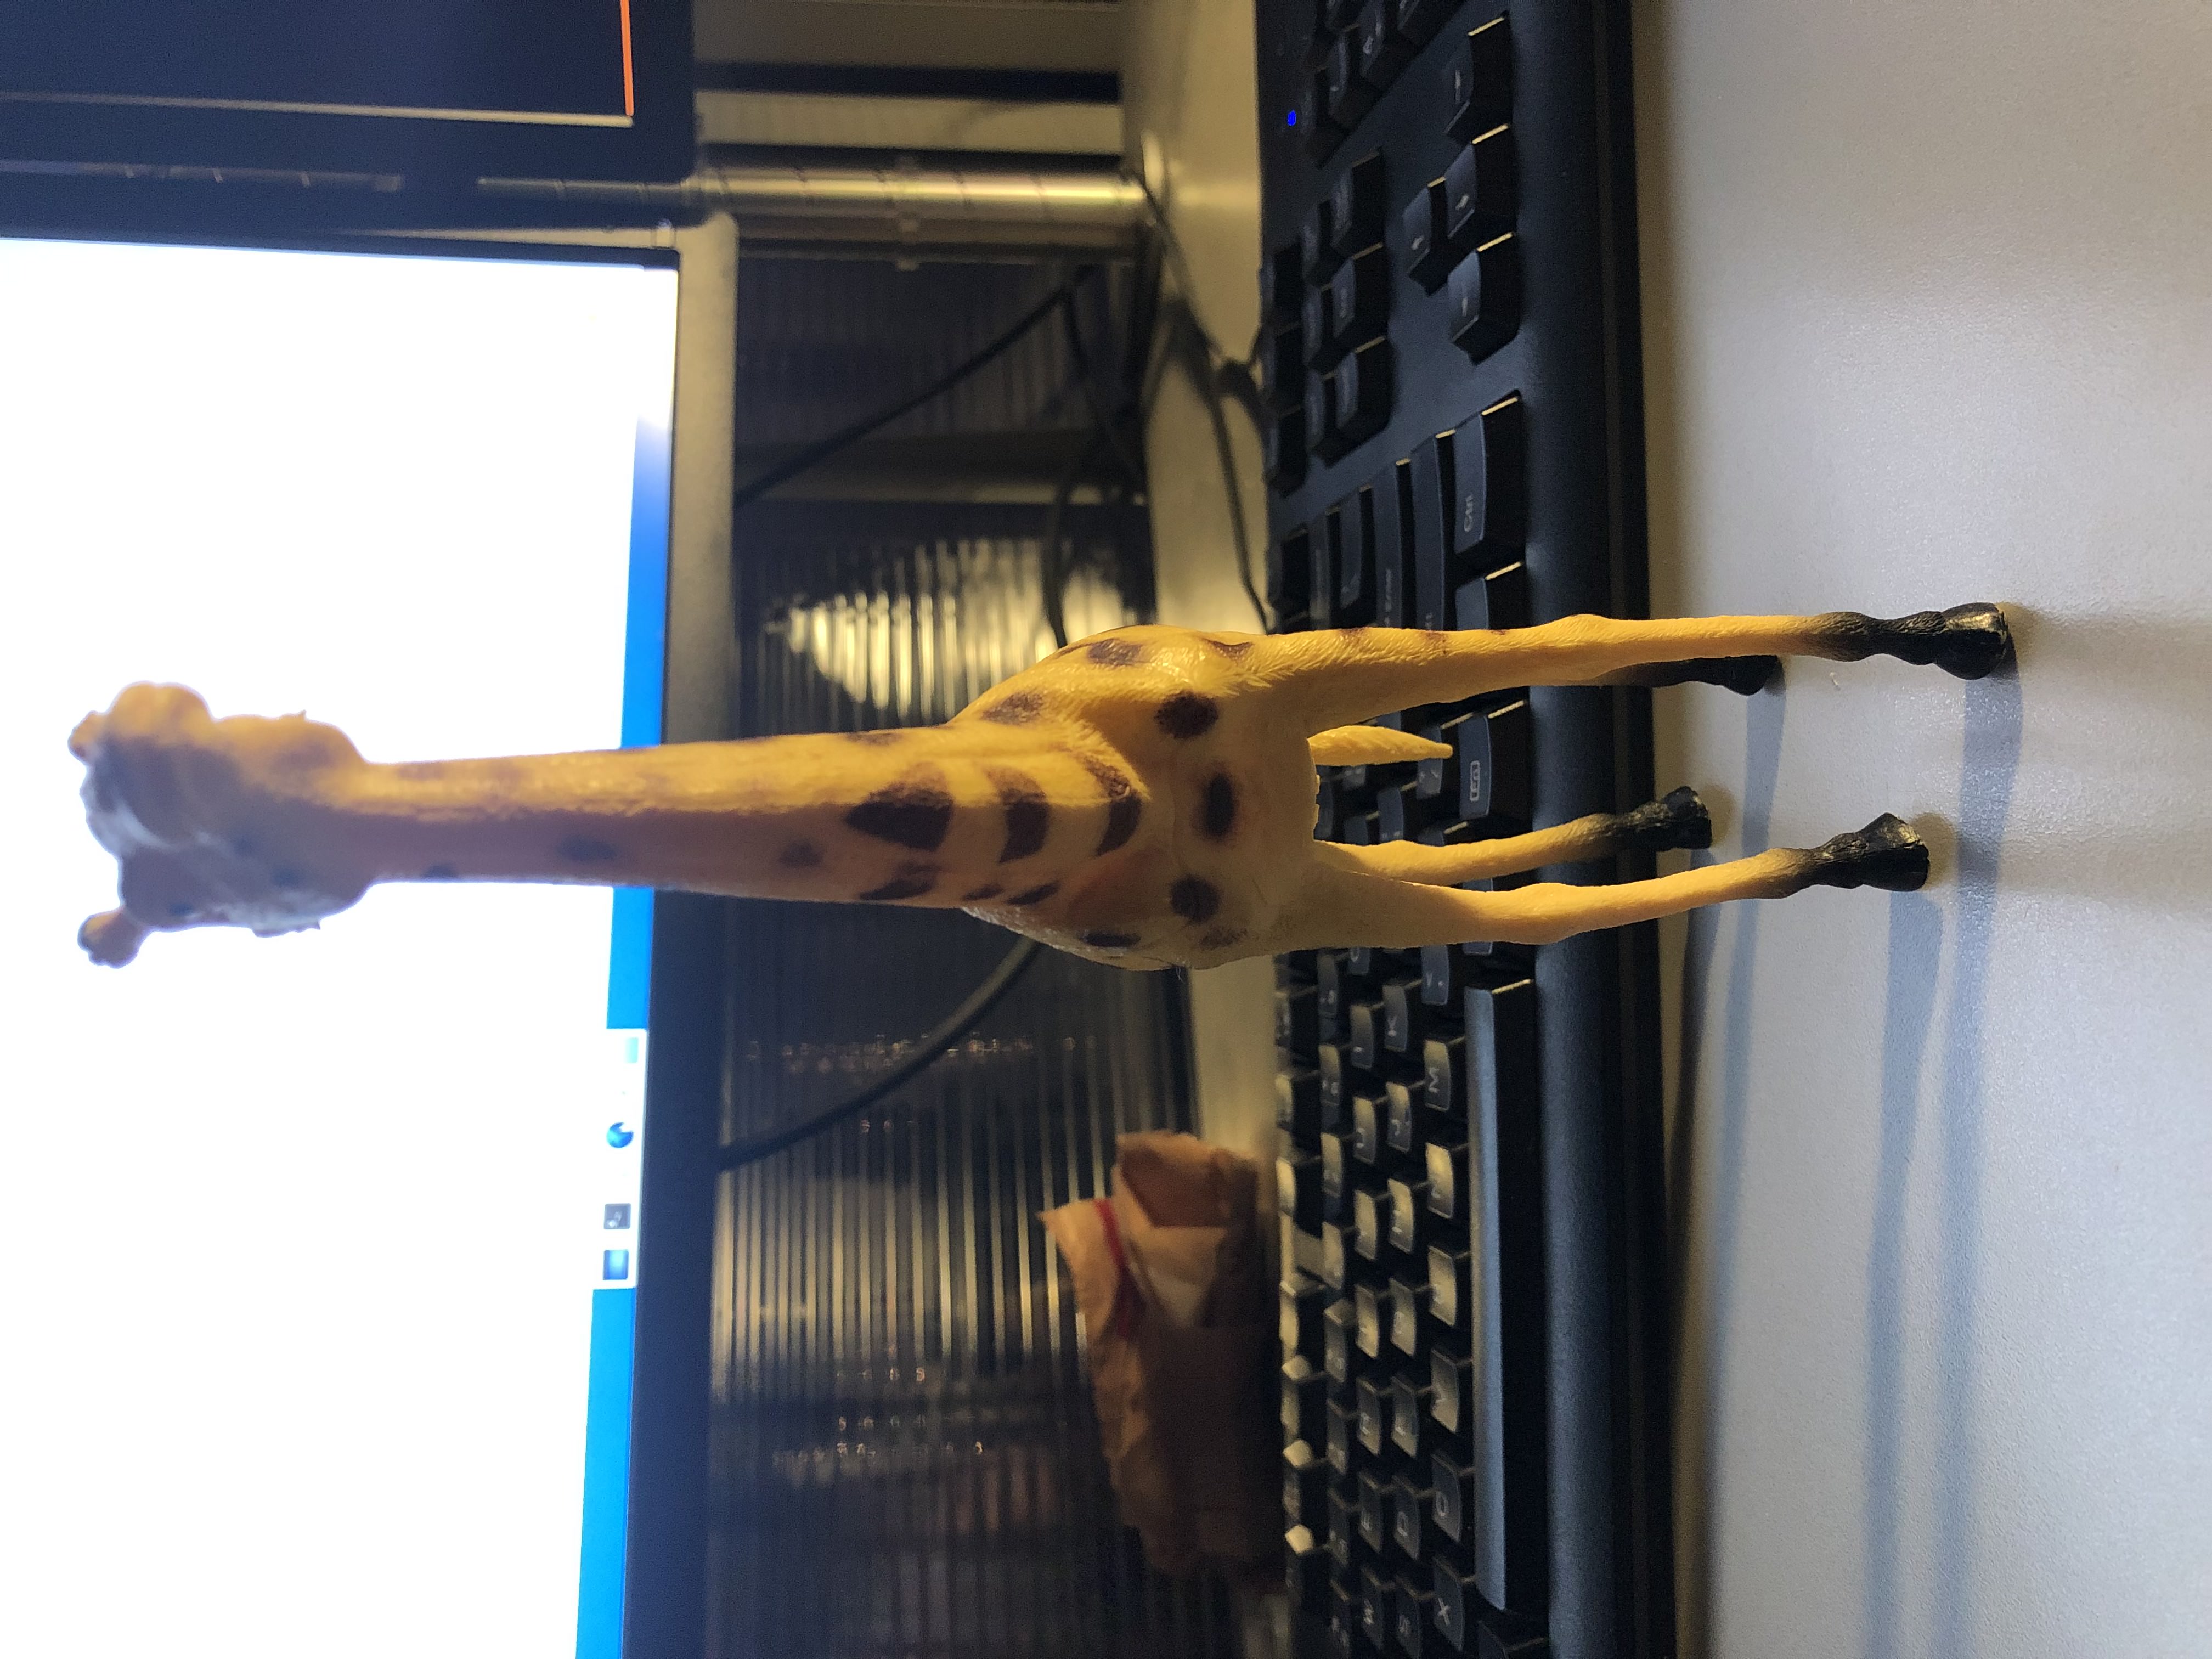
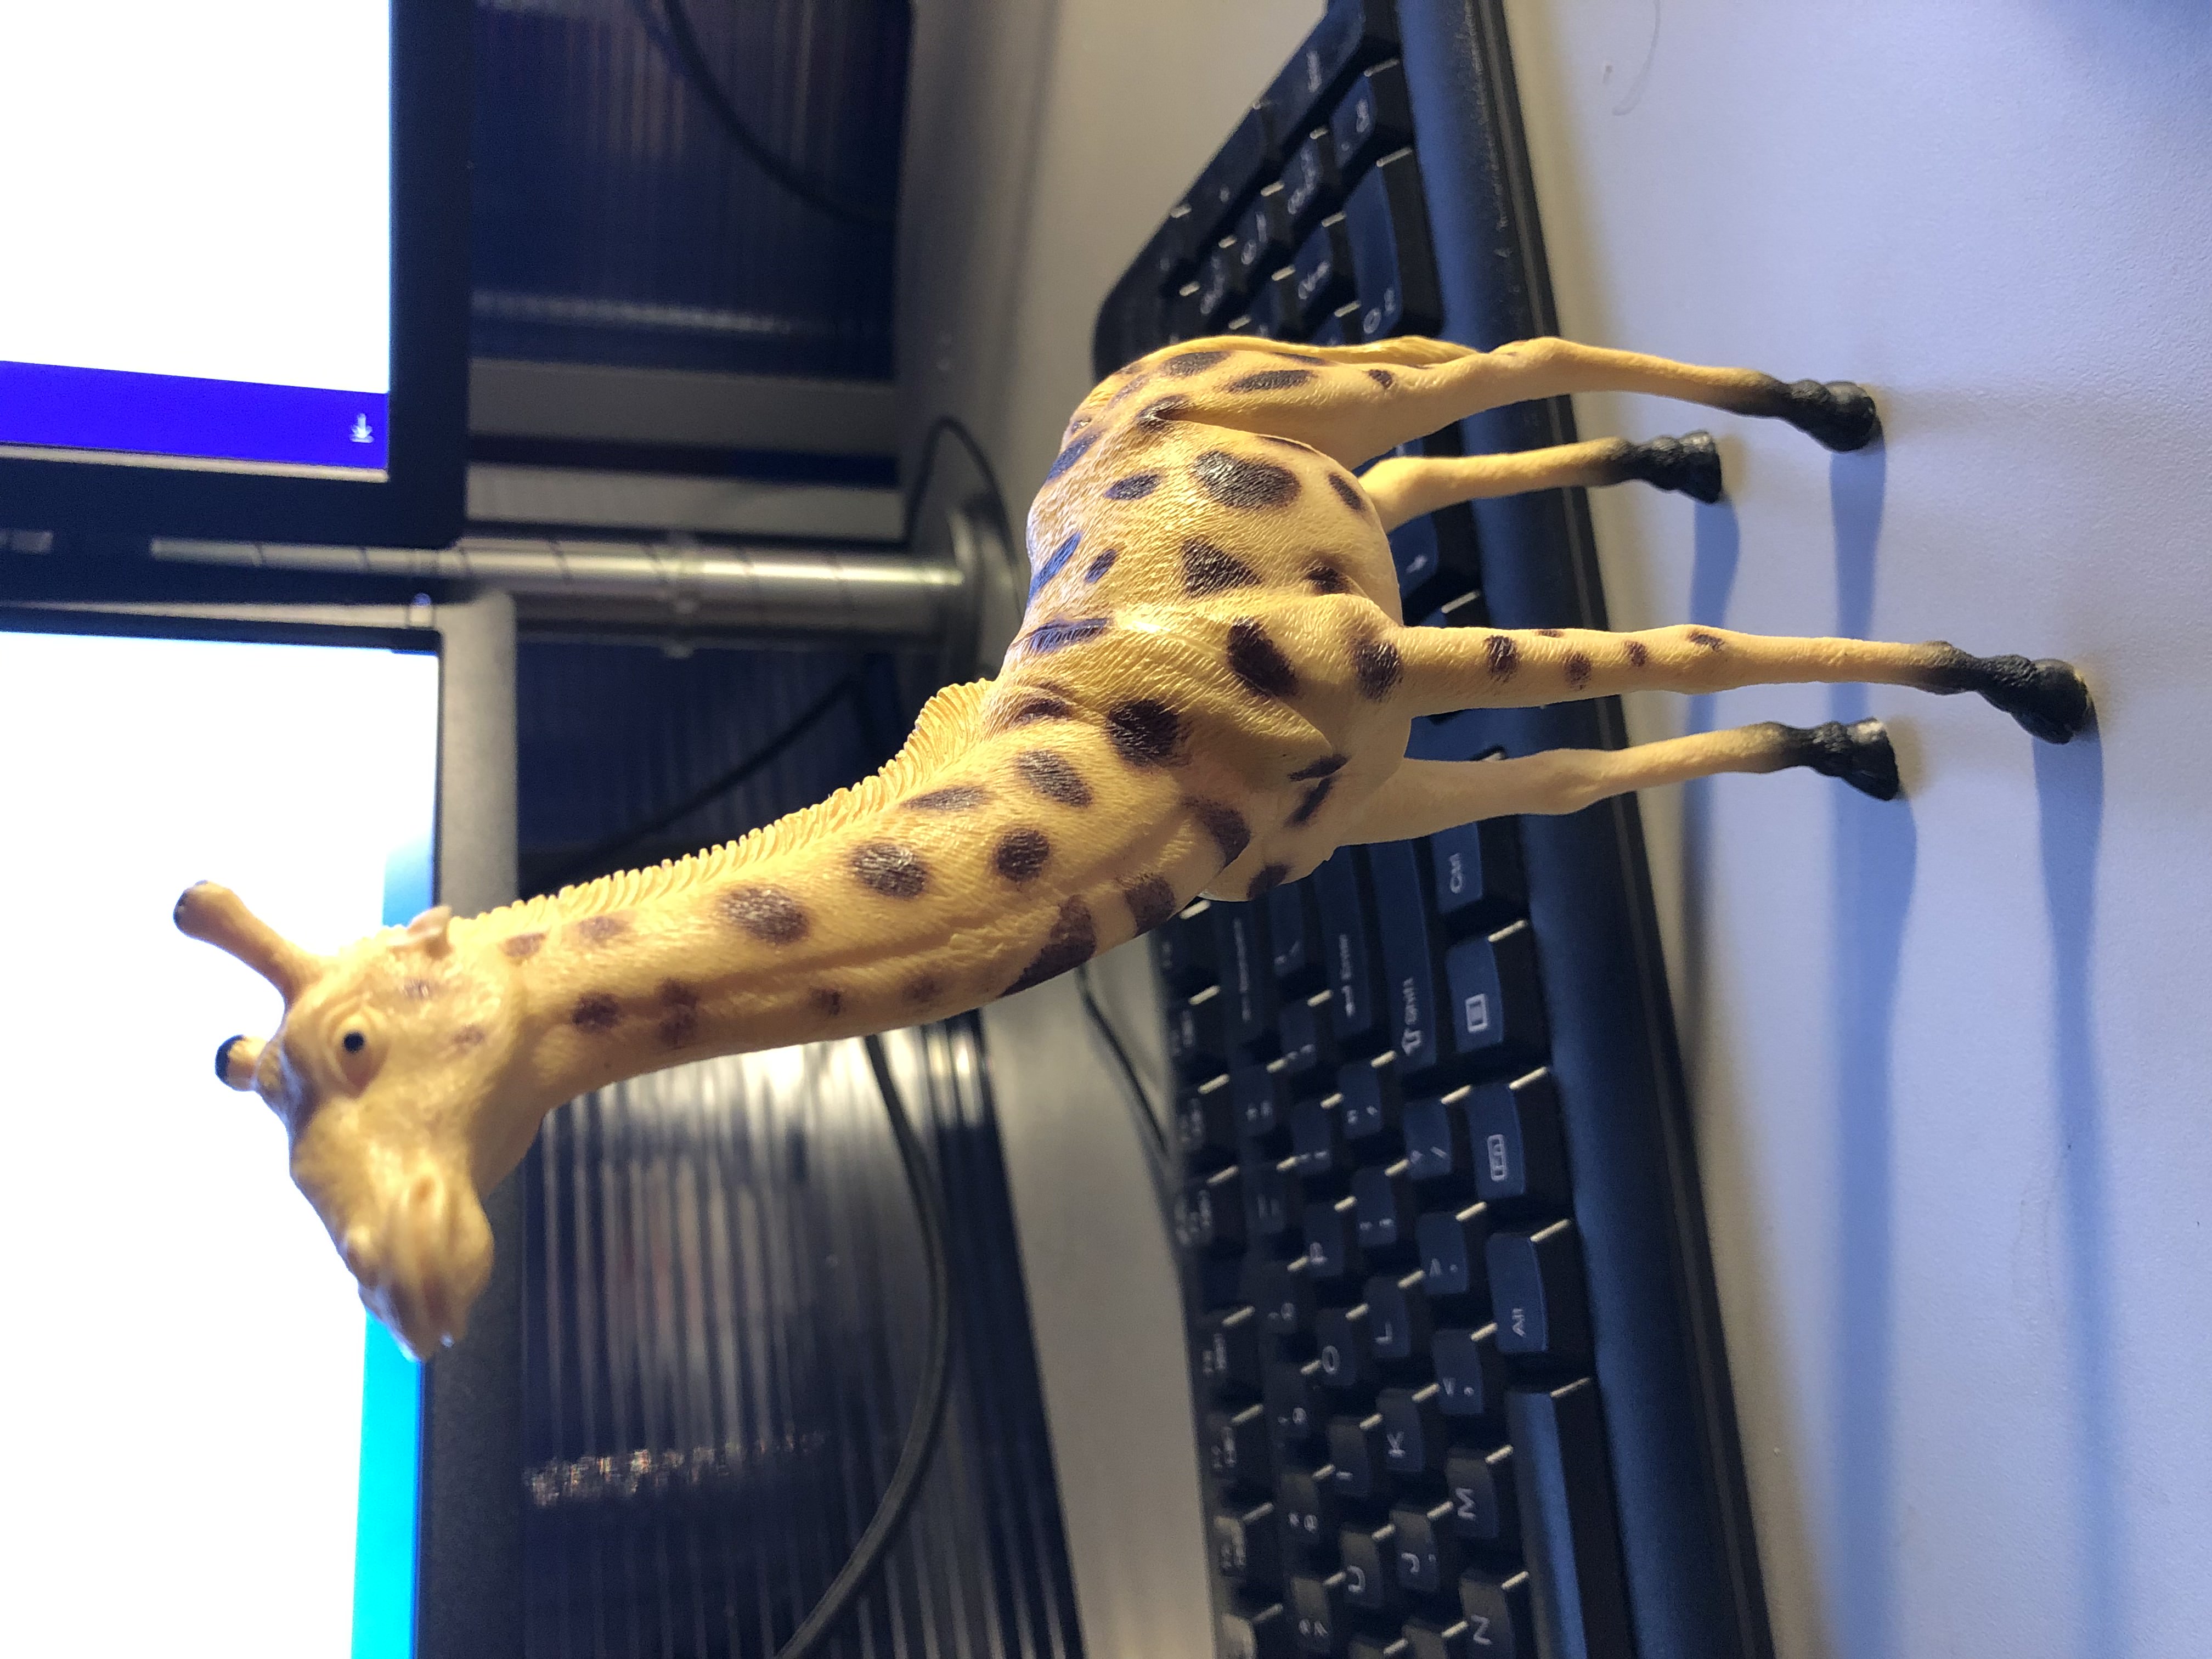
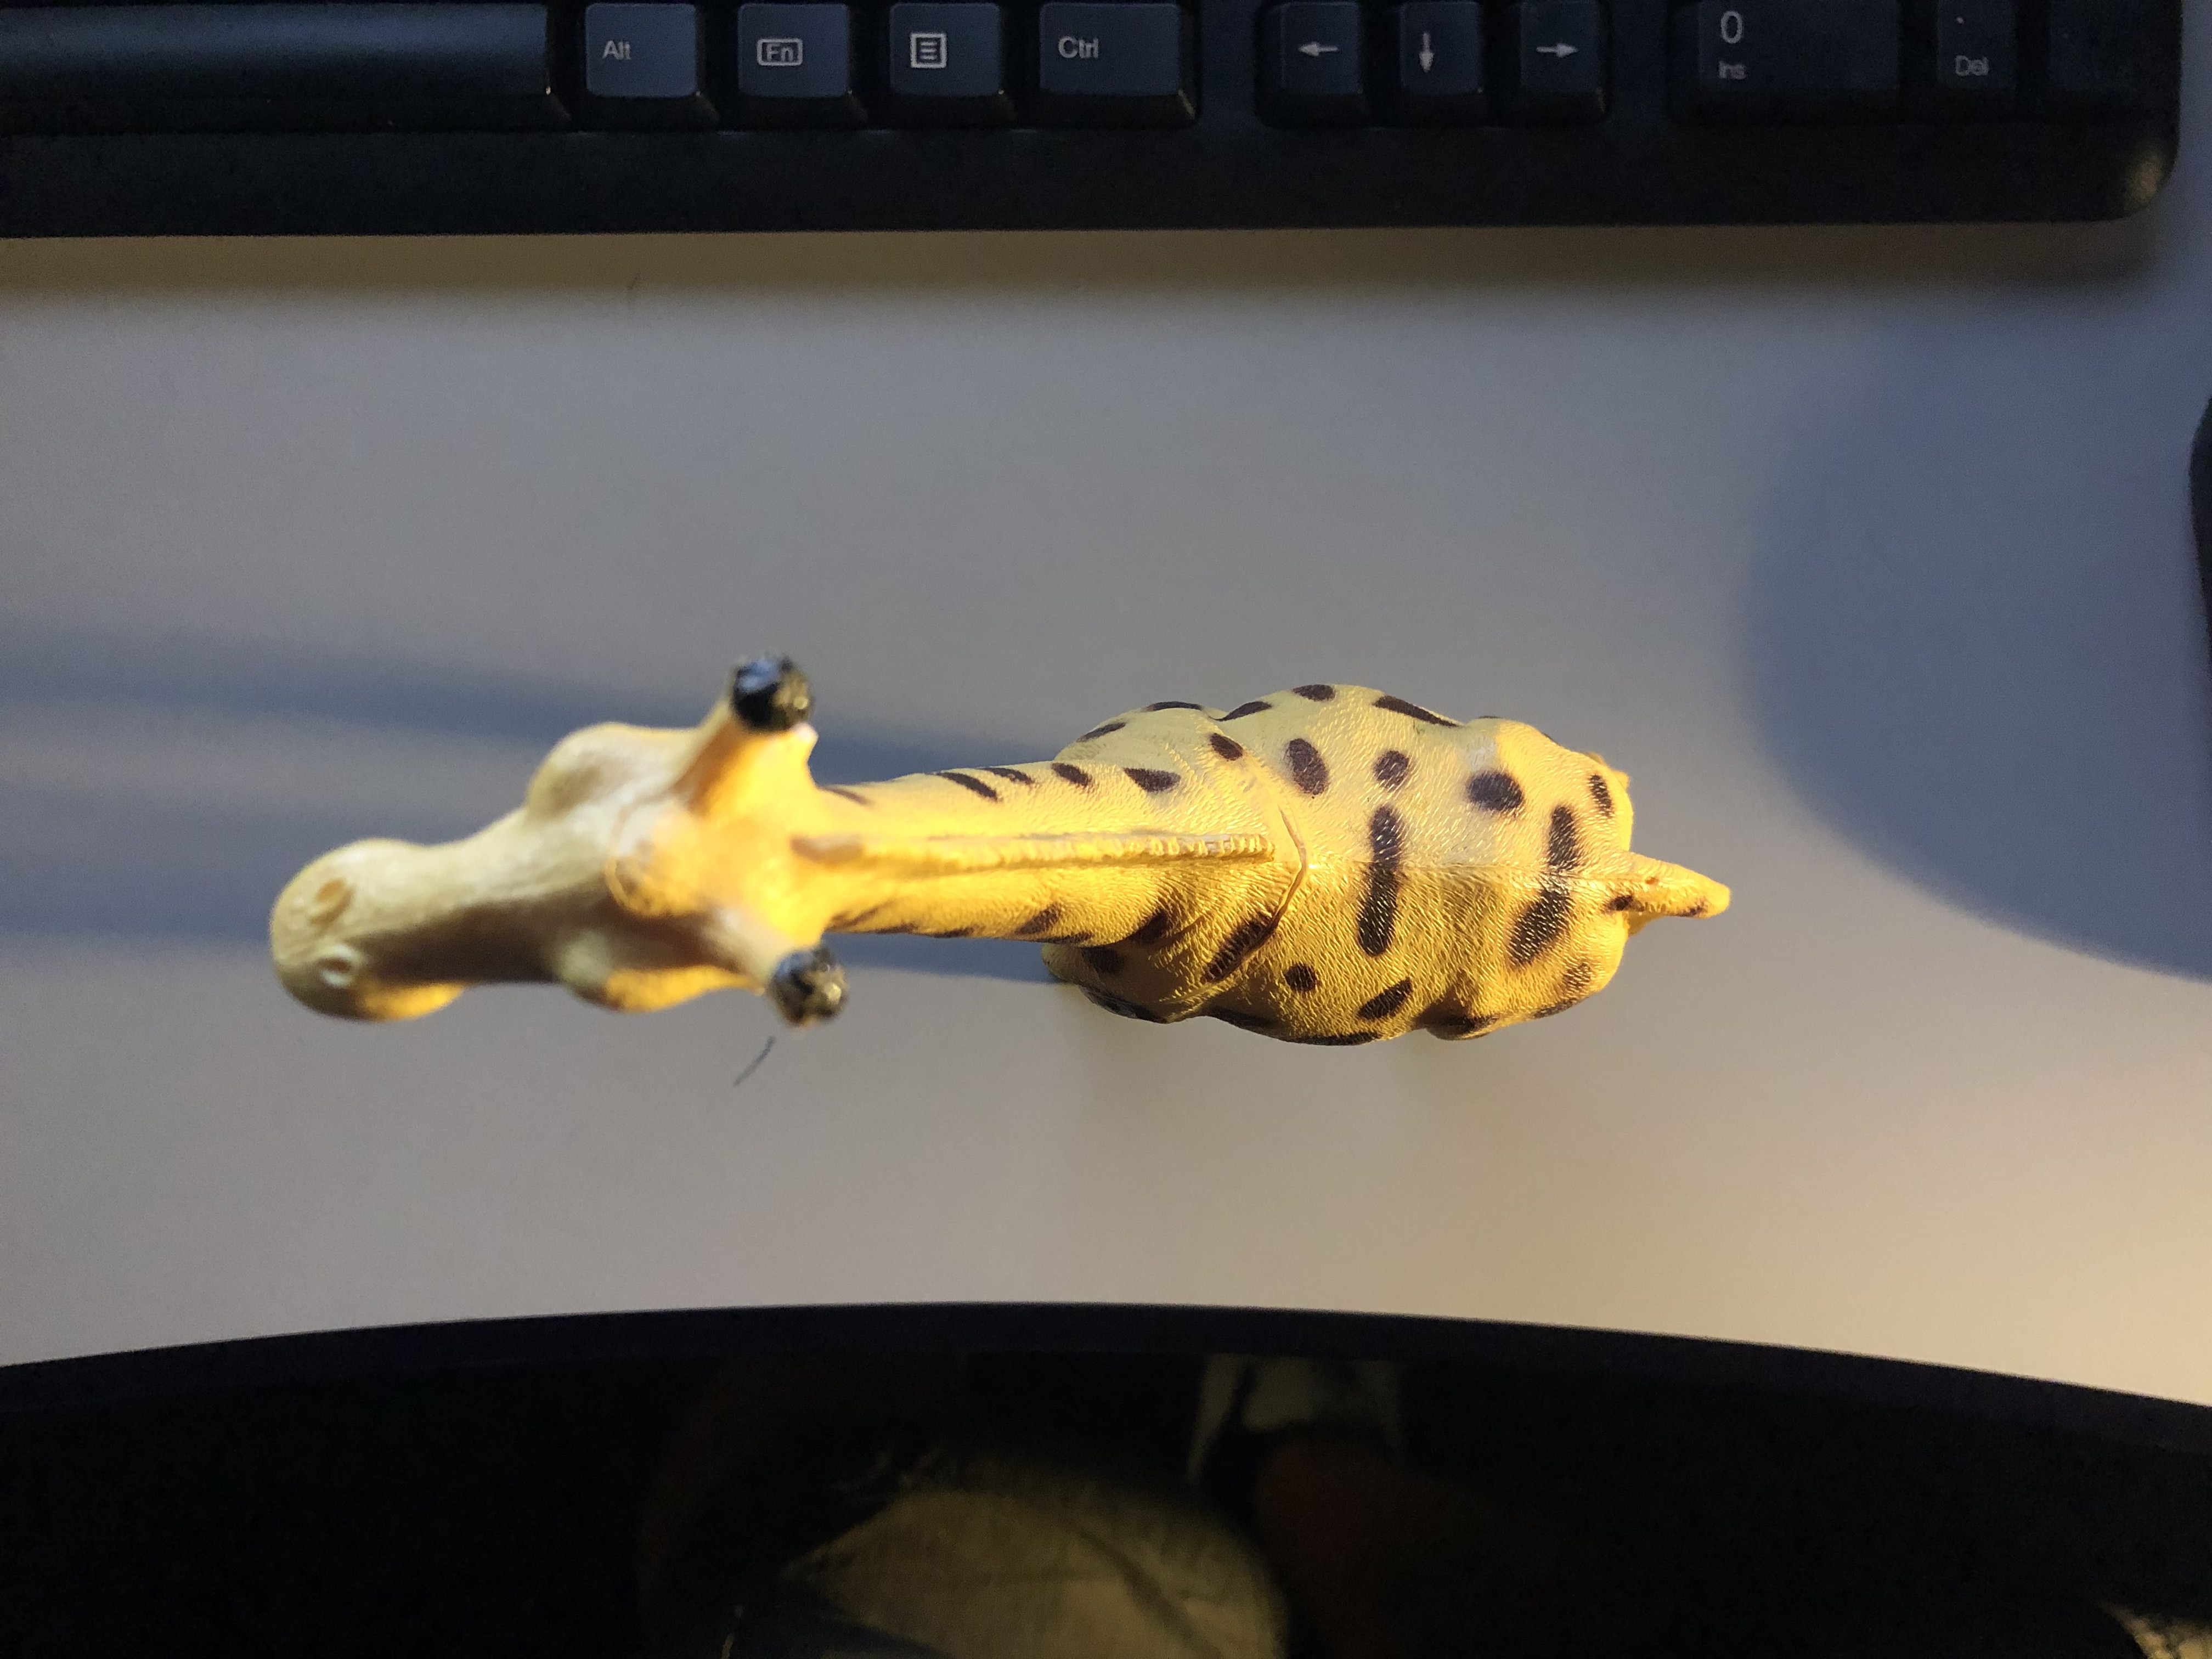
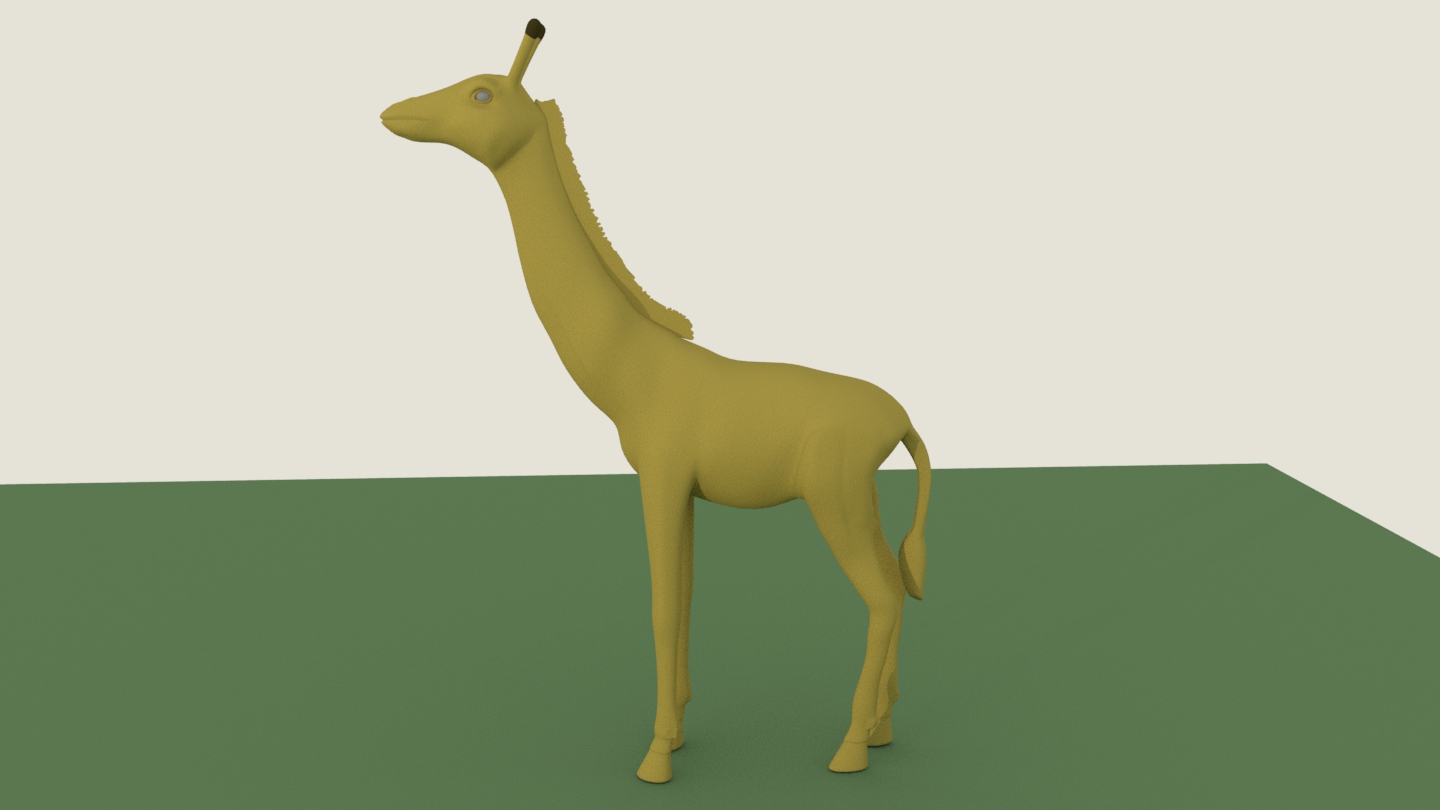
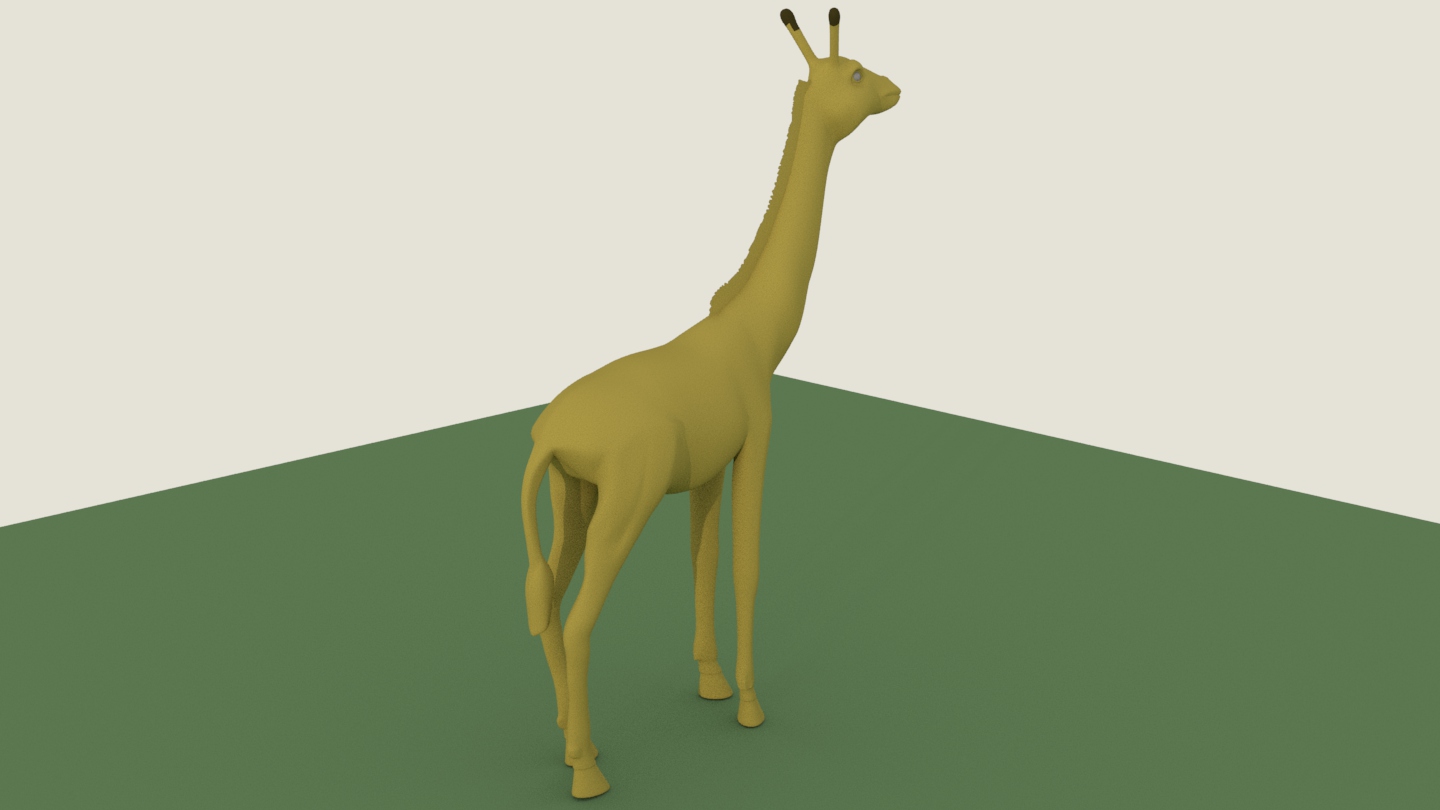
For this assignment, create a model of your selected object using polygonal modeling, NURBS modeling, or a combination of the two.Problem and Solution:
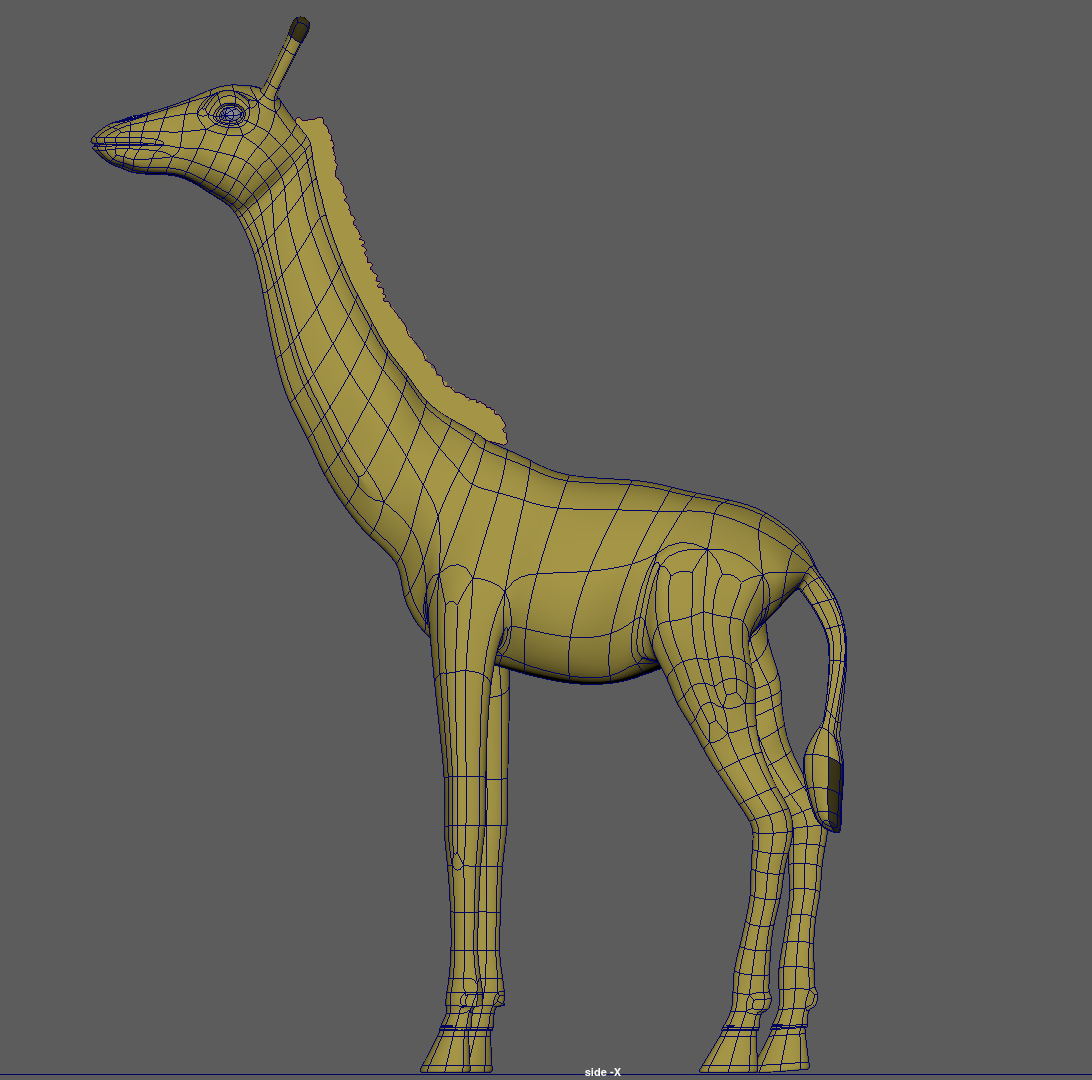
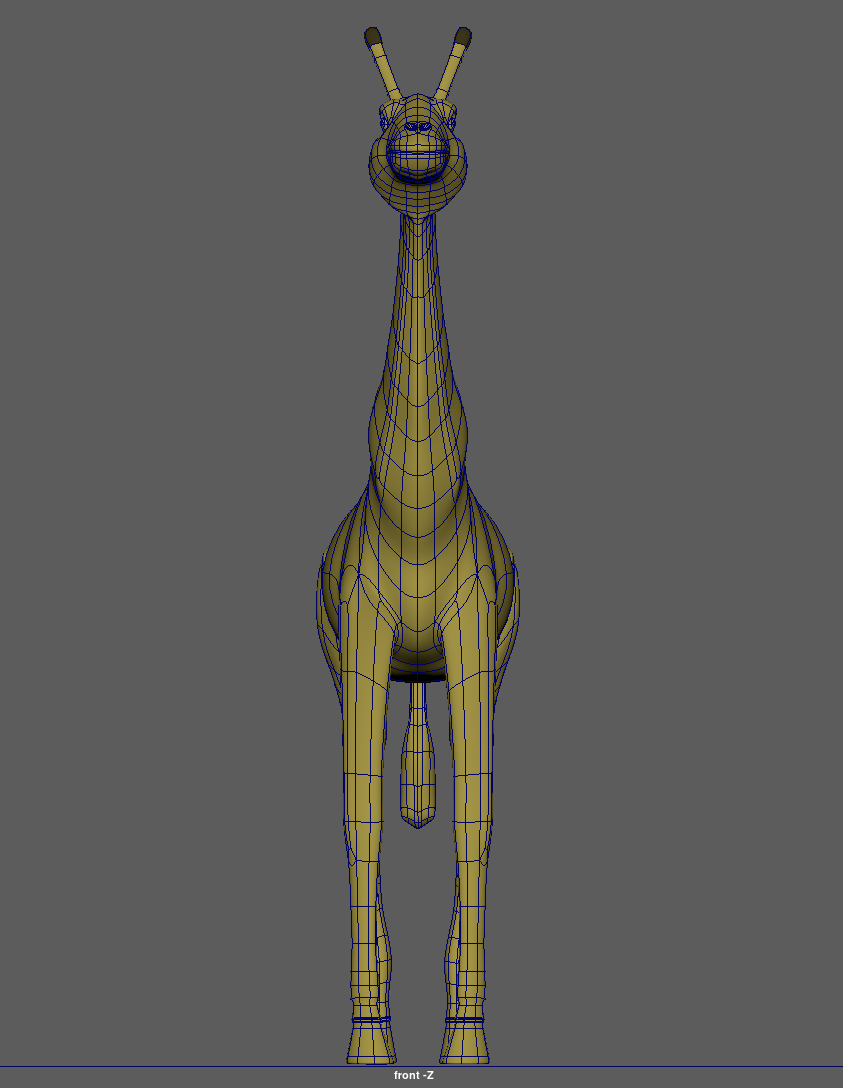
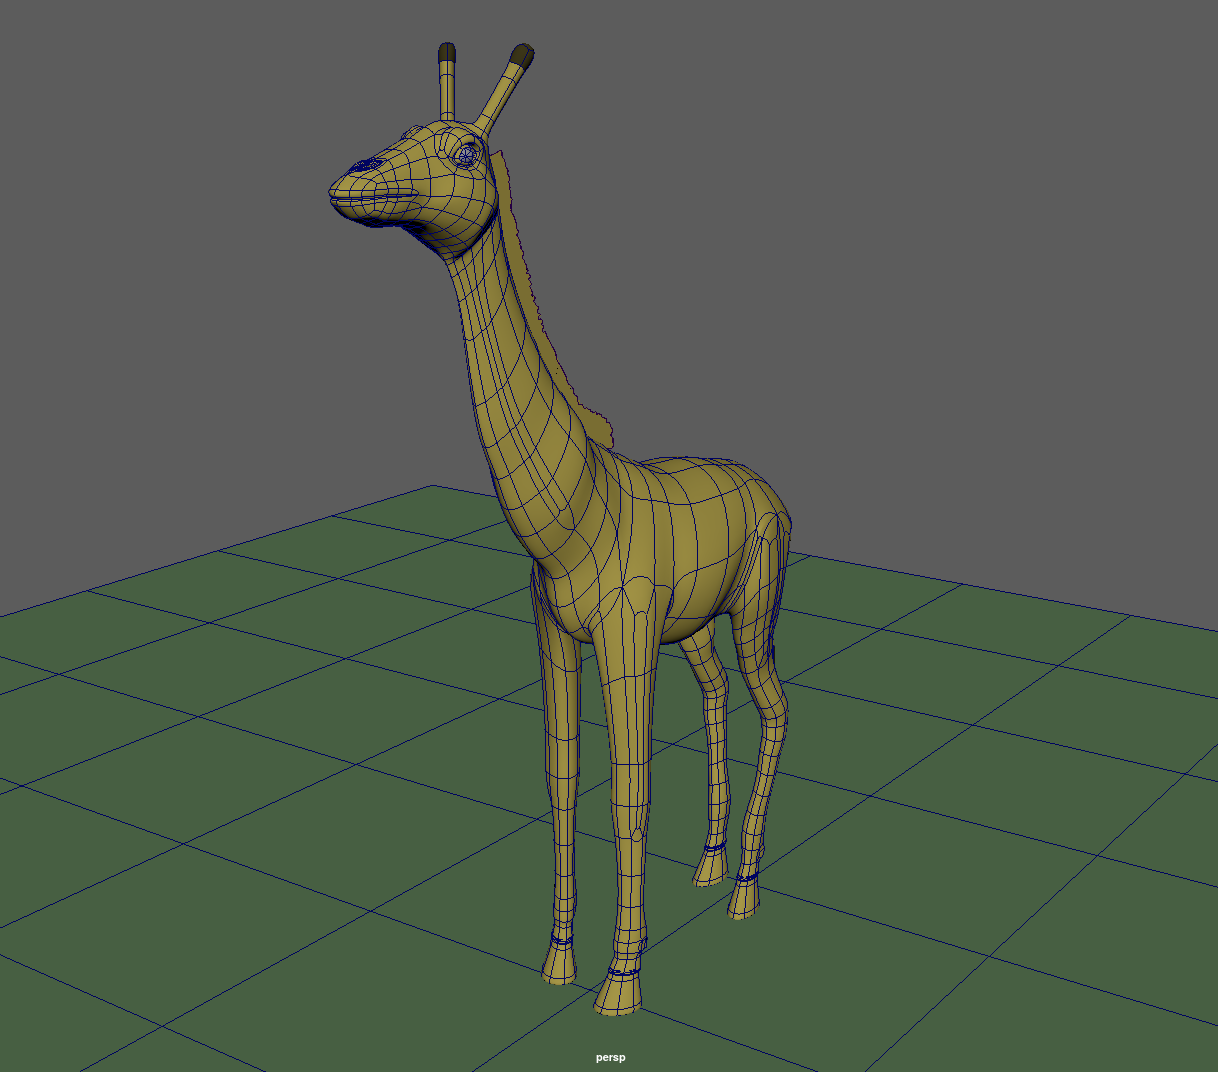
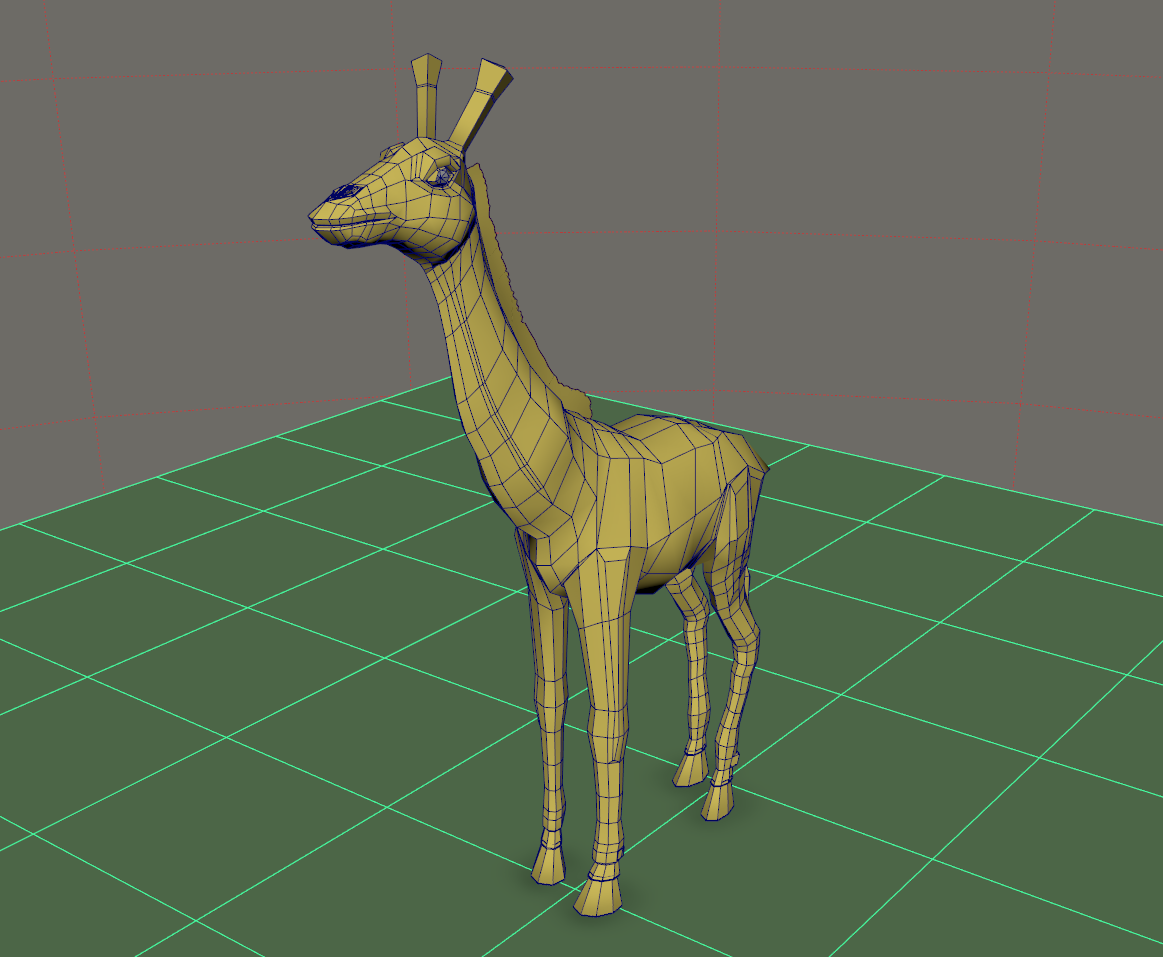
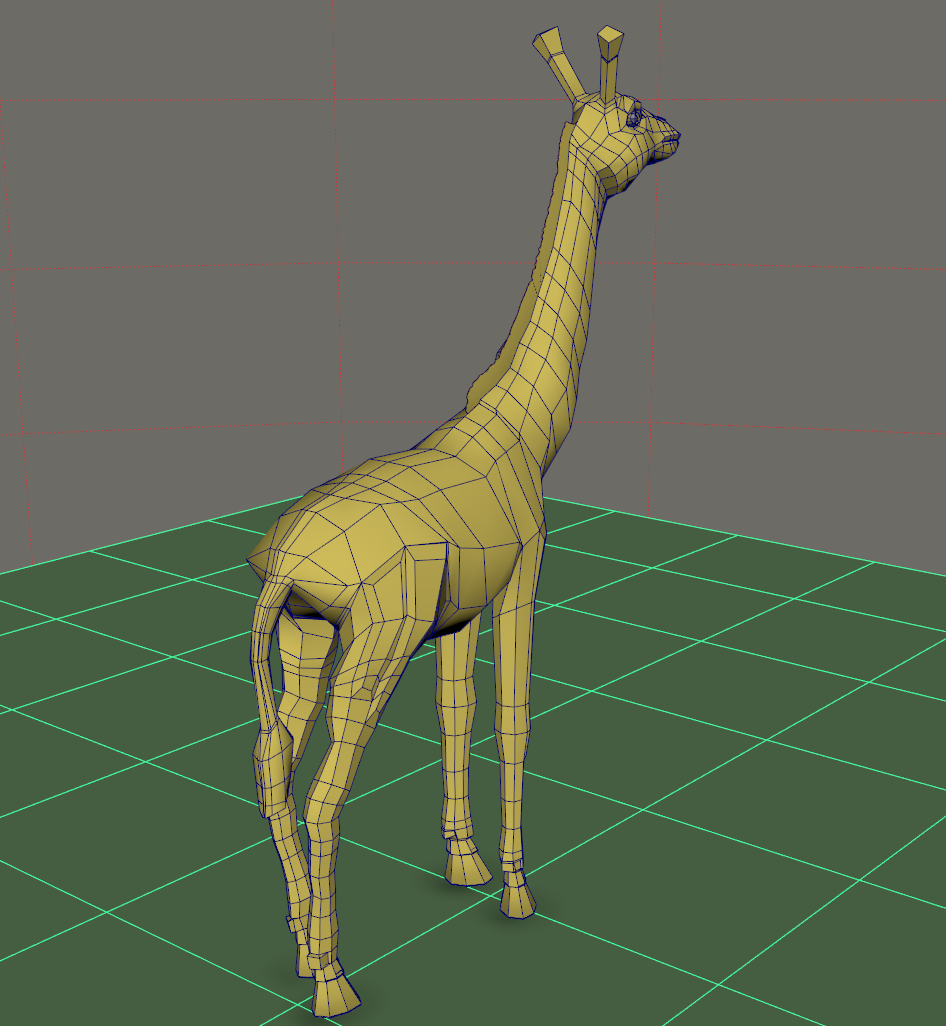
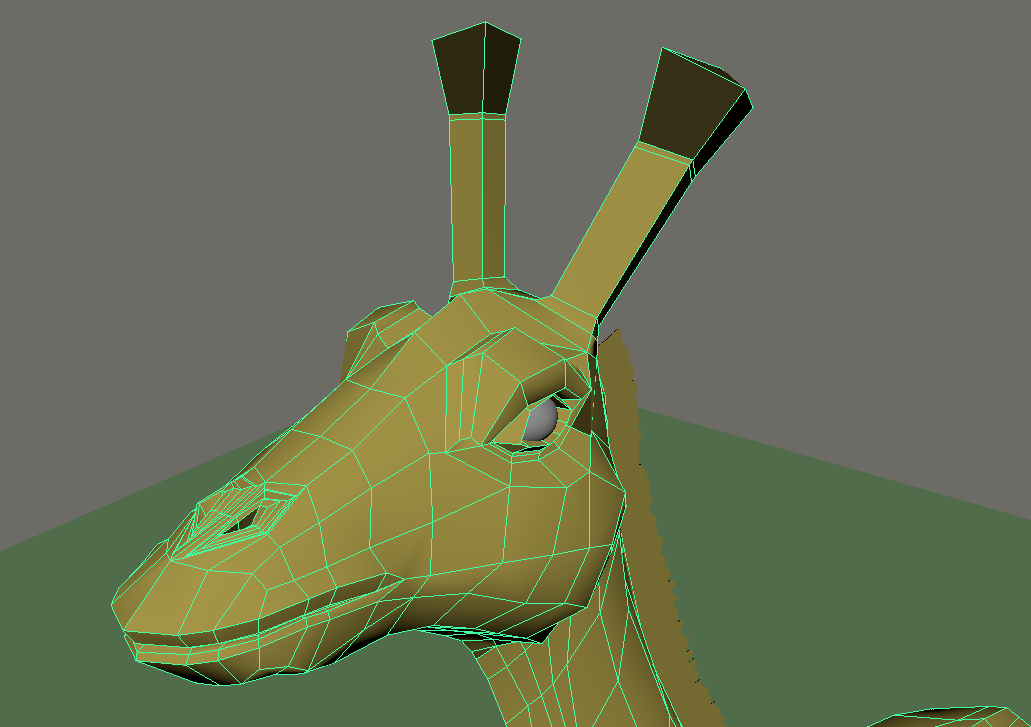
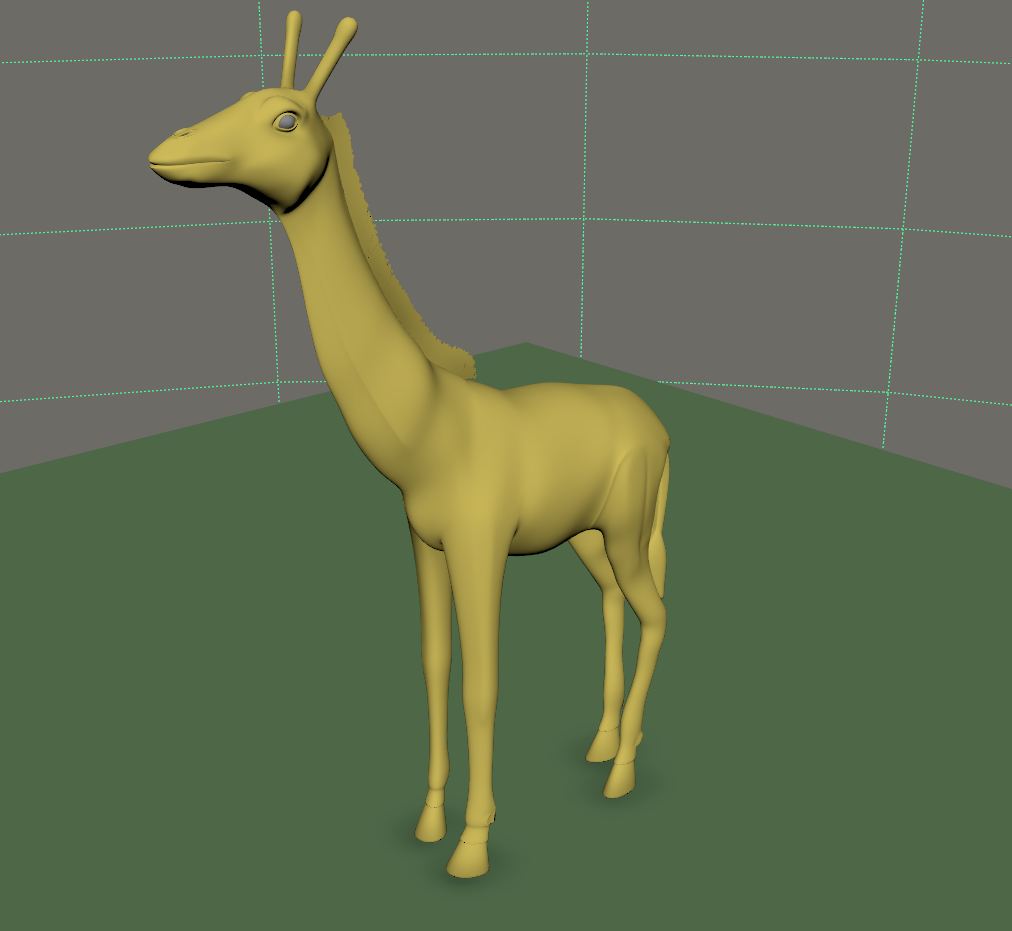
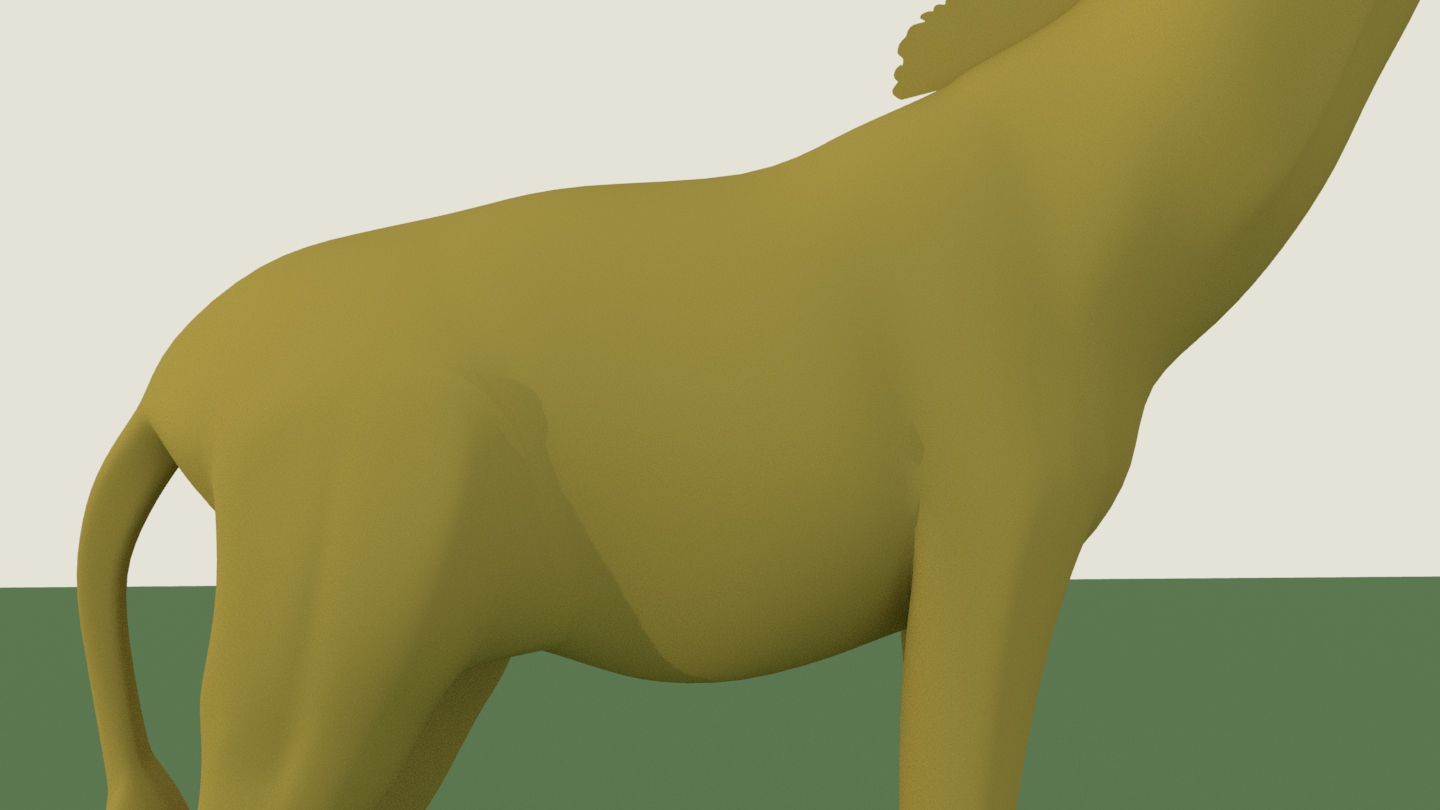
I mainly use NURBS to create the giraffe. I first import the top, side and front view image plane. And to use the EP curve to draw three lines along edges of the giraffe of side view image, then to loft them to form the shape. According to images to adjust points on the shape.Then, I extrude a face of the cube along the line that is drawn along the leg to form the leg. After that, joint the legs and main body. Using the extrude tool to create muscle and wrinkle around the legs.
The hardest part is the eye slot and nose, that’s very detailed and need to be adjusted frequently according to the topology.
Link:
file_giraffe(.mb)
 |
 |
 |
 |
|---|---|---|---|
 |
 |
 |
|---|---|---|
 |
 |
 |
 |
 |
 |
 |
 |
Exercise 7: Shoe
Description:
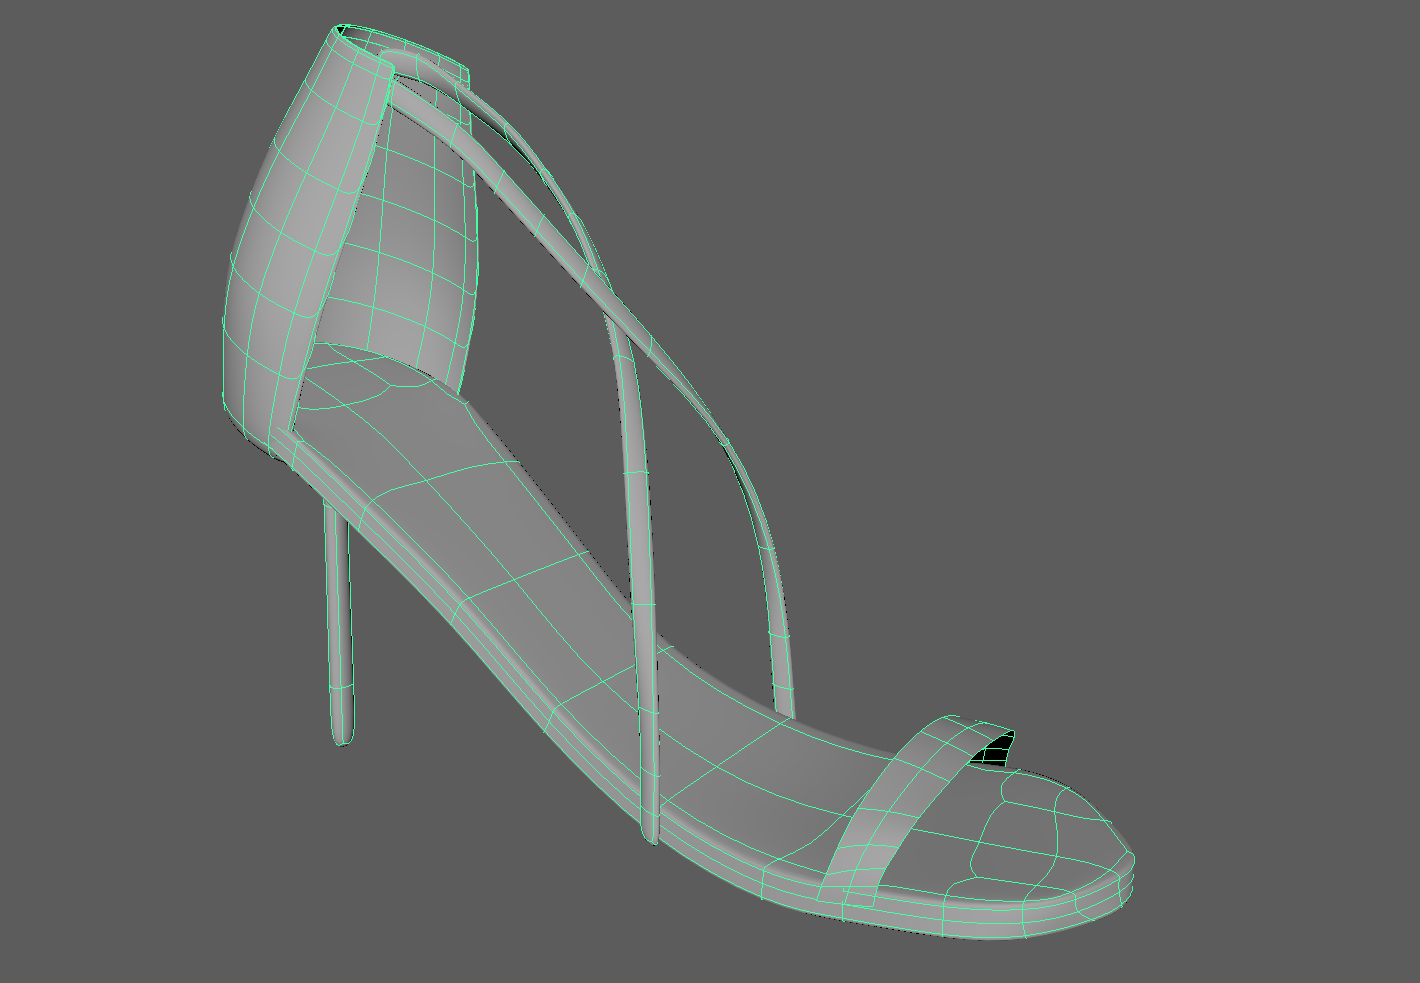
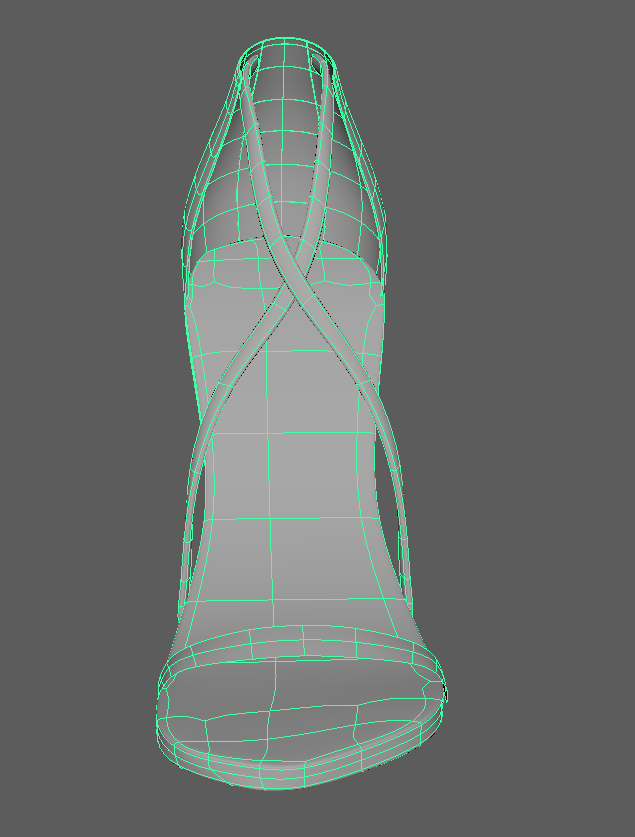
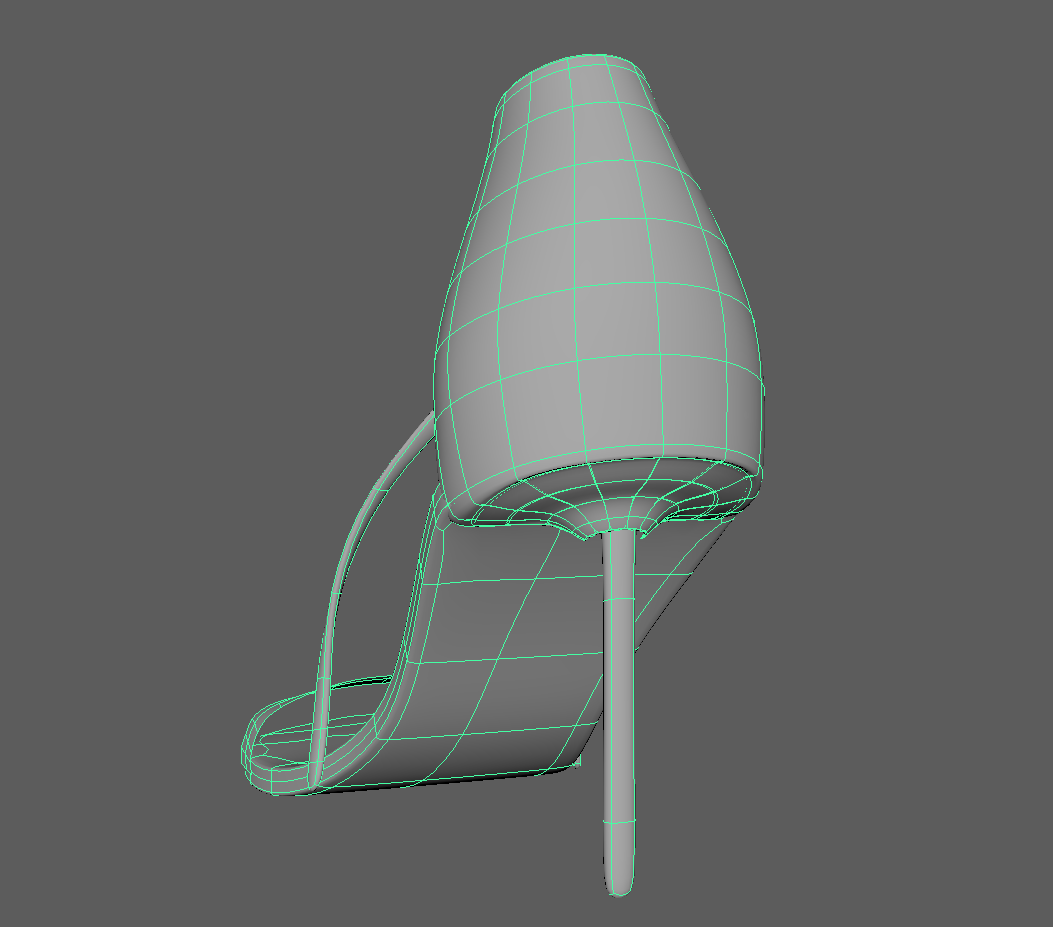
Take 2-3 screenshots of the model, select the object on at least one of them to make the wireframe visible (in shaded mode)Problem and Solution:
I first create the edge of bottom of the shoe by EP curves tool, and then planar it to surface. Then, to create the edge of the back of the shoe by EP curves tool as well and to use the revolve tool to create the surface. And to extrude the face of a cube along a curve to form the middle banding.
 |
 |
|---|---|
 |
 |
Exercise 6: Polygon and Sub-D Modeling Workflows in Maya: Dinosaur
- Lesson1: Introduction and Setting up Images Planes
Users can convert meshes between polygons, NURBS, Subdiv… - Lesson2: Drawing Profile Curves
Just to set up image planes. - Lesson3: Building the Back Leg
Using the Rebuild Curve tool to change Spans of curves
Selecting three curves and users could loft them with polygons output geometry. - Lesson4: Shaping the Body and Leg
If the resolution does not match with image, we need to insert some edge loops. - Lesson5: Extruding out the Toes
It is easier to move around vertexes according to image. - Lesson6: Building the Arm
The offset edge loop tool will create an edge loop on both sides at once. - Lesson7: Shaping the Arm
The CV curve tool basically draws out CV rather than edit points. So, the points users are drawing out are not necessarily on the curve. - Lesson8: Adding the Hand
After duplicating the faces or other components, we may need to center pivot. - Lesson9: Modeling Wrinkles
Quad geometry is better in subdividing.
Using the insert edge loop tool could create wrinkles. - Lesson10: Adding Body Detail
Inserting an edge between two edges, and to move it a little bit, which could create more details. - Lesson11: Refining the Joints
Areas like the joints are very important. So, adding more edges around joint, and extruding the joint.
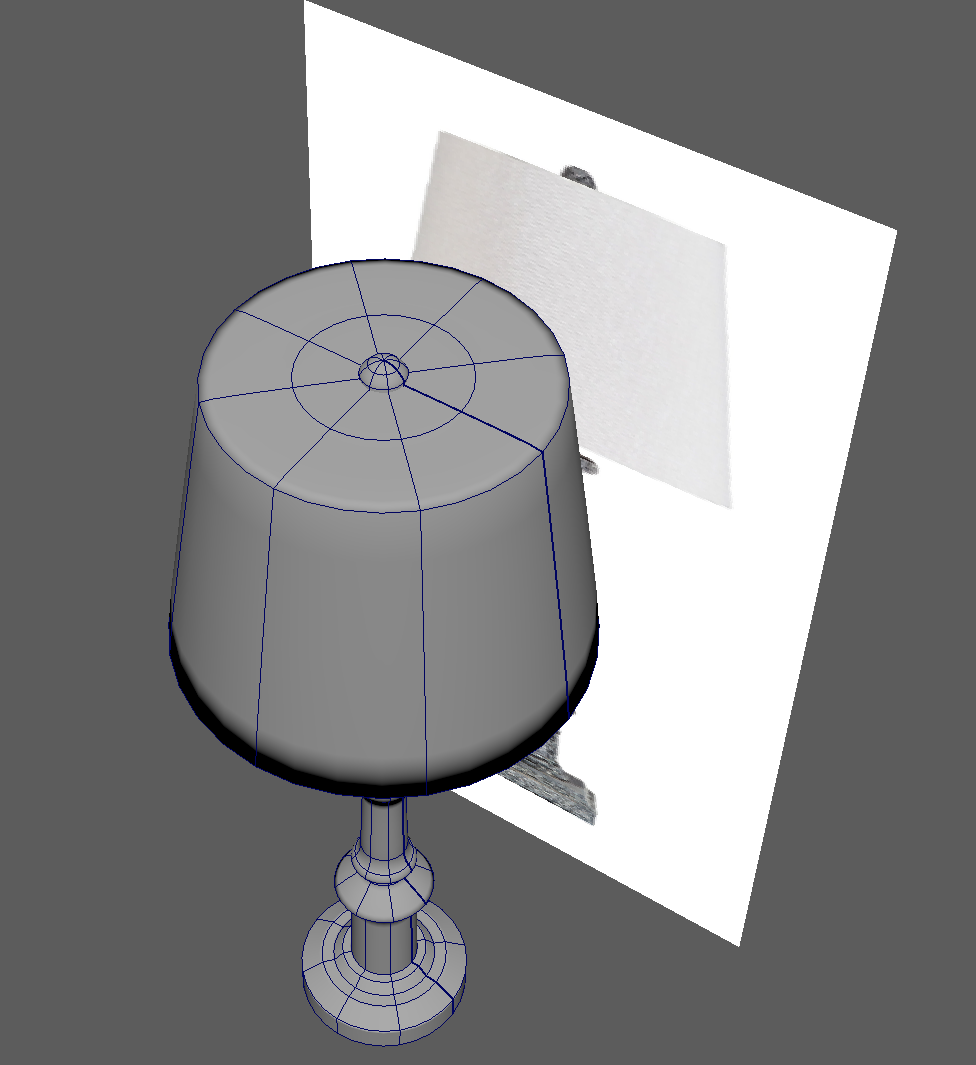
Exercise 5: Lamp
Description:
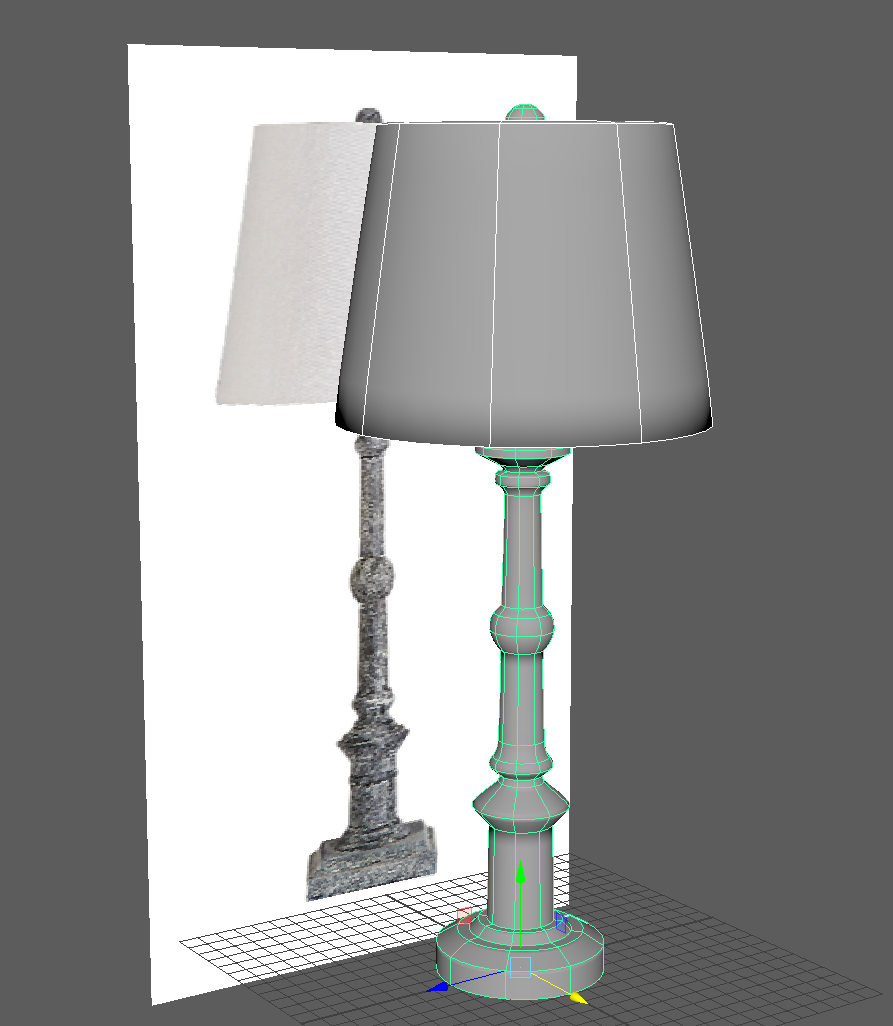
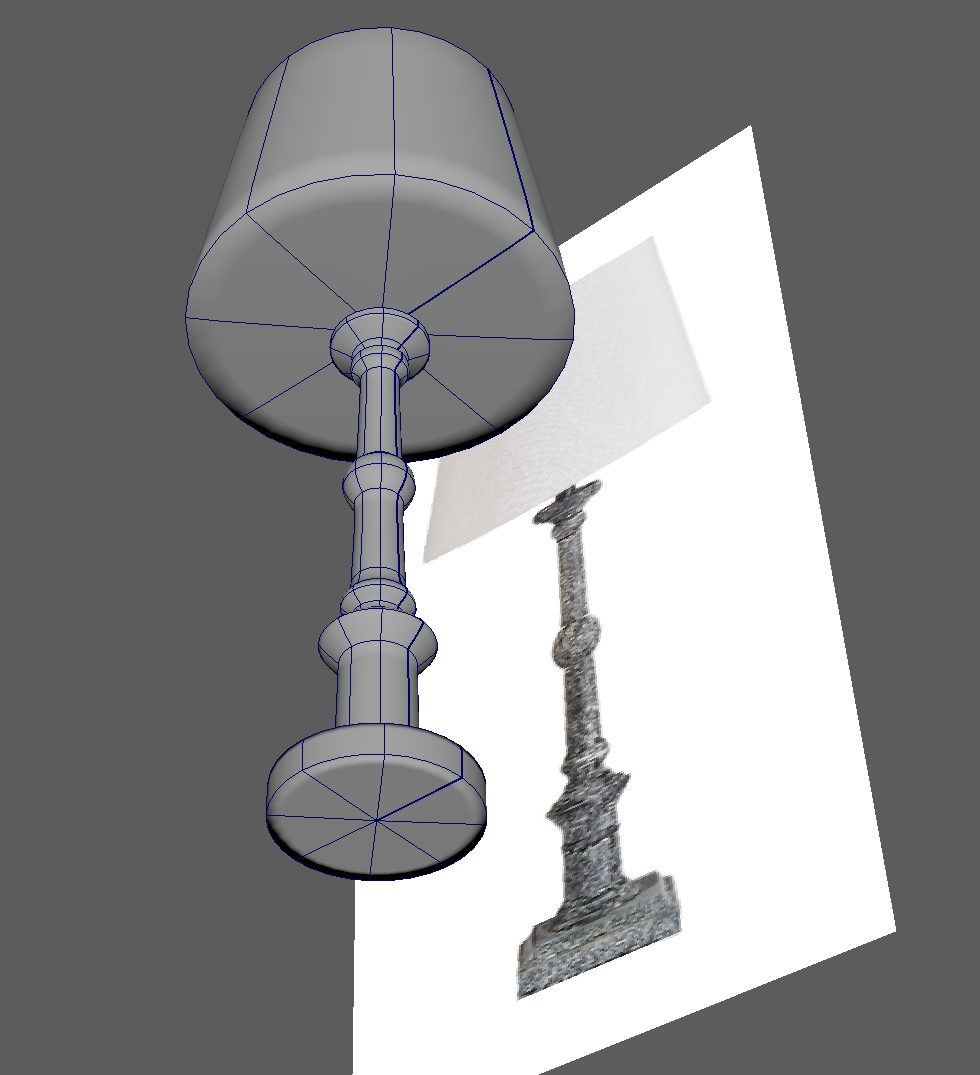
Take 2-3 screenshots of the model, select the object on at least one of them to make the wireframe visible (in shaded mode)Problem and Solution:
First, I import a image of lamp as Image Plane. Then, using Bezier Curve Tool to create the edge of lamp based on the image. After that, to generate the NURBS geometry by the revolve tool along Y axis.
 |
 |
|---|---|
 |
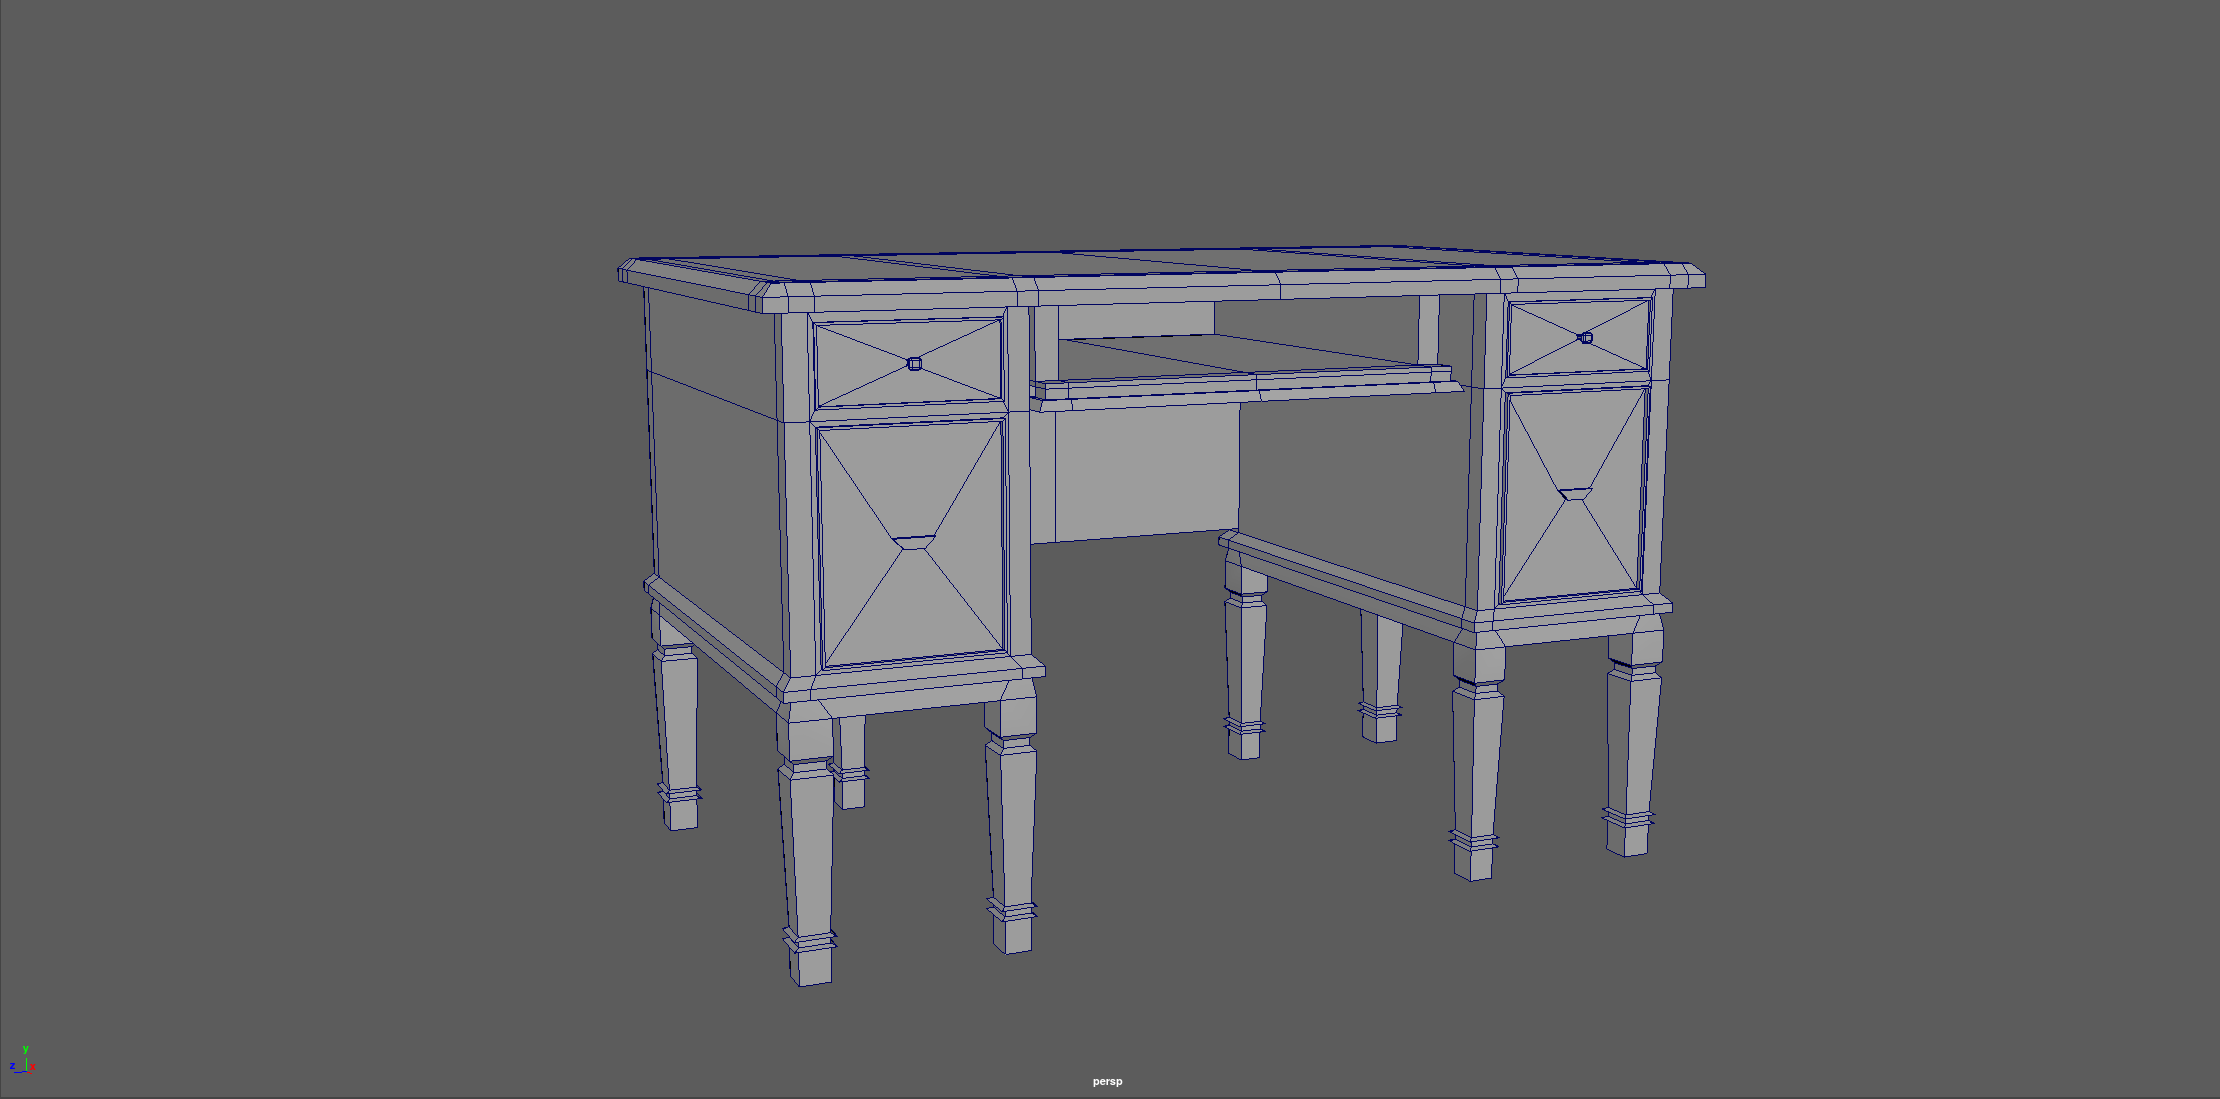
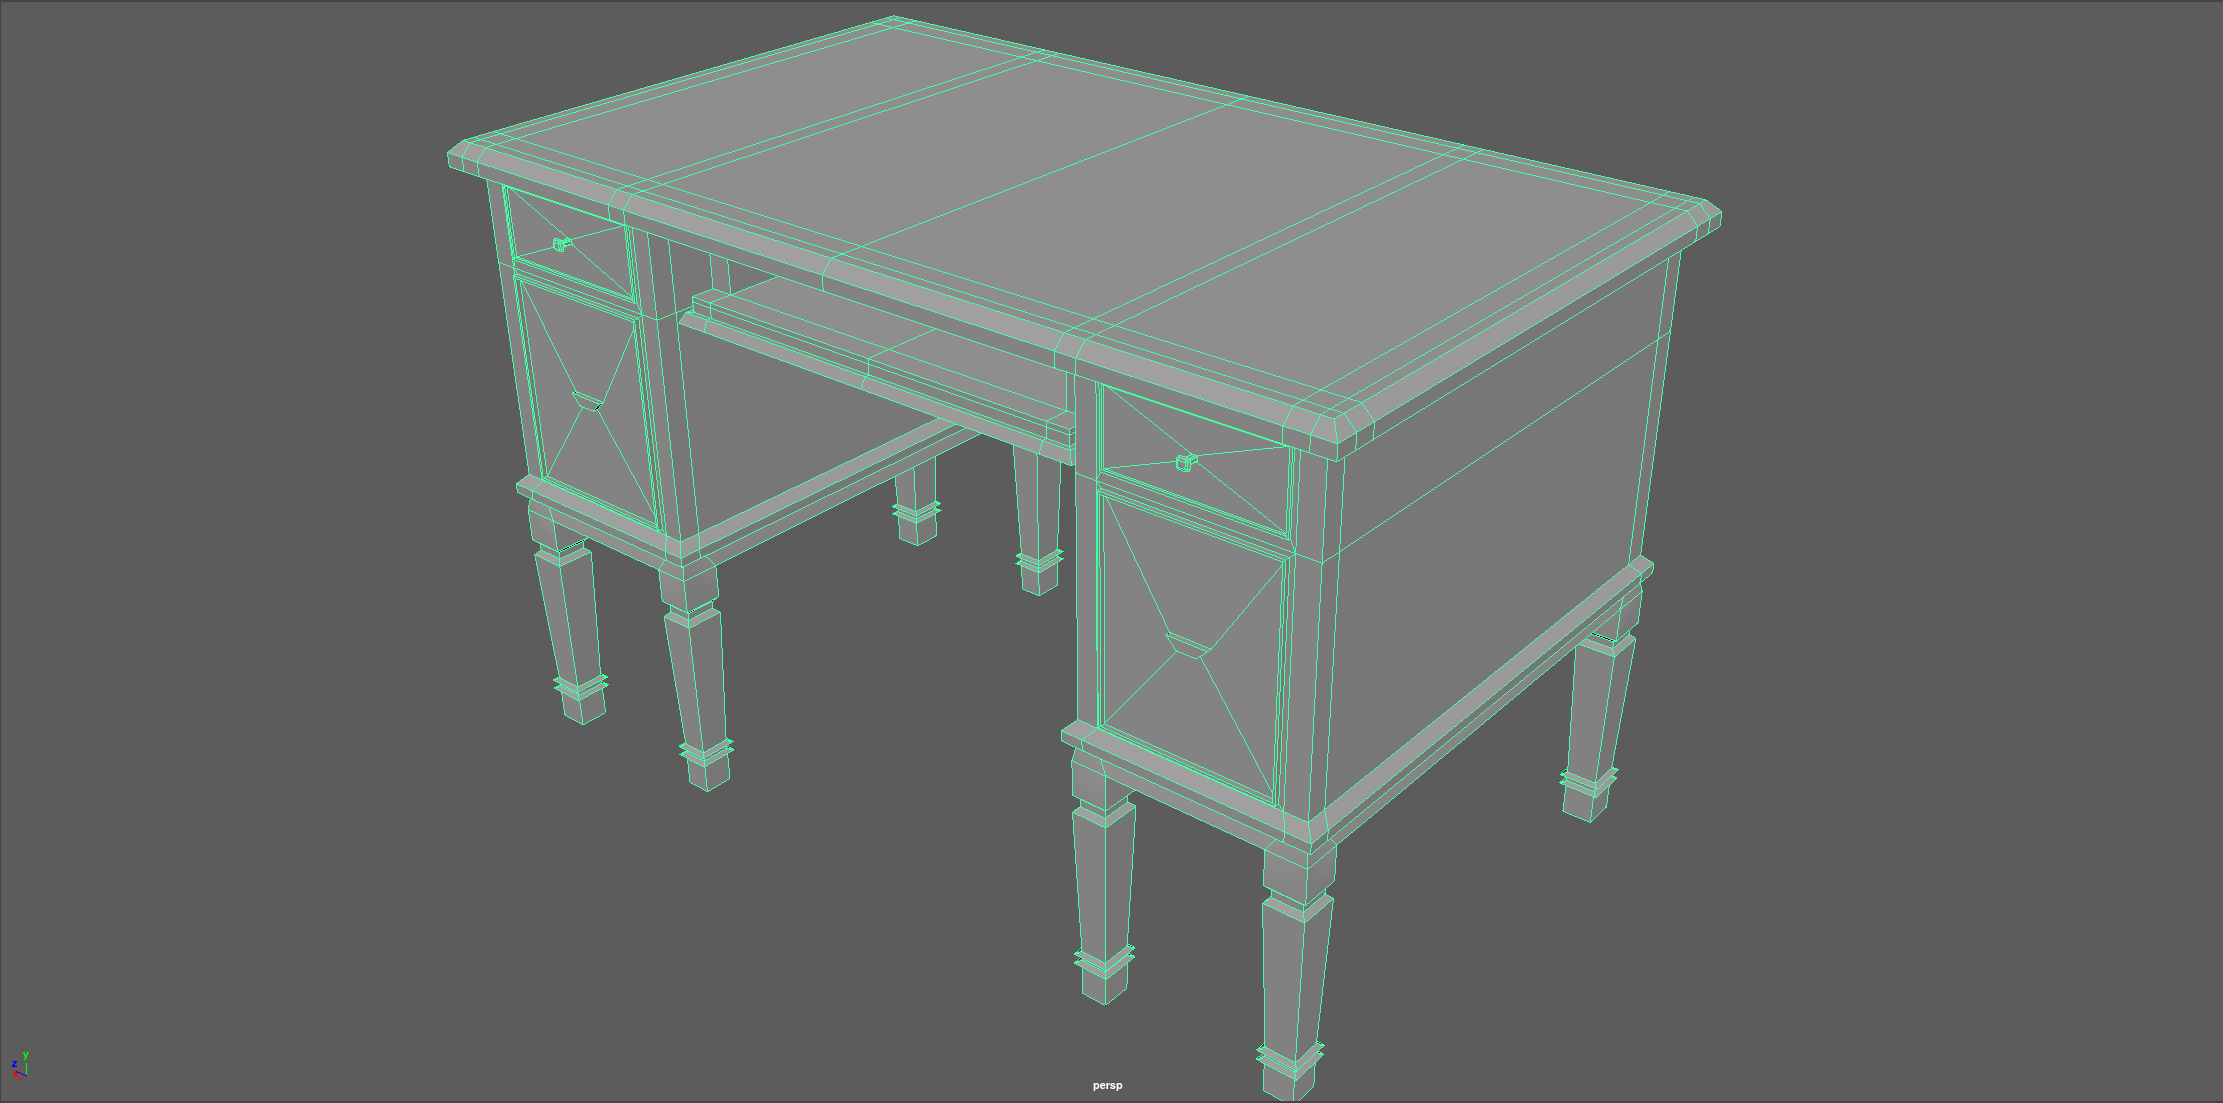
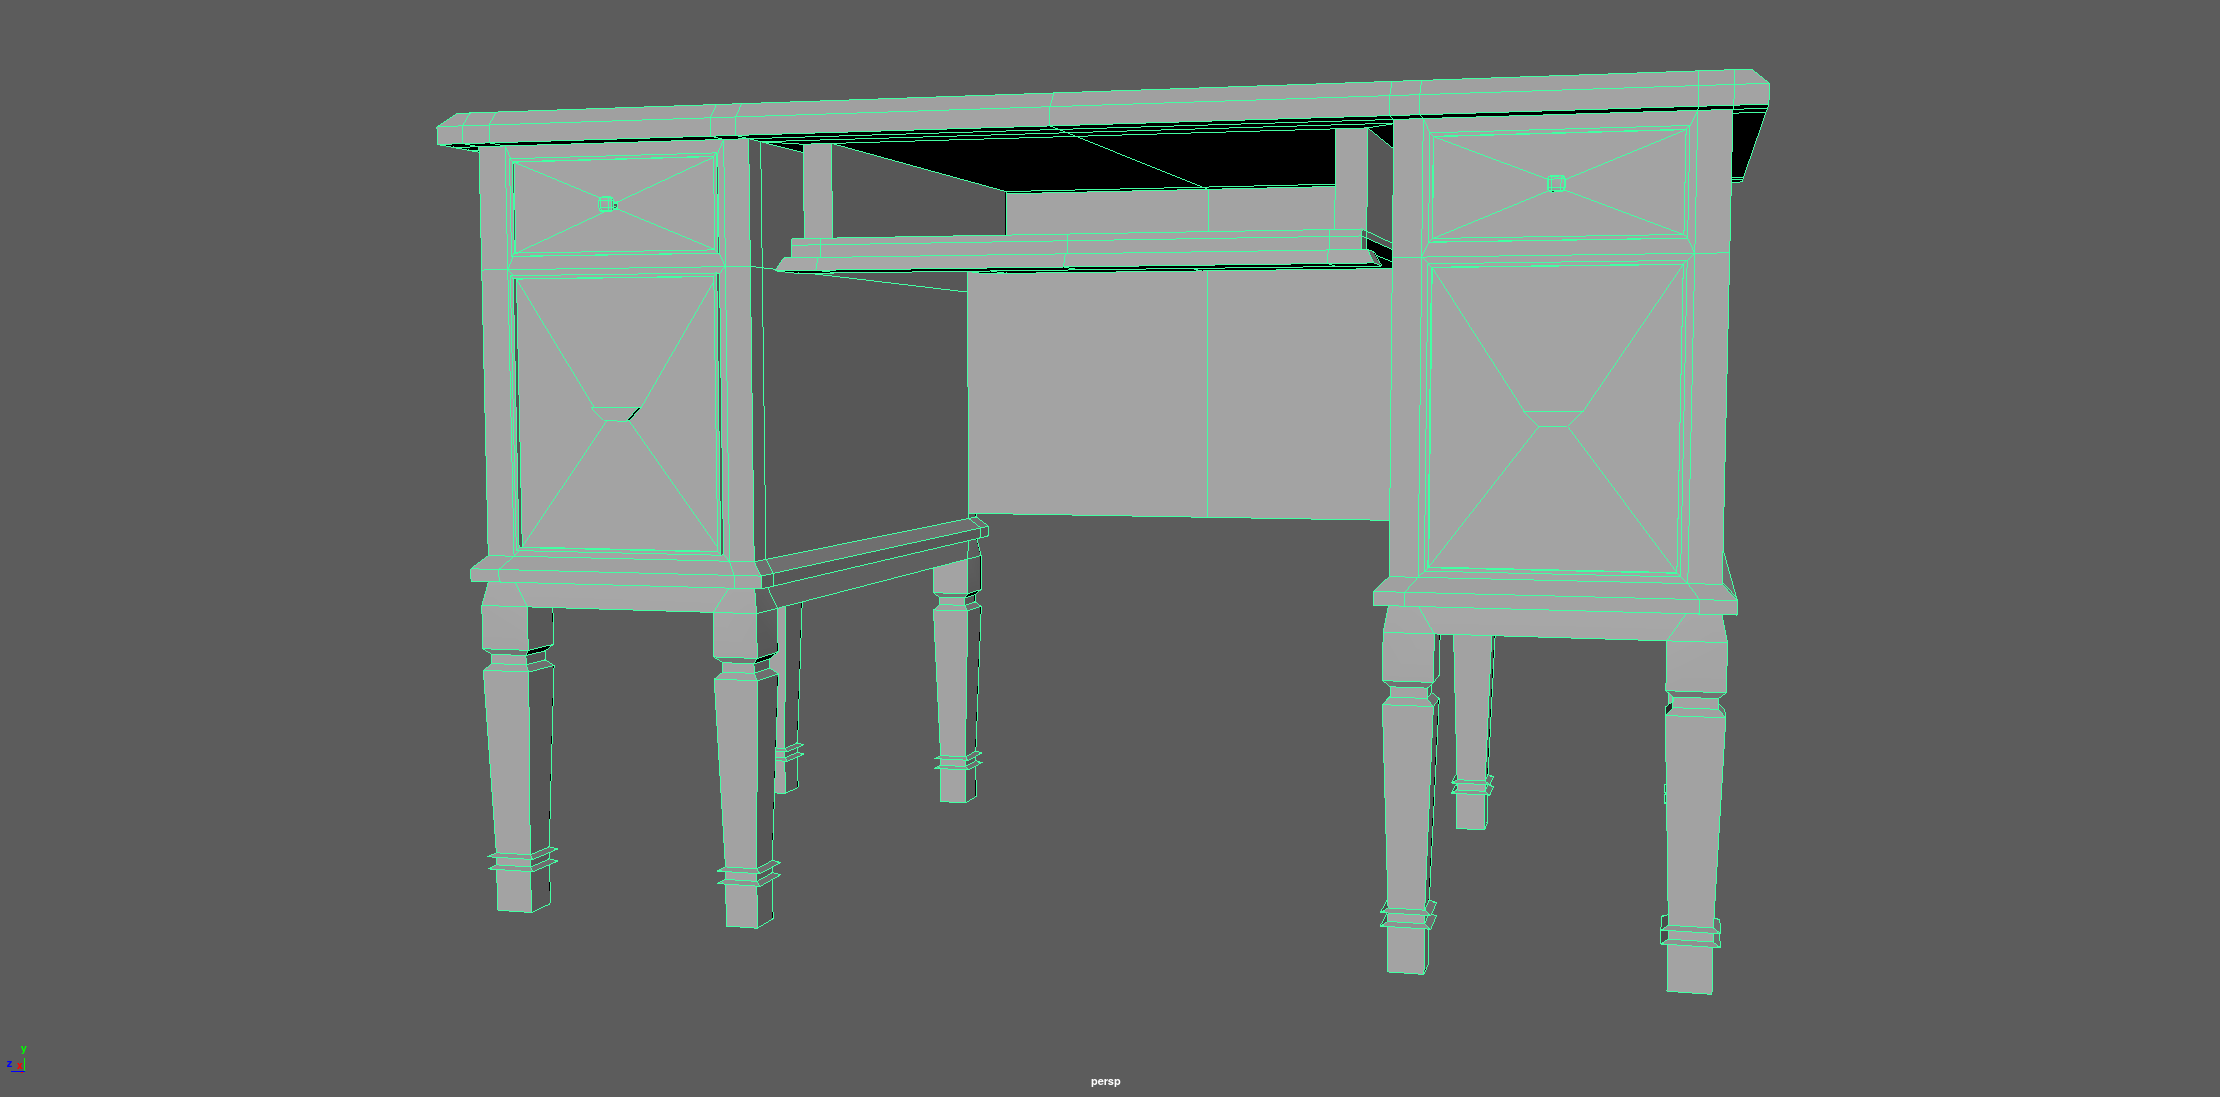
Exercise 4: Desk
Description:
Finish modeling the desk. Take 2-3 screenshots of the model, select the object on at leastone of them to make the wireframe visible (in shaded mode)Problem and Solution:
I create a cube first, and then to delete the right of the cube and use the multi-cut tool to add more subdivisions. Using the extrude tool to create the top part (surface) and drawer. After finishing the drawer, to use the multi-cut tool again to create four small squares for four legs of the desk under the drawer and extrude it. Then, I beveled the top surface of the desk with 0.5 width and 1 segment. Lastly, to use the mirror tool to copy the left part to the right.
 |
 |
|---|---|
 |
Exercise 3: Lemon Squeezer
Description:
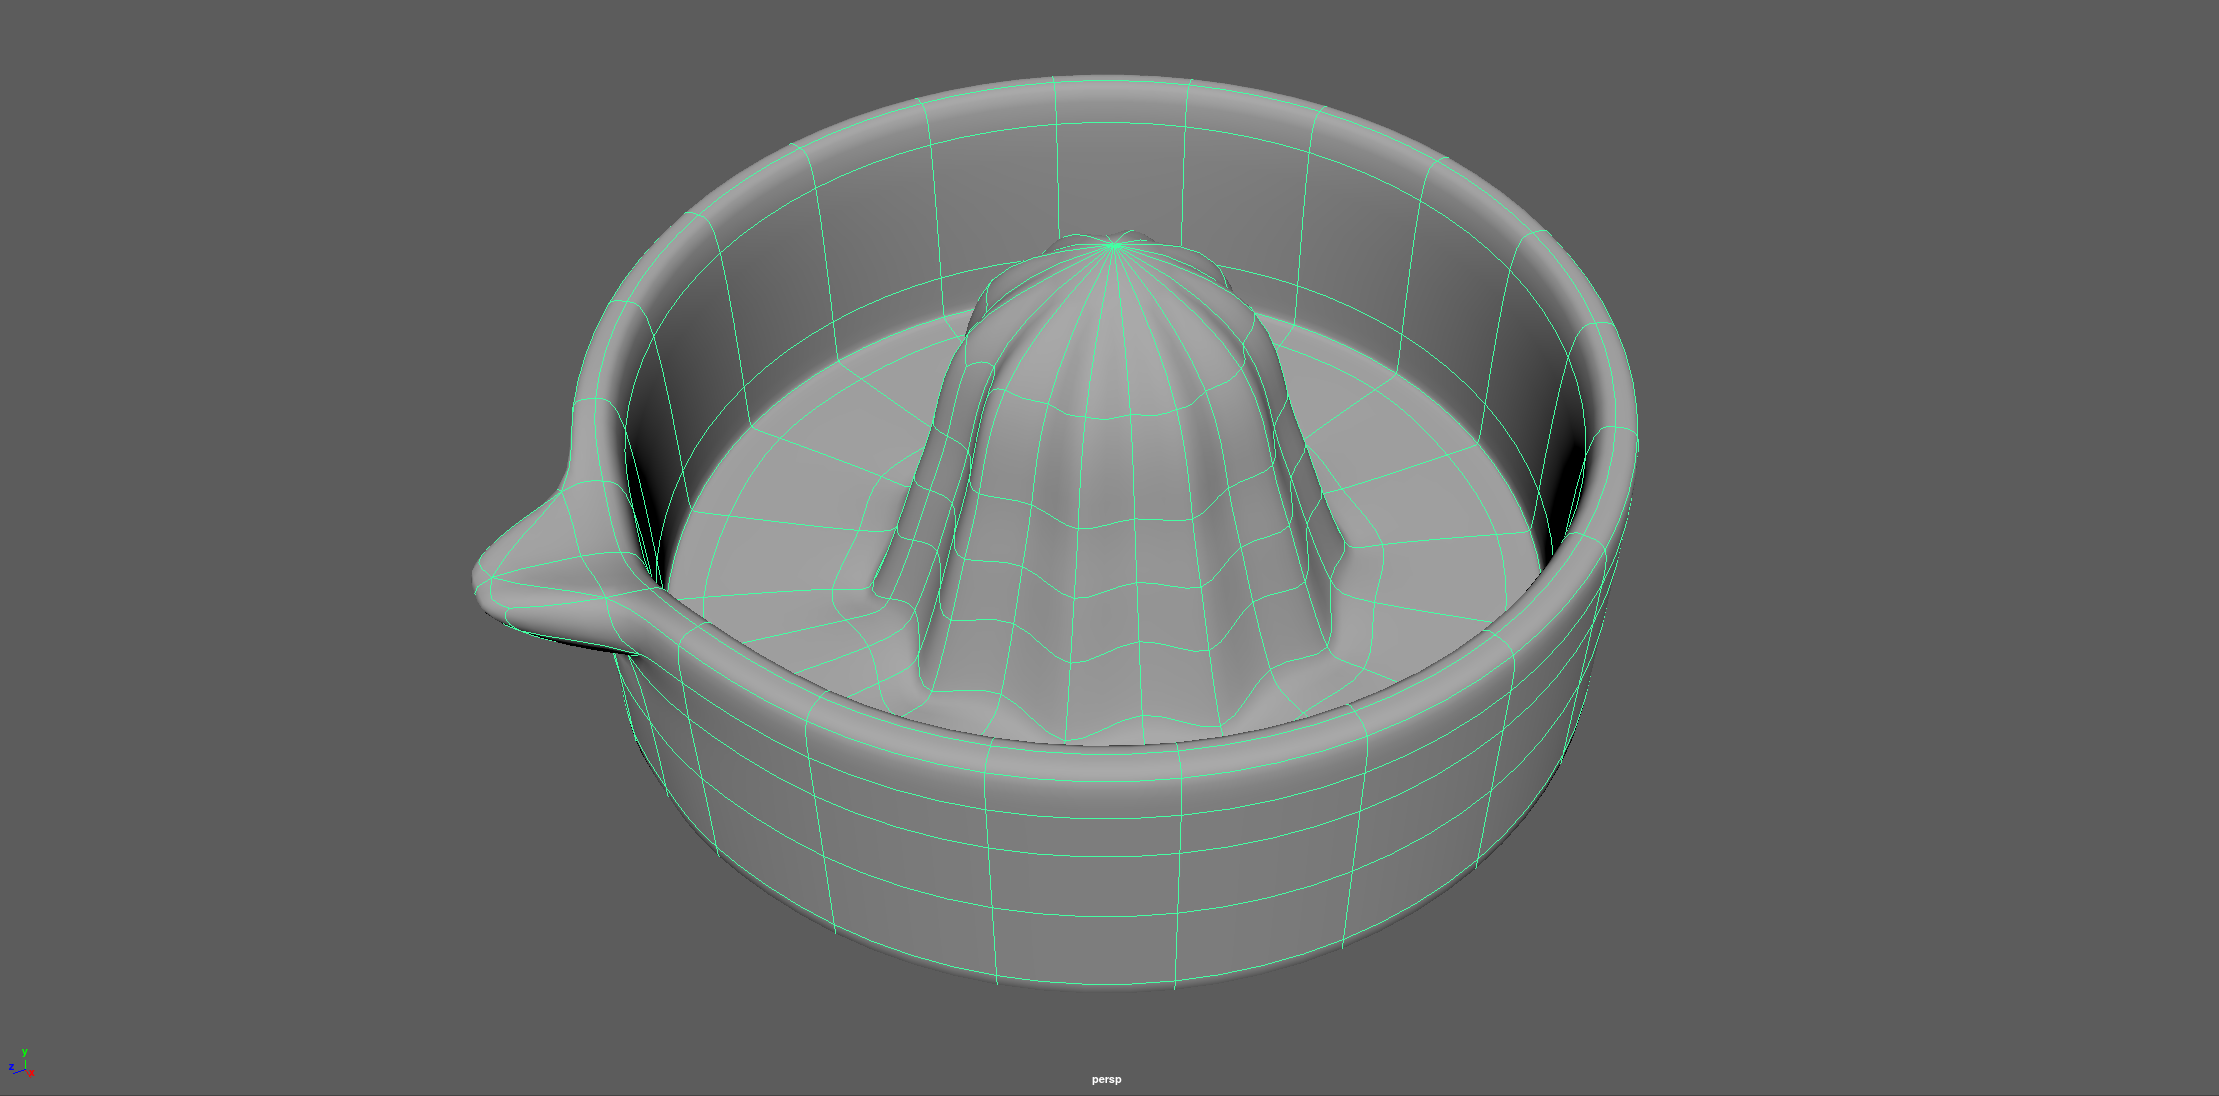
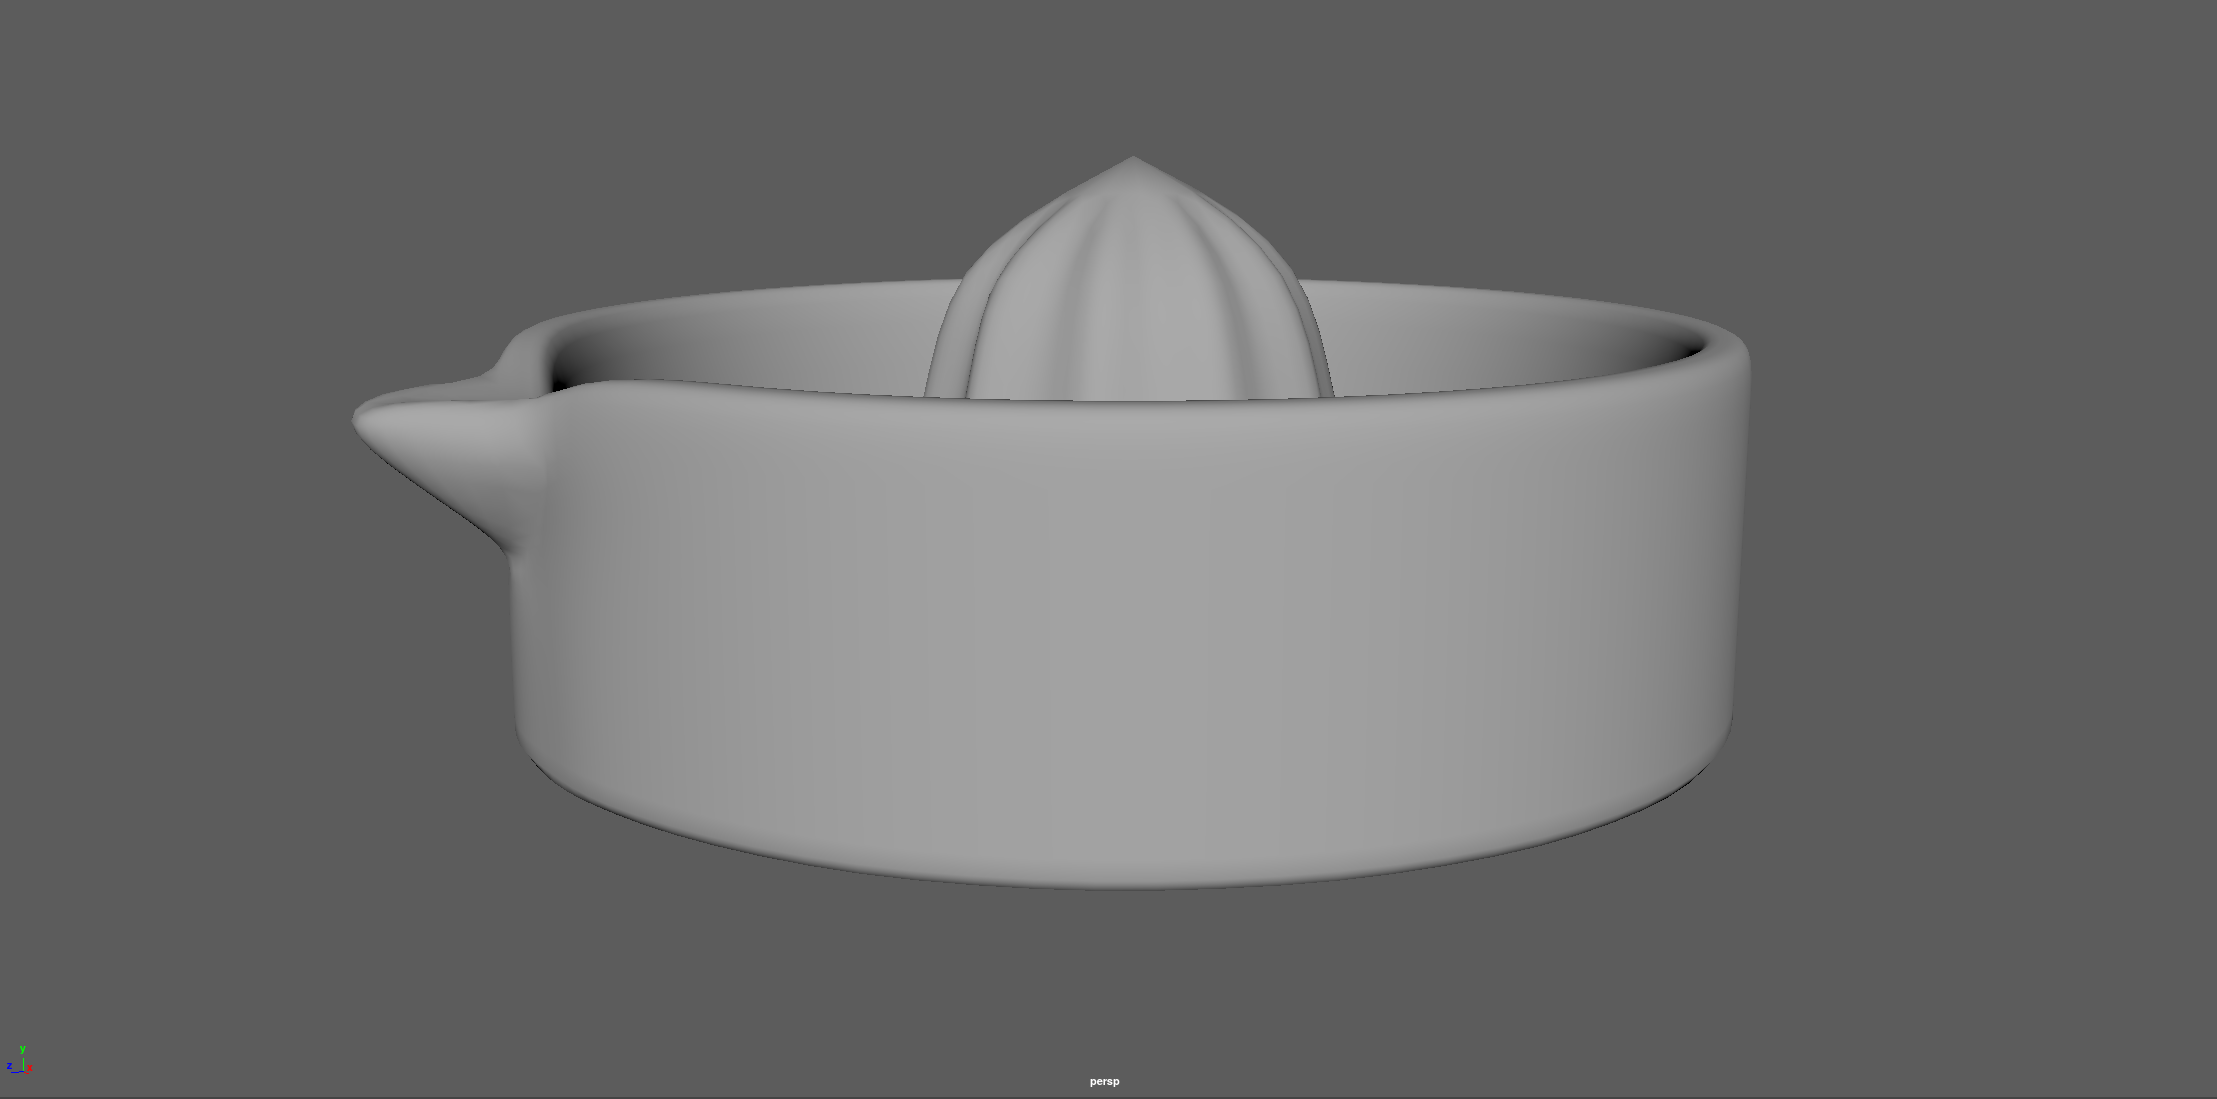
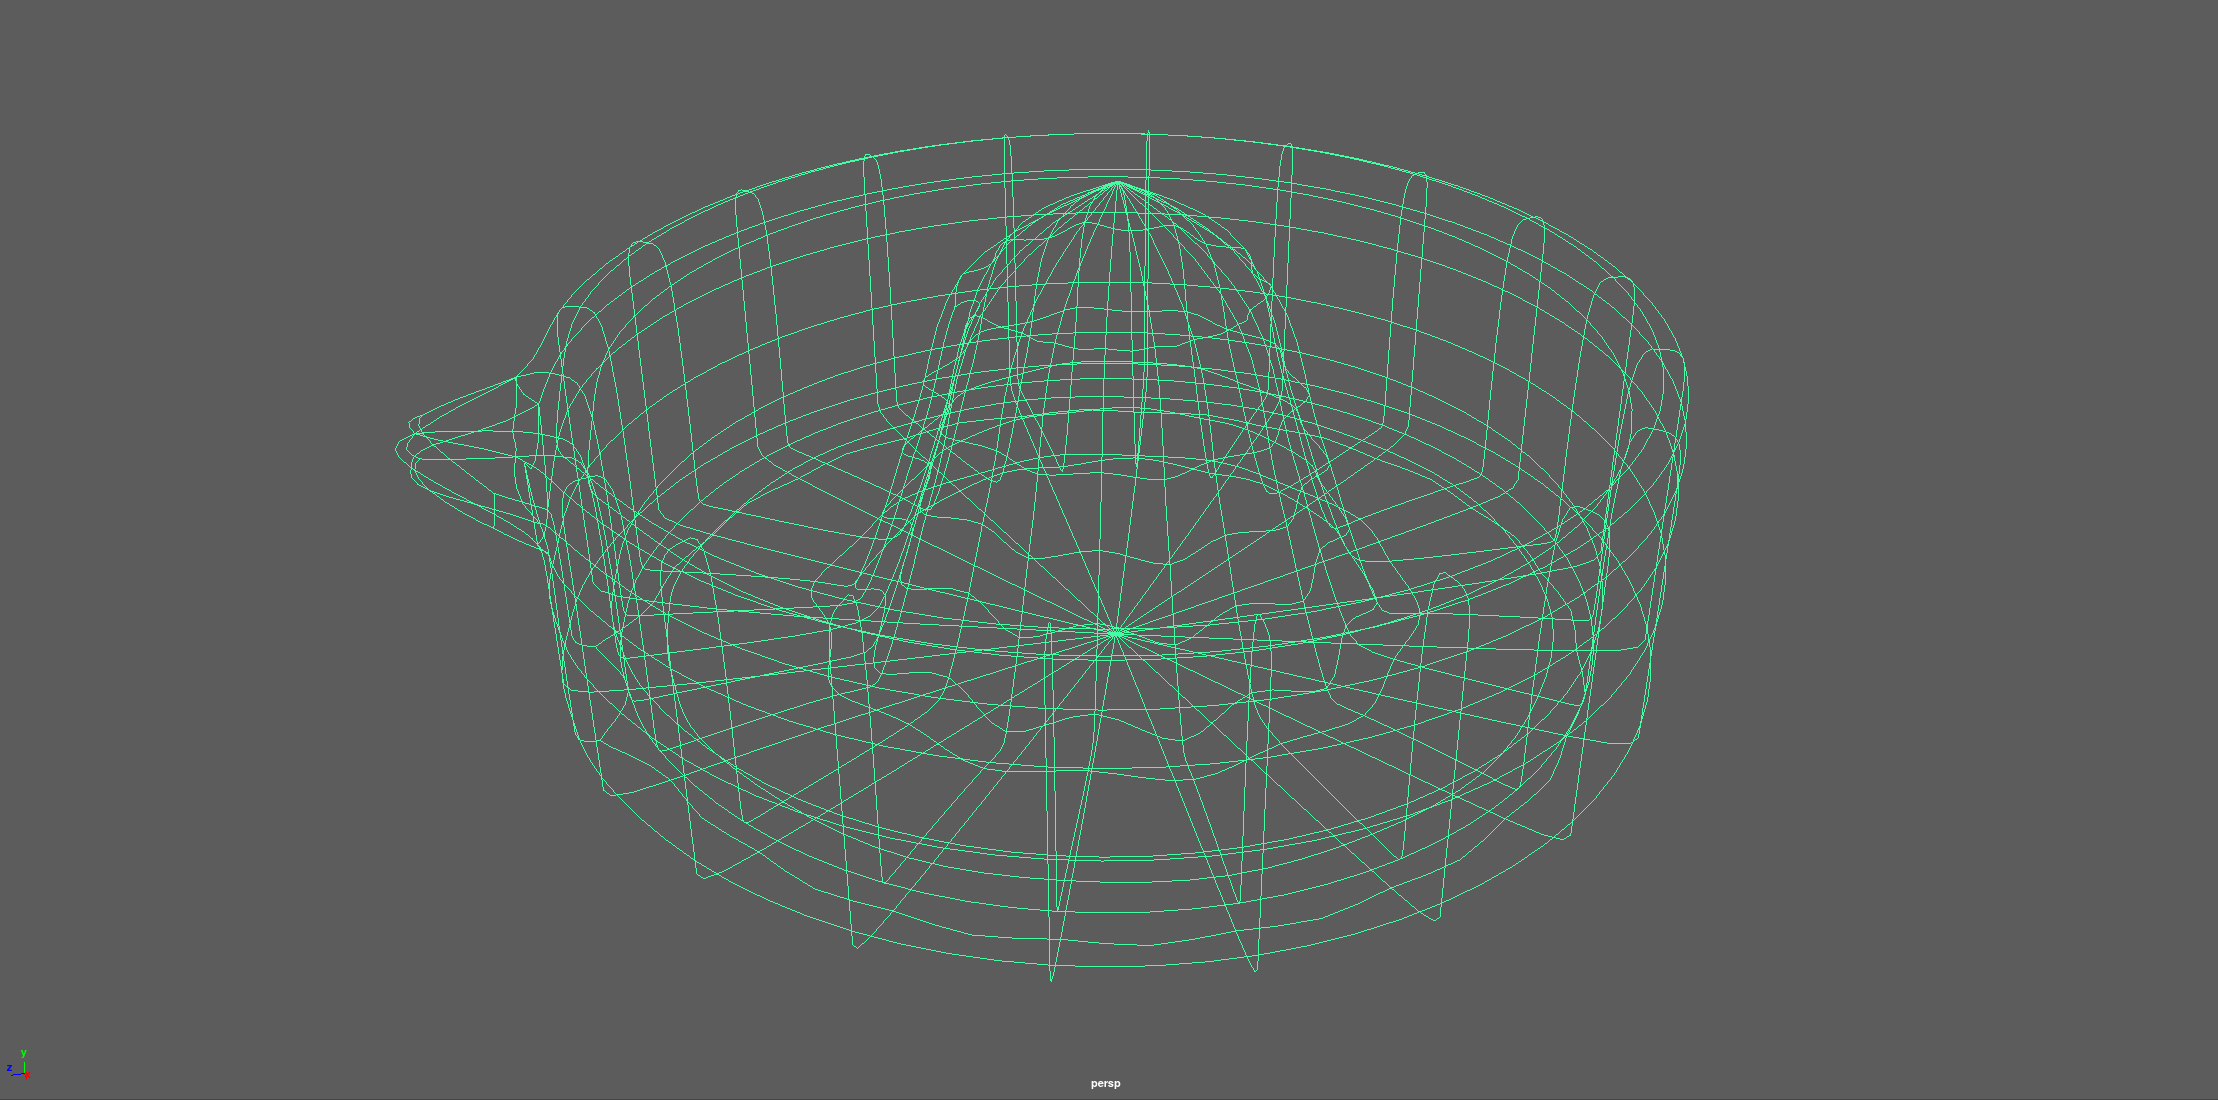
Create detailed model of the lemon squeezer. Take 2-3 screenshots of the model, select the object on at least one of them to make the wireframe visible.Problem and Solution:
I first create a cylinder first, and then to extrude its bottom face and scale it to larger. Using the cut tool to cut new circle lines on the bottom face, and take it as the edge of the lemon squeezer. Backing to cylinder to select alternate lines, and then to scale it.
 |
 |
|---|---|
 |
Exercise 2: Solar System
Description:
Finish the solar system, optional: Read Derakhshani, Chapter 2Animate and shade all planets and moons: rotation around itself (+ around planet) + around sunUse a broad selection of primitives (with visible rotation)Let the planets/moons rotate at different speeds
Keep the scene clean
Playblast the animation
Problem and Solution:
The rotation of planets would impact its’ moon’s rotation. I use group to separate the rotation of planet and its moon, so that planet and its moon can rotate independently. My maya cannot output .avi video. So, I convert multiple gifs to a video by ffmpeg.
 |
 |
Exercise 1: Primitives
Description:
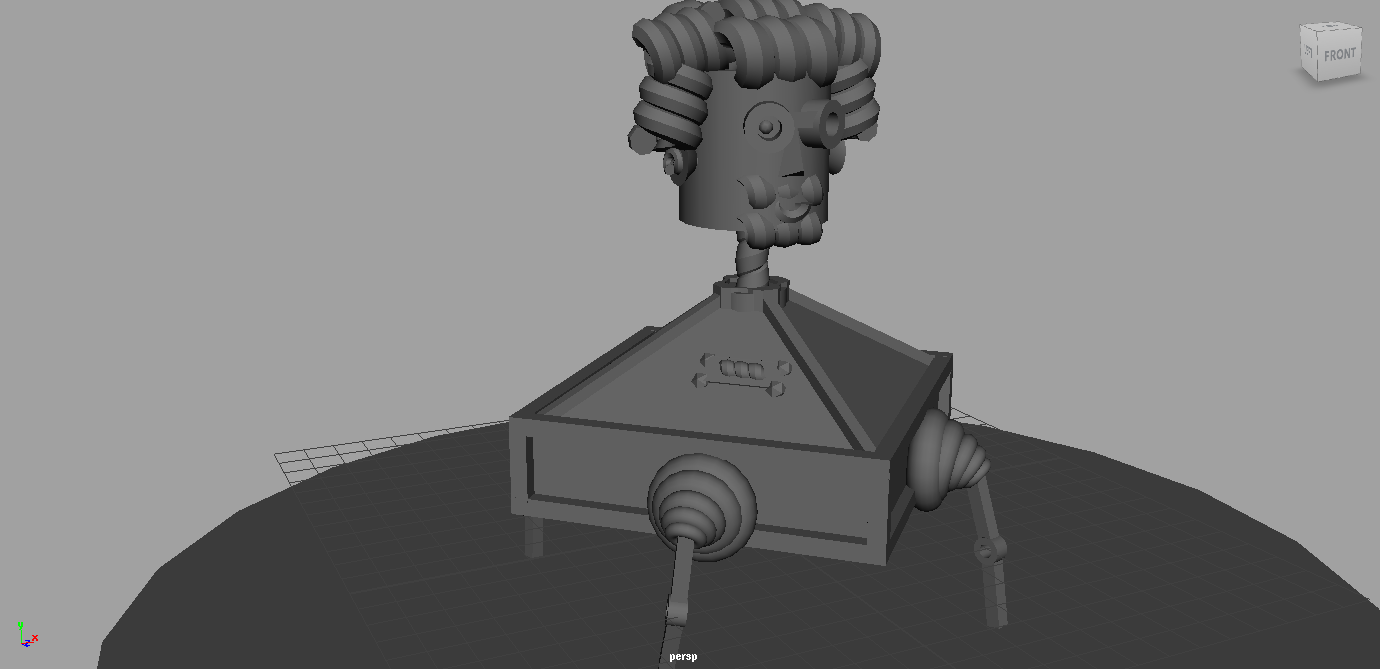
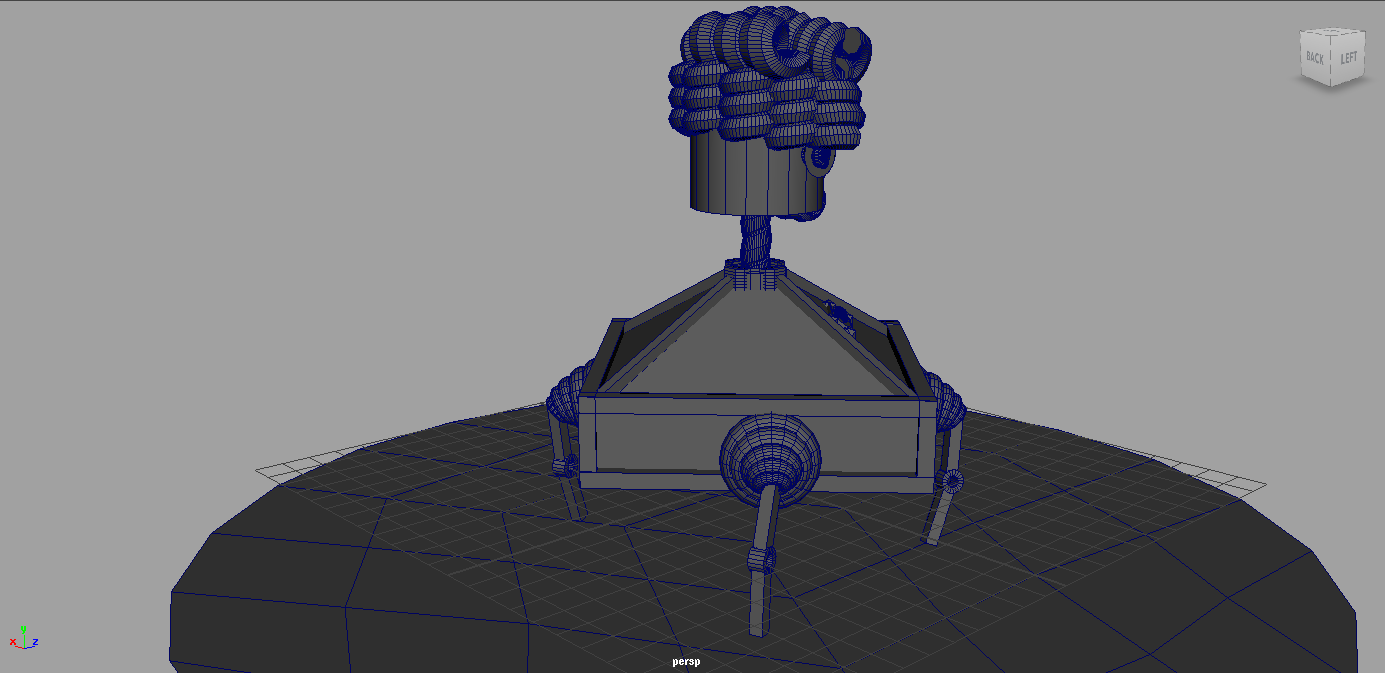
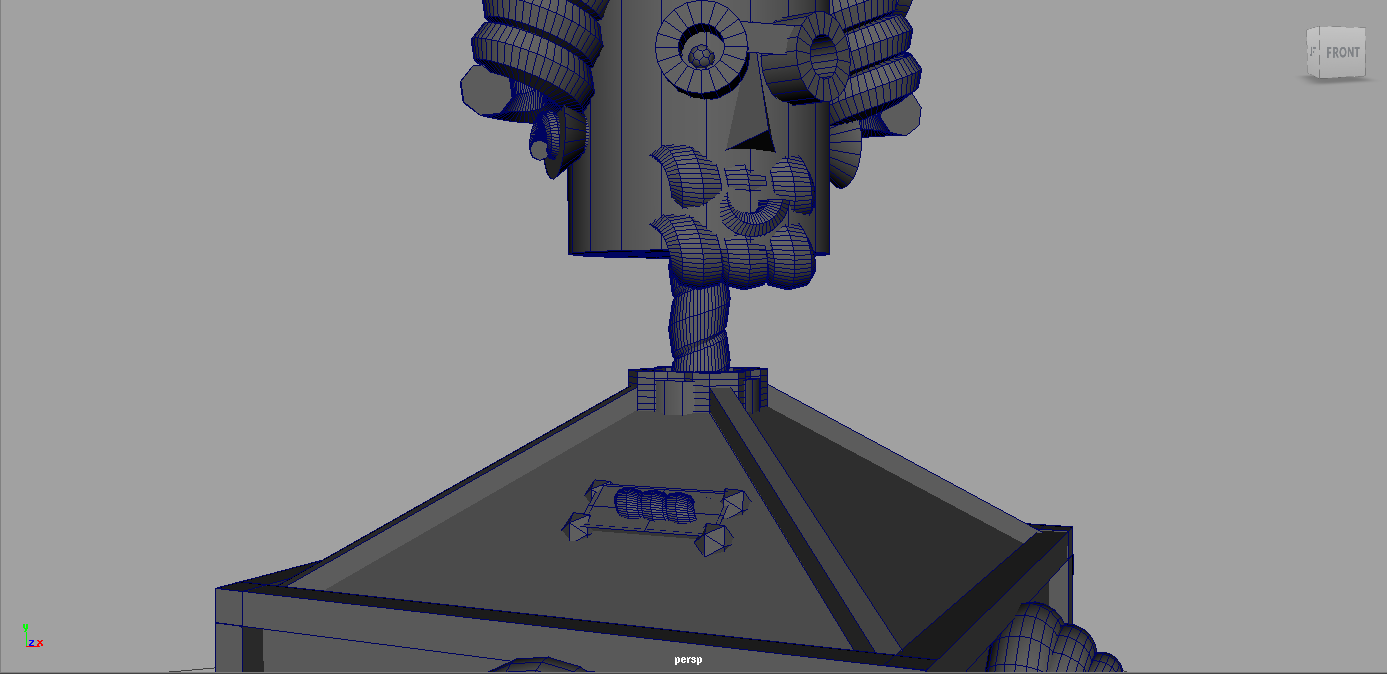
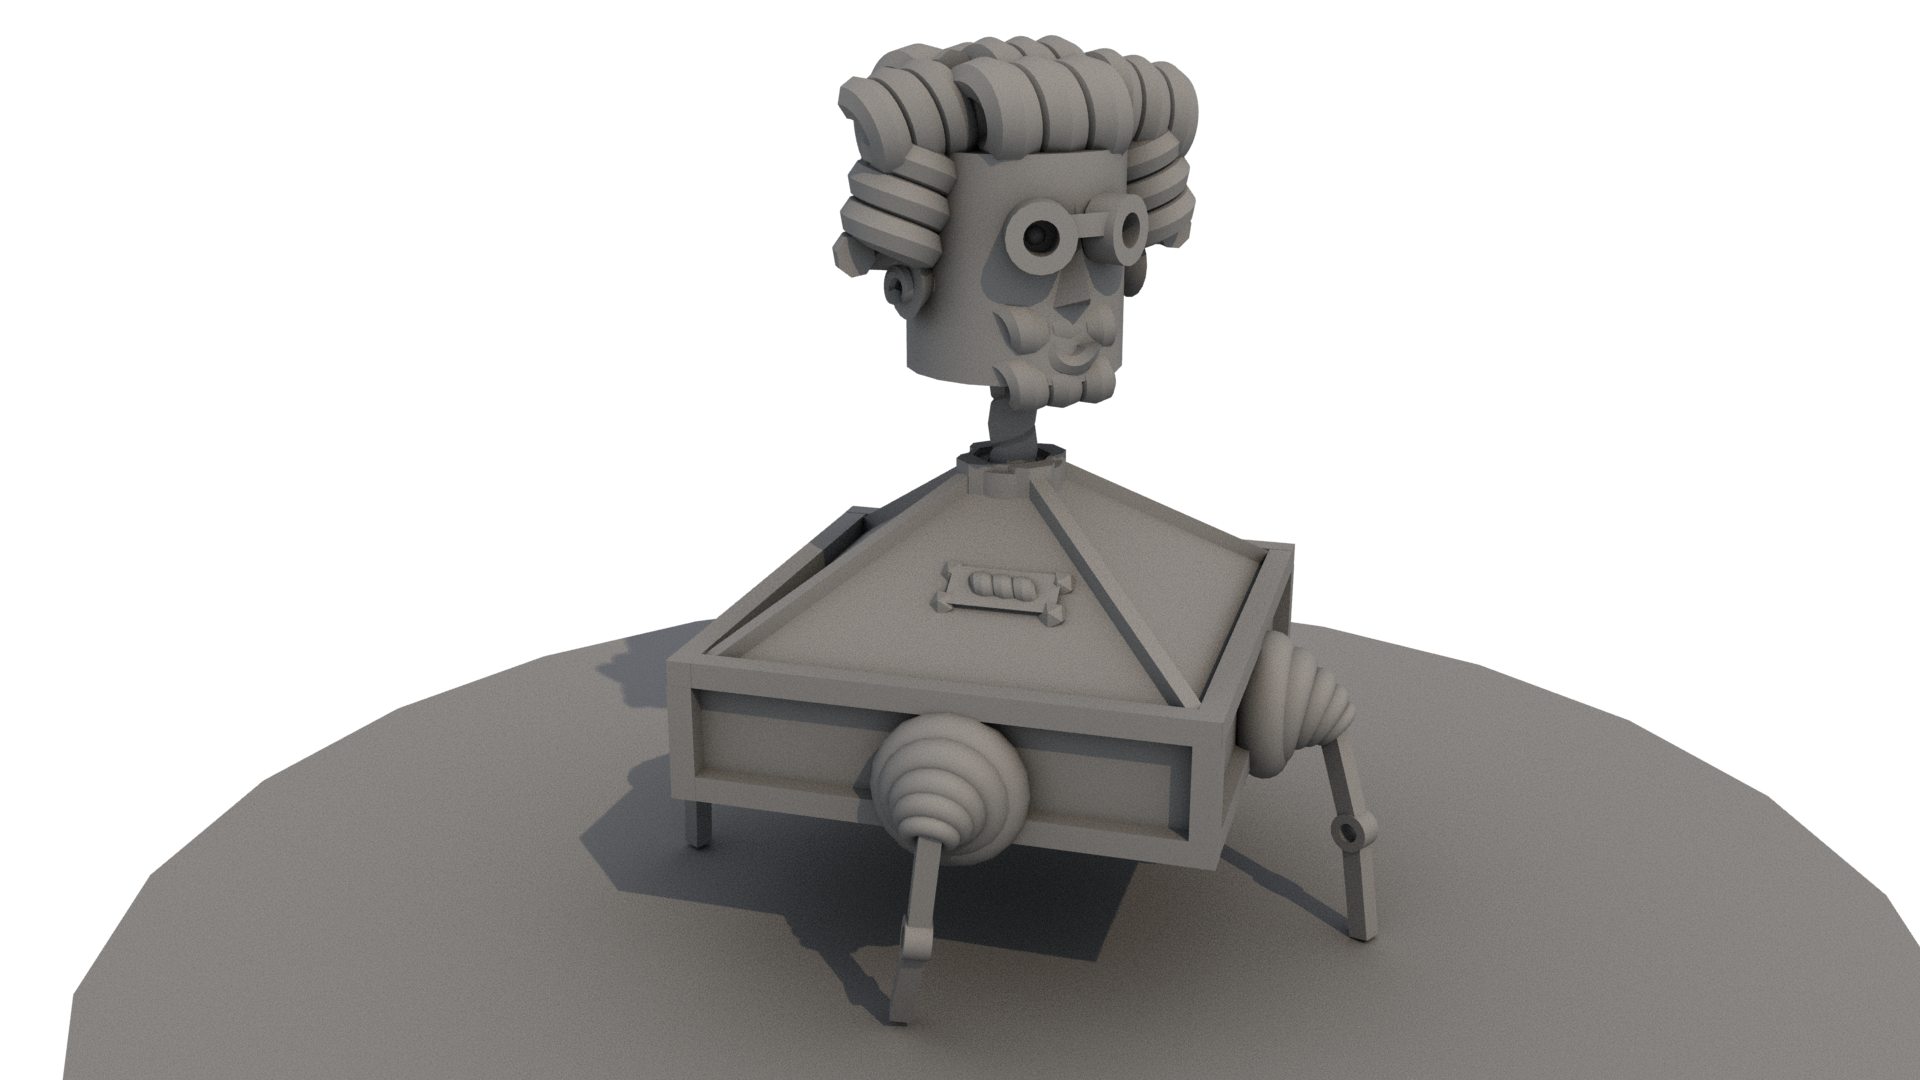
Build a robot, only based on primitives (by scaling, translating, rotating). Do not extrude or move around vertices. Add description of the problem and of your solution.Problem and Solution:
Using the Group to manage objects more effectively. After grouping, using the pivot center to center the pivot of the object. Sometimes I need to switch to object from world coordinate system, when to translate, rotate or scale objects.
 |
 |
|---|---|
 |
 |
